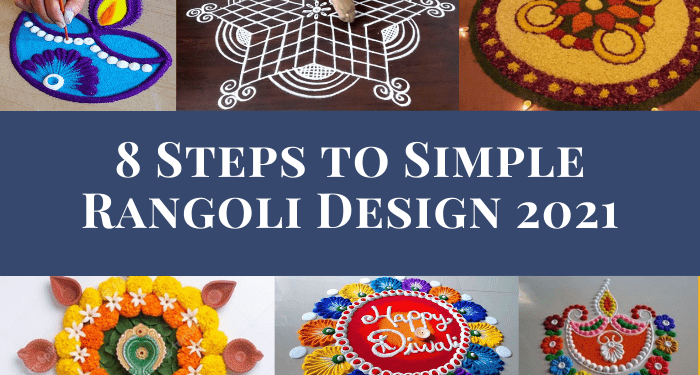
This is a step-by-step guide on making an Easy & Simple Rangoli Design with 8 important steps to follow.
Even if you are a beginner, by the end of this article, you will learn how to make an easy and simple rangoli design by yourself. In case your skill level is not high enough even for these easy rangoli designs to draw free hand, you can start by rangoli stencils, which are easily available in the market. You can create various designs from rangoli stencils very easily.
Significance of Rangoli Designs
Rangoli, originally, an Indian art form, is drawn on home entraces, on the floor or the corners of the house. Although, most Indian women make rangolis in their homes on special occasions like Diwali, Onam and Pongal, but in some parts of Telangana, Tamil Nadu, Maharashtra, and Telengana, women make them daily in the morning. Rangoli, also known as Muggulu or Kolam in Southern India is primarily made on the main door entrance and believed to bring prosperity, wealth, and good fortune.
So without much ado, let’s start with our 8-step learning process.
Step 1: Select the Rangoli Design you want to make.
The first step in making the Rangoli is deciding on which rangoli design you want to make. Select a rangoli design from the table below and we are ready for the Step 2 of the rangoli making process.
There are many simple and complex rangoli designs you can choose from. Irrespective of a difficult or a simple rangoli design that you choose, remember almost all the rangoli designs are symmetrical and can be made with discipline and application.
Select your Rangoli Design from the table below:
| Easy & Simple Rangoli Design Images | Daily Muggulu and Kolam Rangoli Designs |
| Rangoli Designs for Diwali – Images | Ganapati (Ganesh) Rangoli Design Images |
| Rangoli Designs for New Year – Images | Cow Rangoli Design Images |
| Square Rangoli Design Images | Rangoli Holi Designs Images |
| Circle Rangoli Design Images | Small Daily Rangoli Design Images |
| New Year Muggulu Designs | Peacock Rangoli Design Images |
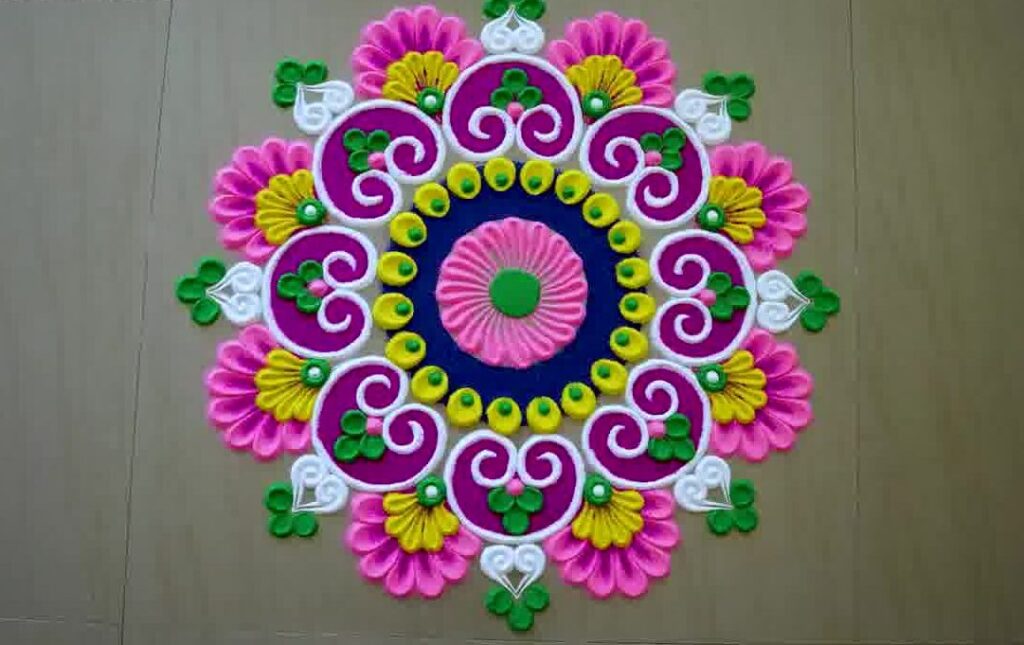
Step 2: Decide a flat surface to draw the rangoli design
Now that you have decided on the design you want to make, follow the next steps in creating your first rangoli design.
Rangoli designs are made on dry floors, on the entrance, or at the corners of the house. Some people also make rangoli designs in thalis.
We will describe the making of a simple rangoli design directly on the floor.
For beginners, making a rangoli on paper with a black background will be better. With the glue, you can paste the black paper on a piece of cardboard and finally display it anywhere you want. The idea of using the paper with a black background is; first, you can easily erase the drawing and redo it if you’re going to. Secondly, the bright colours will have better visibility on a black background as they will stand out brightly.
If you think your skill level is high enough, you can directly draw the rangoli design on the dry floor.
Step 3: Practice the design on paper with a pencil first.

Now that you have selected your rangoli design and decided the surface to draw it, it is now time to practice drawing the outline of the rangoli design on a piece of paper with a pencil. Remember to draw lightly on the paper to erase if you want to do it again. Keep practicing the drawing on the paper until you are sure that you can now make it finally on the black paper or the floor.
Step 4: Draw the final outline
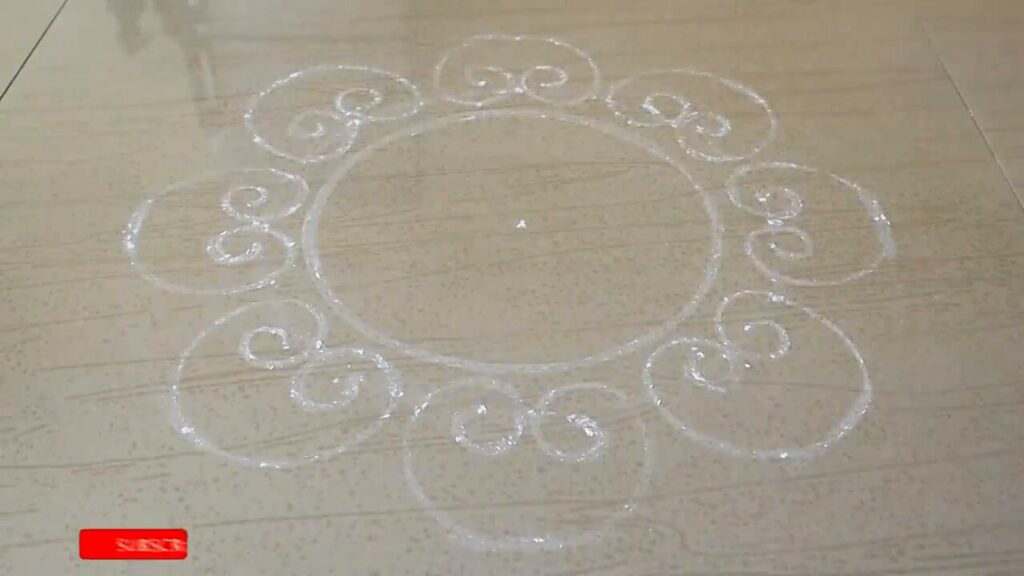
After you have practiced the easy rangoli design on the paper and perfected it, it is time to finally draw the outline on the floor. Use a piece of chalk to draw the outline lightly first. Make sure you don’t make the rangoli design on the walking areas.
Application of Cooking Oil to the Surface
- If you are making your rangoli design on black paper and not the floor, you need to gently apply a little bit of cooking oil to the entire surface of the design before the next step. The small amount of cooking oil that you will spread lightly on the surface will allow the textured material, which you will use to fill the rangoli design in the next step, to stick on the paper.
- Do not use too much oil.
- Apply a little bit of it on your fingers and follow the drawn outlines of the design on the paper.
Step 5: Darken the outline
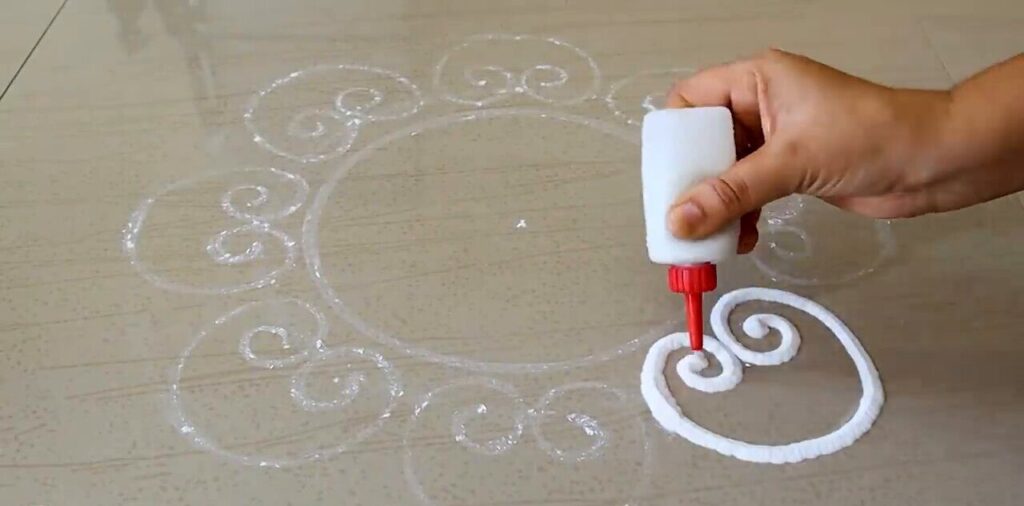

Once you have finally drawn the shape of your rangoli design, thicken it with another layer of chalk free hand or you do as shown in the image above.
Keeping the outlines white is significant auspiciously because white is symbolic of purity and peace. Secondly, with white outlines, the bright colours you will use in your simple rangoli design will brighten up.
Step 6: Fill the colours in the rangoli design
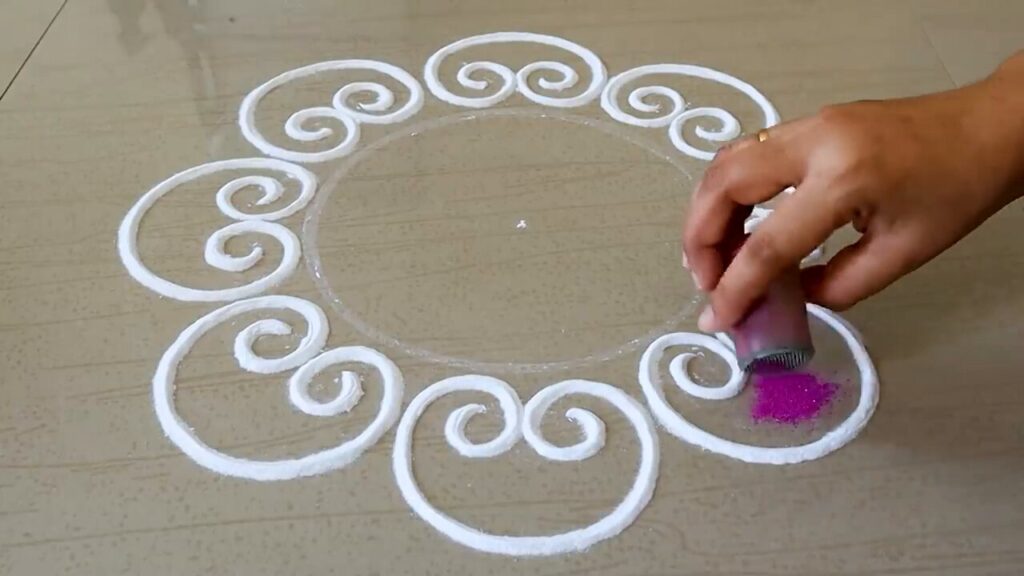
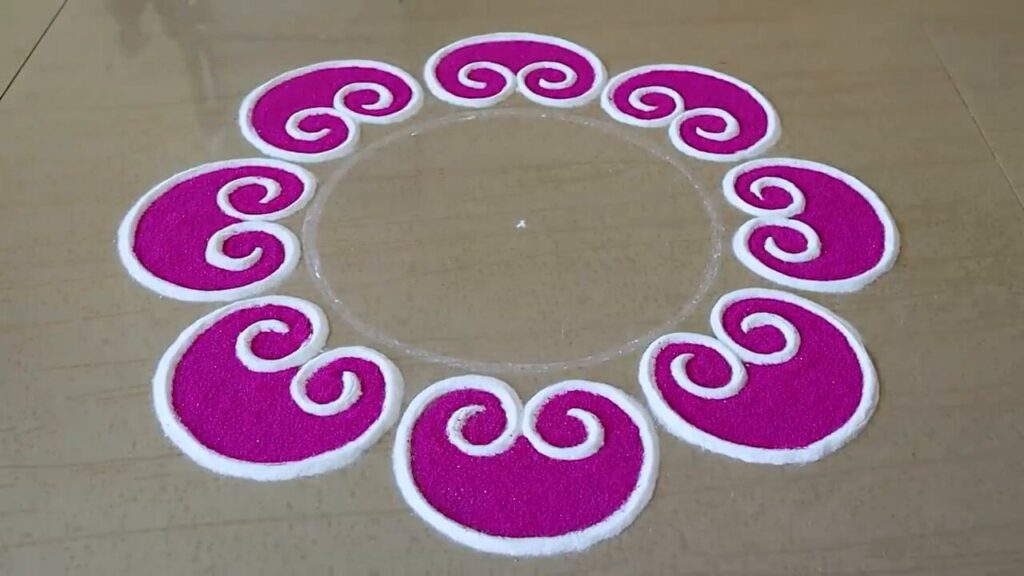
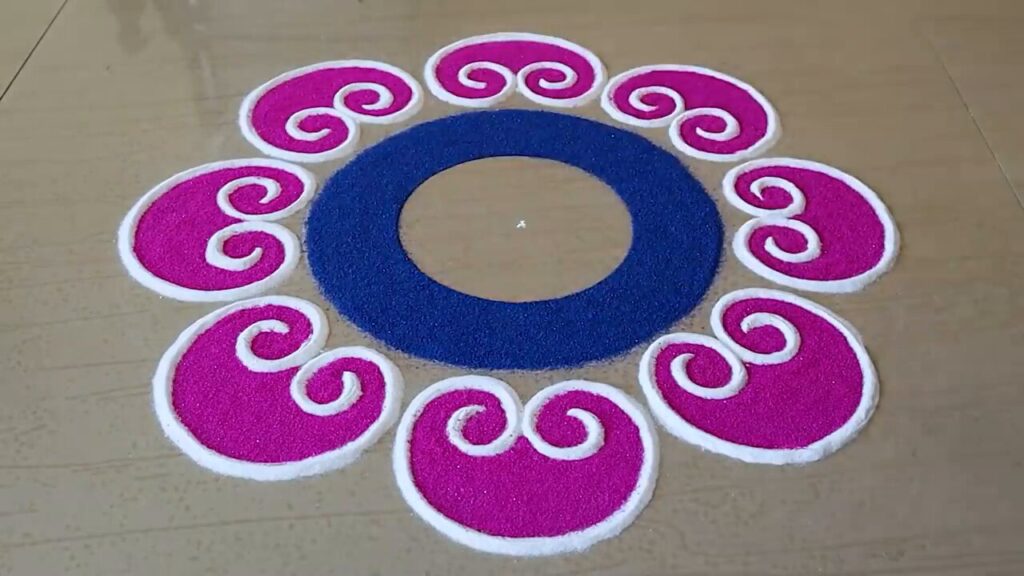
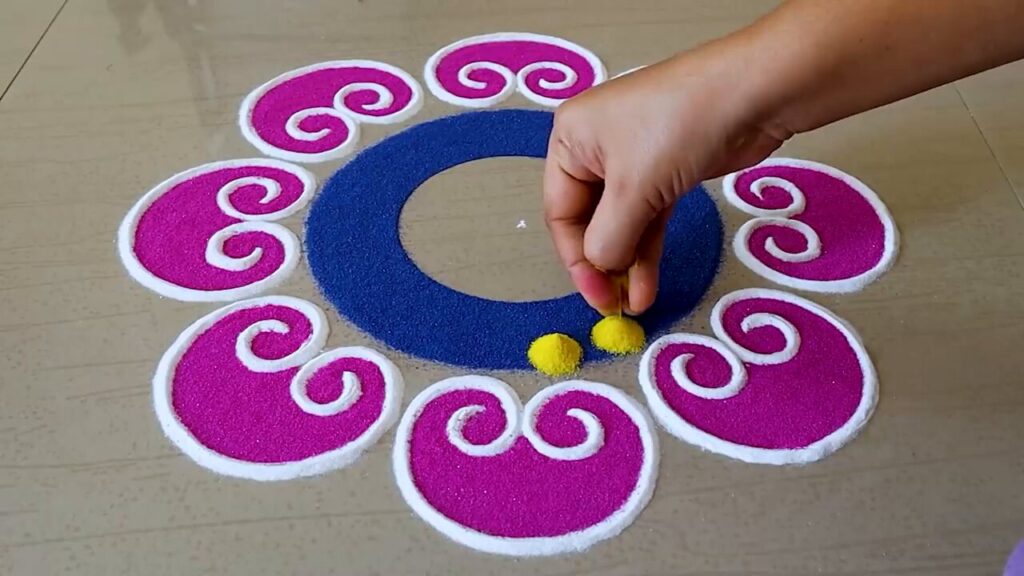
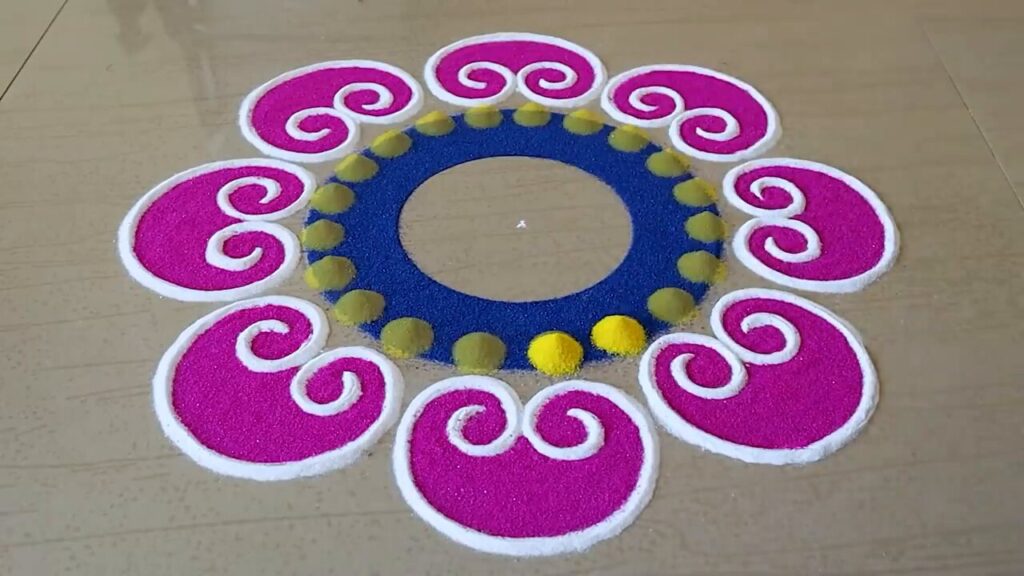
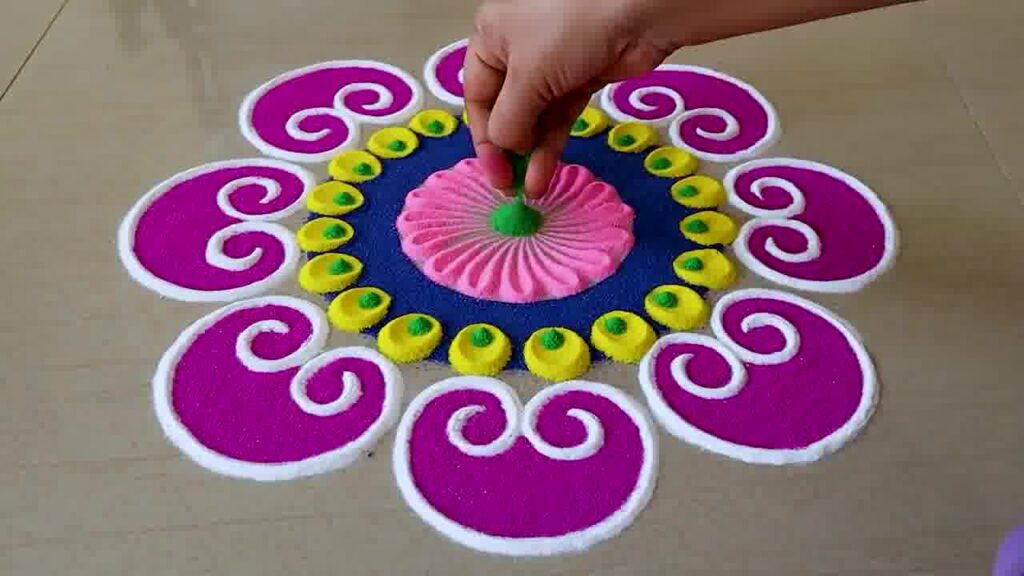
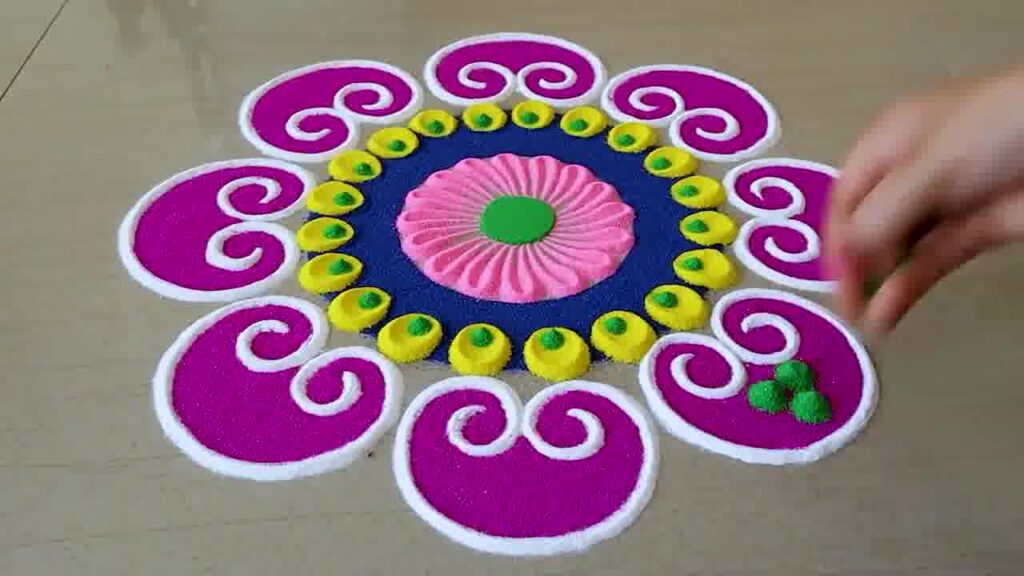
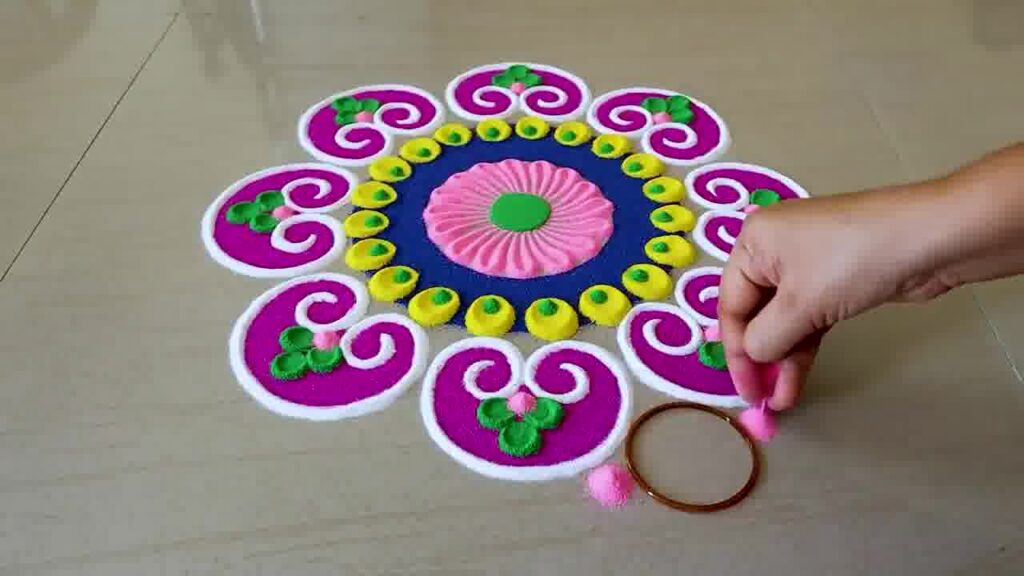
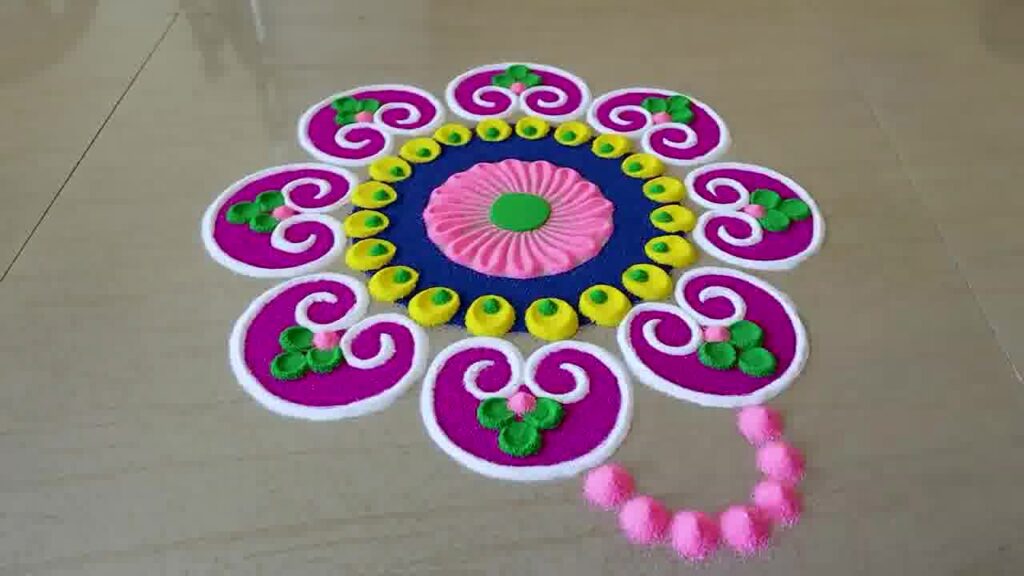
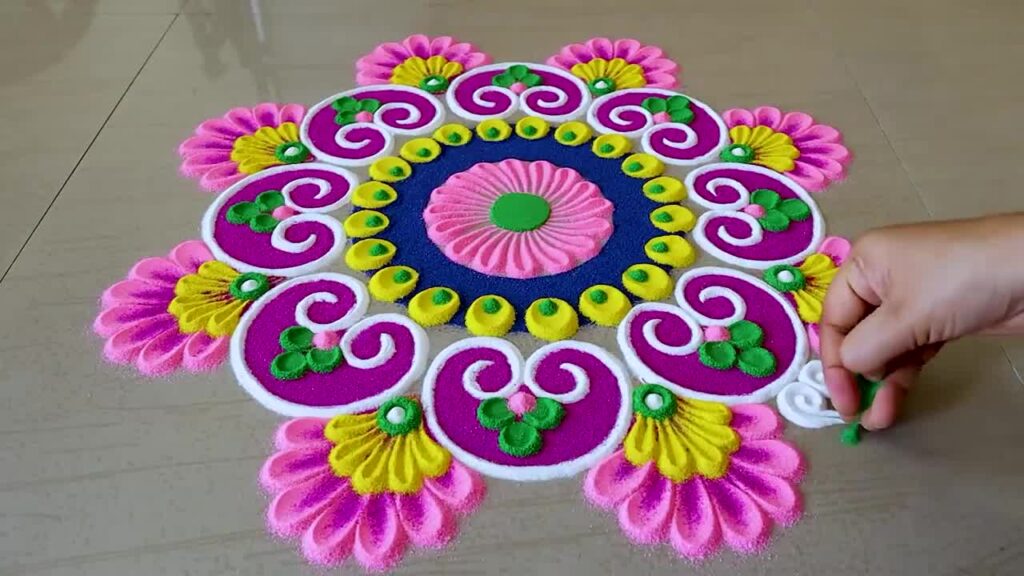
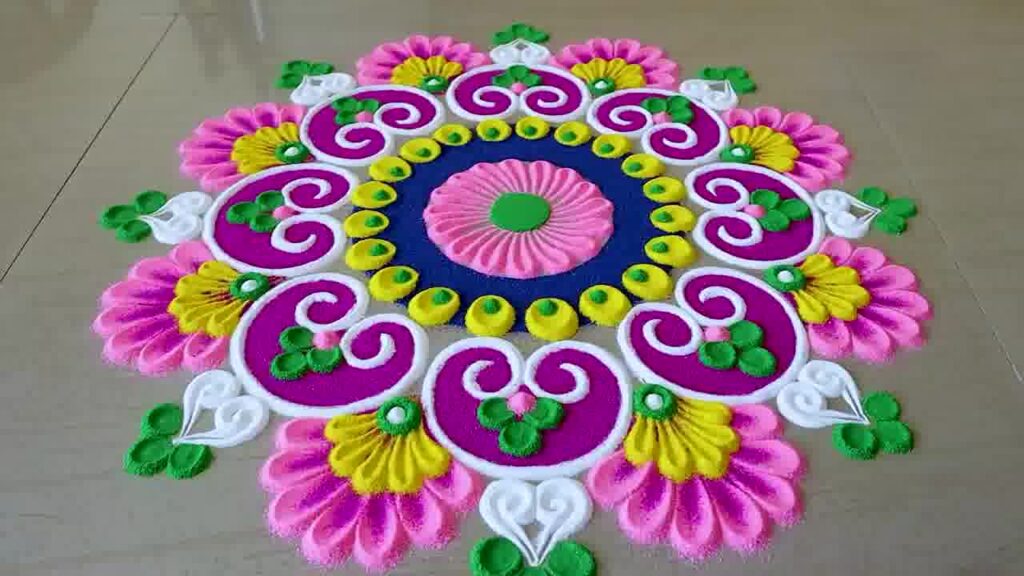
Now that you have completed all the initial steps, it is time for the most challenging part of rangoli making, which is filling up the outlines with colors.
Materials that you can use for filling the simple rangoli
You can use any of the following materials individually or in combination to fill the outlines of your rangoli design:
- Rangoli color, which you can buy from the market.
- Traditional colorful items like Kumkum, gulal, mehndi powder, haldi powder, rice flour, or dal flour.
- Colored sawdust or wood shavings. A night before the rangoli design making, you can take some wood husk or wood shavings and add colors to it with the help of dye.
- Flower petals or leaves.
- Poster colors or pastel crayons
- Rice paste.
- Food items such as rice grains, pulses, cereals, spices.
To fill up the colors in rangoli design, take some colored powder between your thumb and the forefinger, and start filling the spaces by sprinkling the colored powder. You can also use a paper cone to do that.
Remember to start from the center of the design and moving outwards.
Step 7: Filling the open spaces:


Traditionally in India, a rangoli design is considered incomplete if there are vacant spaces left in them. It is the most exciting step of rangoli designing. You can be creative and innovative here. Remember, rangoli designing is about variety. Mix different colors and textures in your rangoli. With your creativity, you can make any rangoli design look stunningly beautiful.
Step 8: Giving the finishing touches

This is the final stage of your simple rangoli making. If you have made your rangoli design on paper with a black background, place it at the place where you want to display it. Use candles, flowers, grains, diyas, or pot-lanterns to surround your rangoli design.
Some people like writing wishes or some mantras near the rangoli design. You can do that with chalk.
15 Amazing Fun Things to Do in Brisbane That Will Keep You Thrilled

