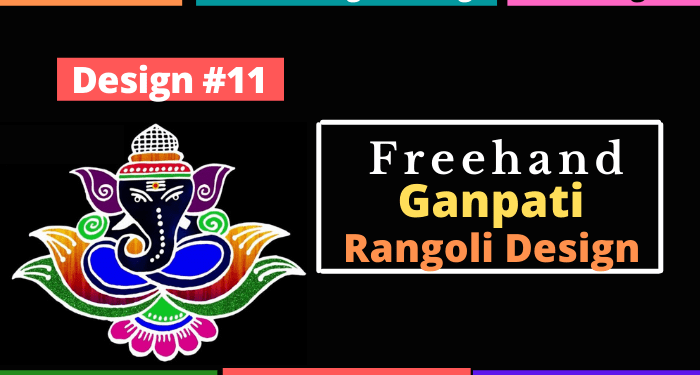
Name of Rangoli Design: Ganpati Rangoli Design | Simple Ganesh Rangoli 2022 – Design #11
Materials Required: To make the outline of the Ganpati rangoli, you can use rice flour, chalk powder, or white rangoli powder. Using white for outlining the Ganesh rangoli is considered sacred because white signifies purity, innocence, peace, and simplicity. Make your Ganpati rangoli freehand by taking the rangoli material between your thumb and forefingers and letting it flow freehand. If you are not comfortable freehand, use a mehndi cone or a tube.
Steps 1 to 10 of Ganpati Rangoli Design – Face and Trunk
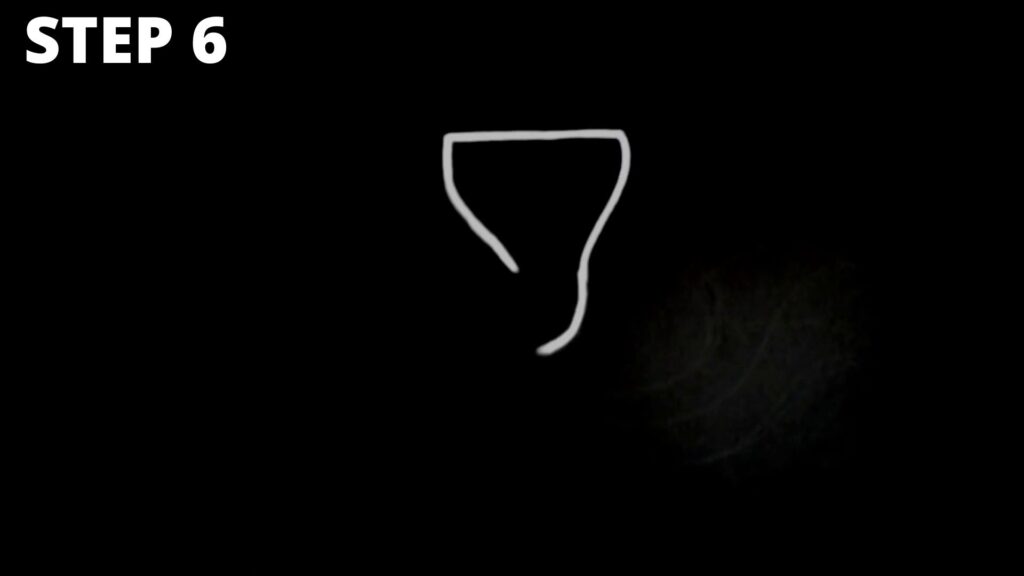
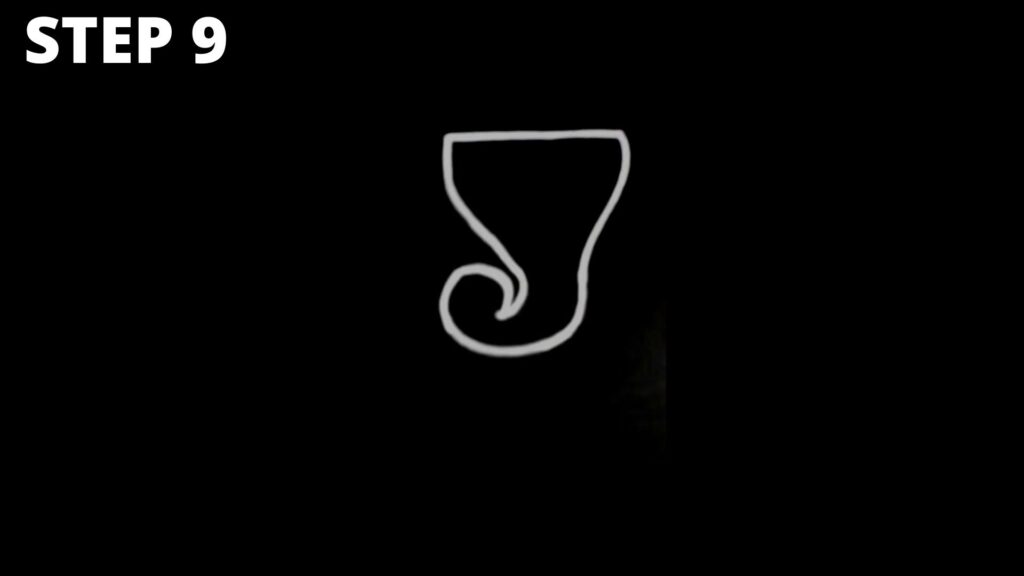
After you have selected the surface to draw this Ganpati rangoli , start drawing it as shown in images of steps 1 to 10. The first 10 steps of drawing this Ganesh Rangoli will involve drawing the outline of the Ganesh Ji’s face and trunk.
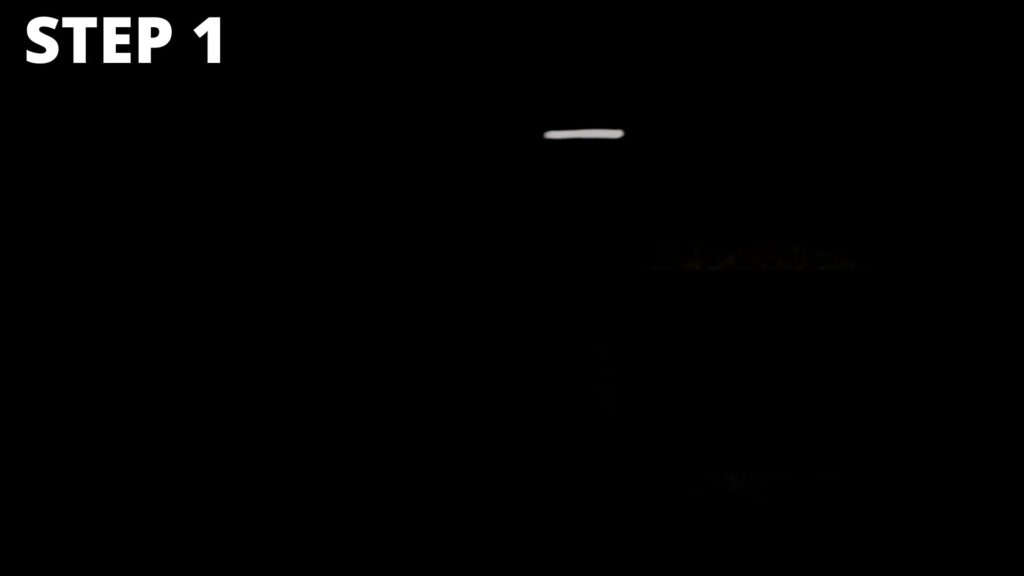

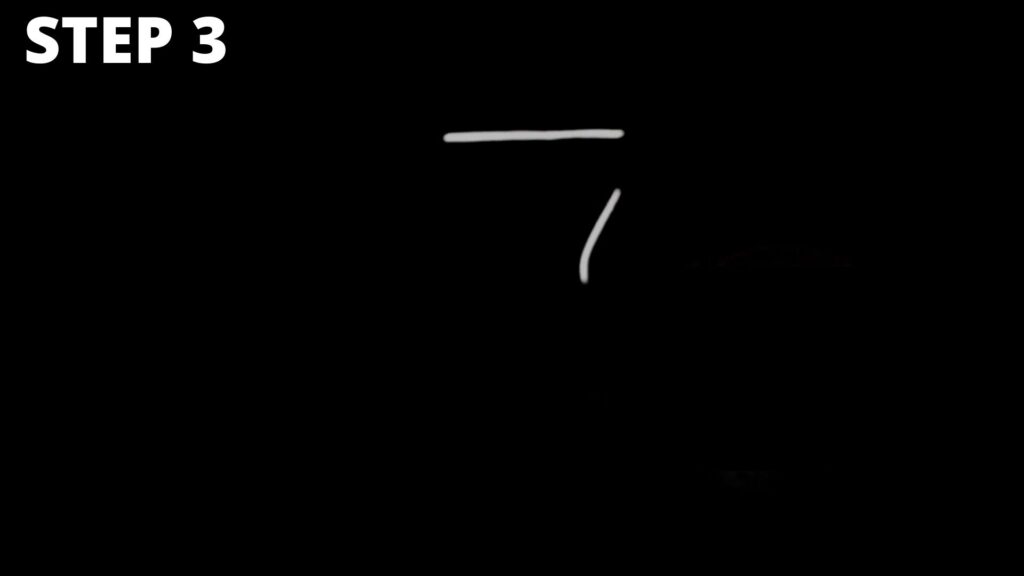




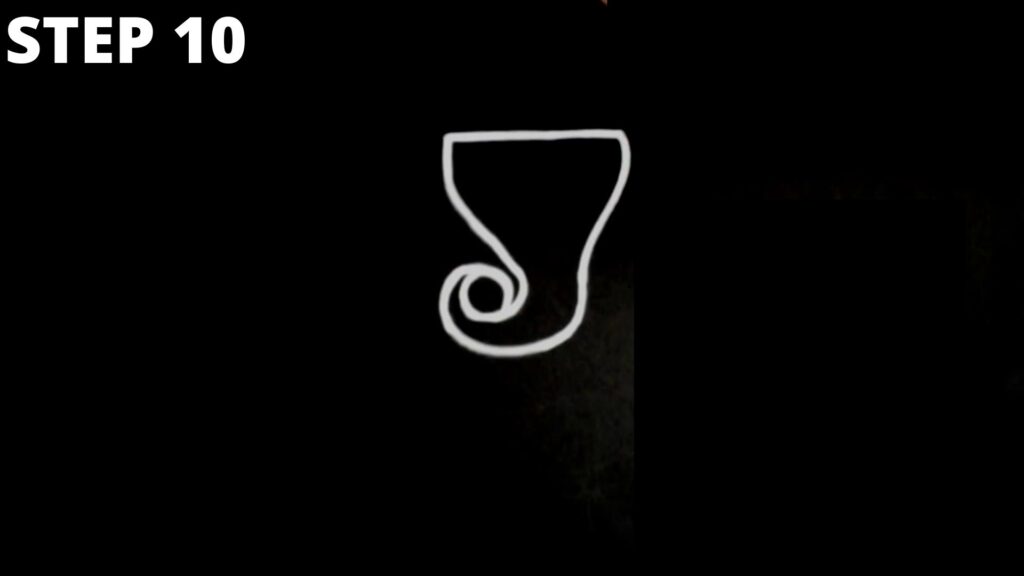
After completing step 10, look at the image that you have drawn; is it looking like our step 10 image? If your answer is in the affirmative, then you have completed the first stage of making this Rangoli. Let’s move to the next stages.
Steps 11 to 21 – Ears and Head
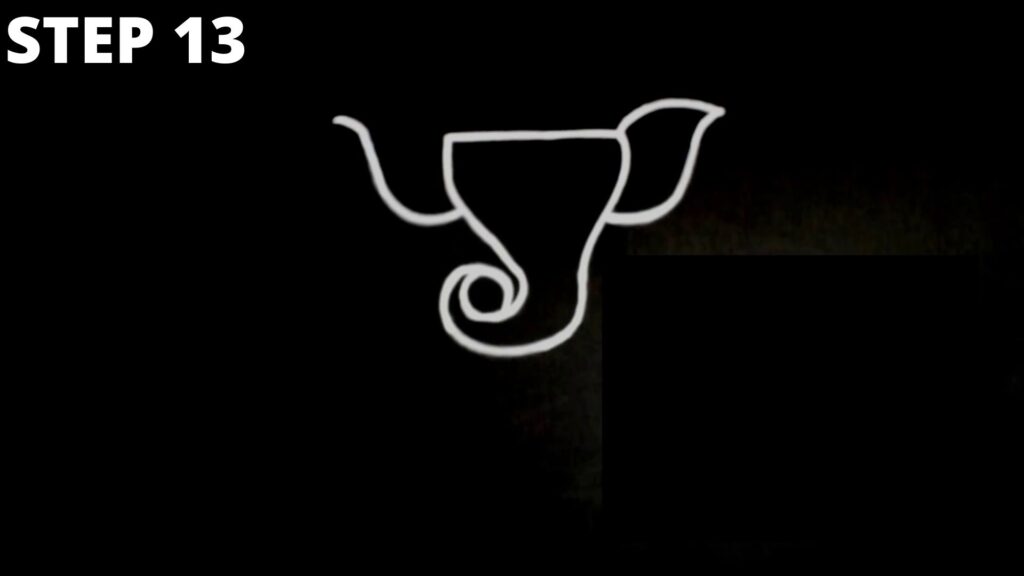
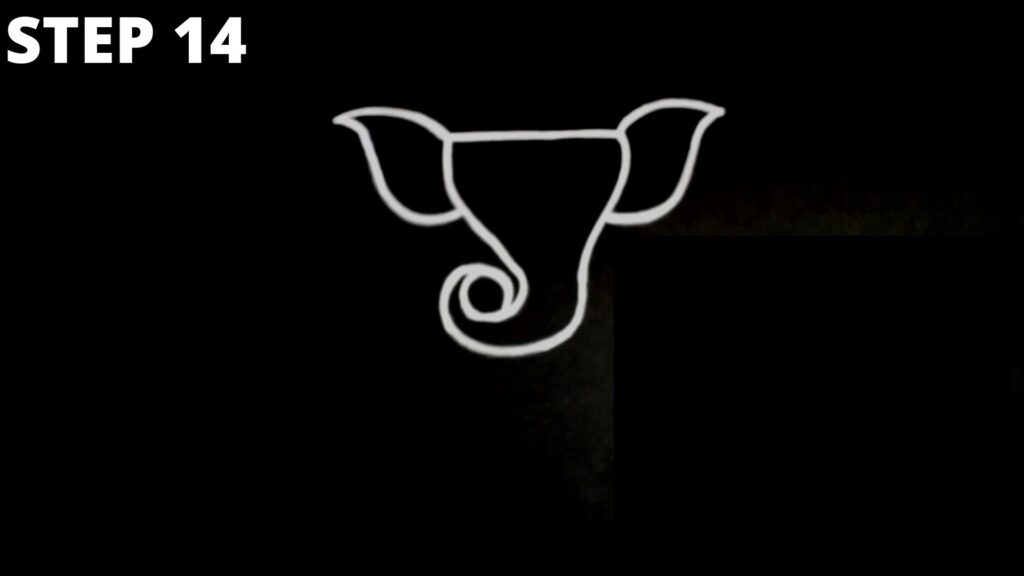
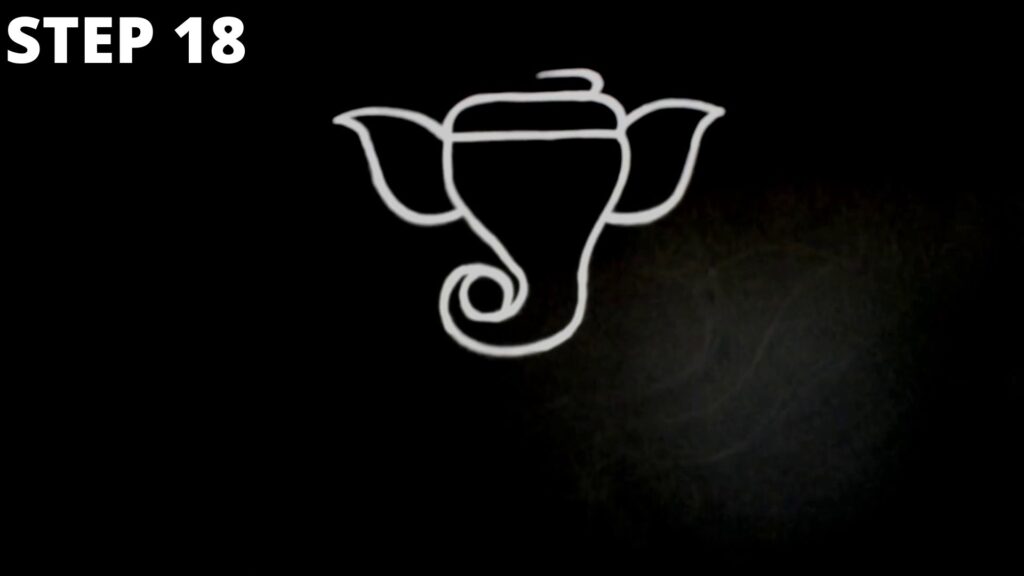
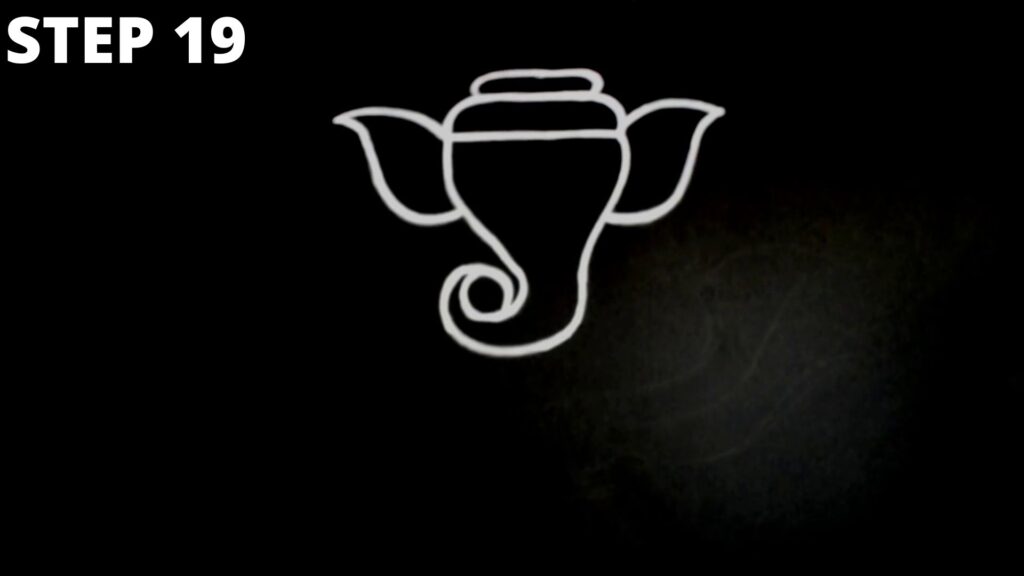
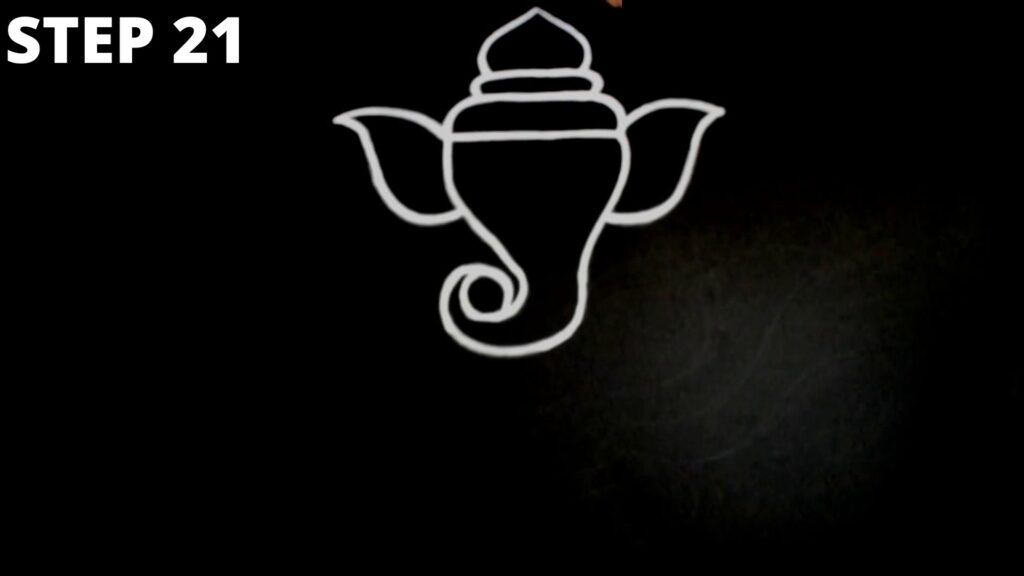
Start from the right or the left side of Ganesh Ji’s face and start drawing the ears first. After you have finished drawing the ears, ensure that your design is matching as seen in the step 14. Steps 15 to 21 will involve 7 simple steps to draw the head of our Ganesh rangoli.





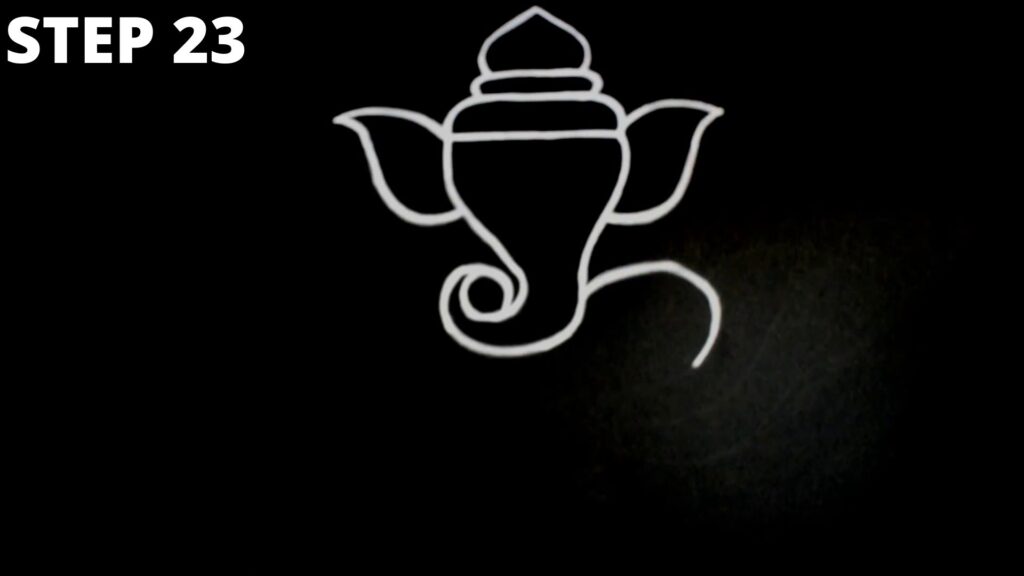
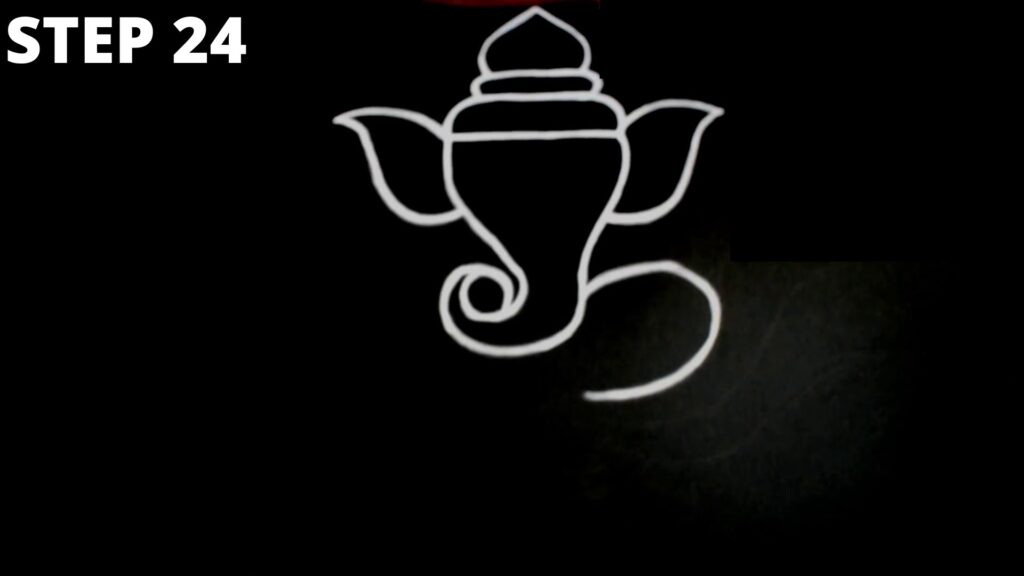
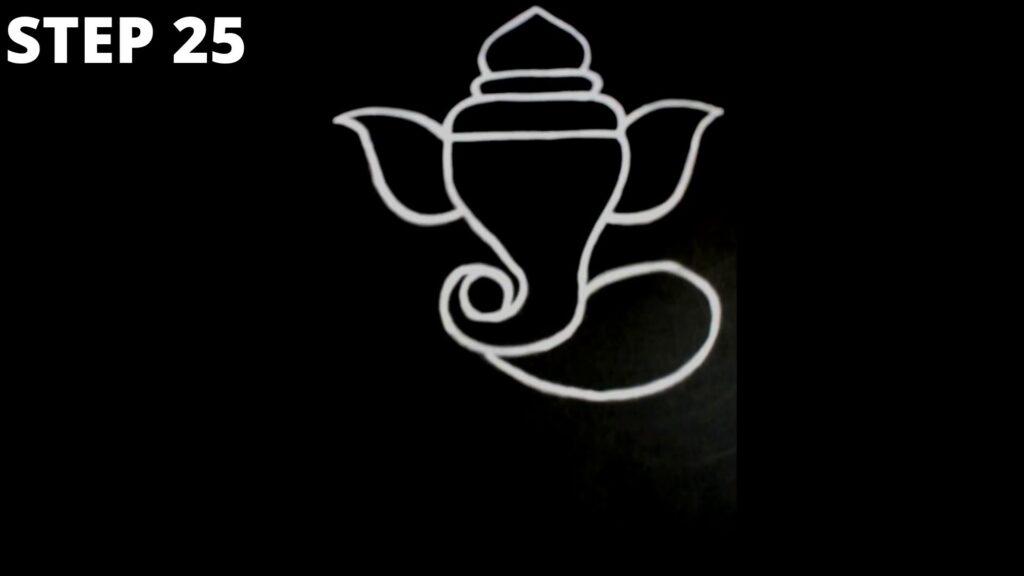
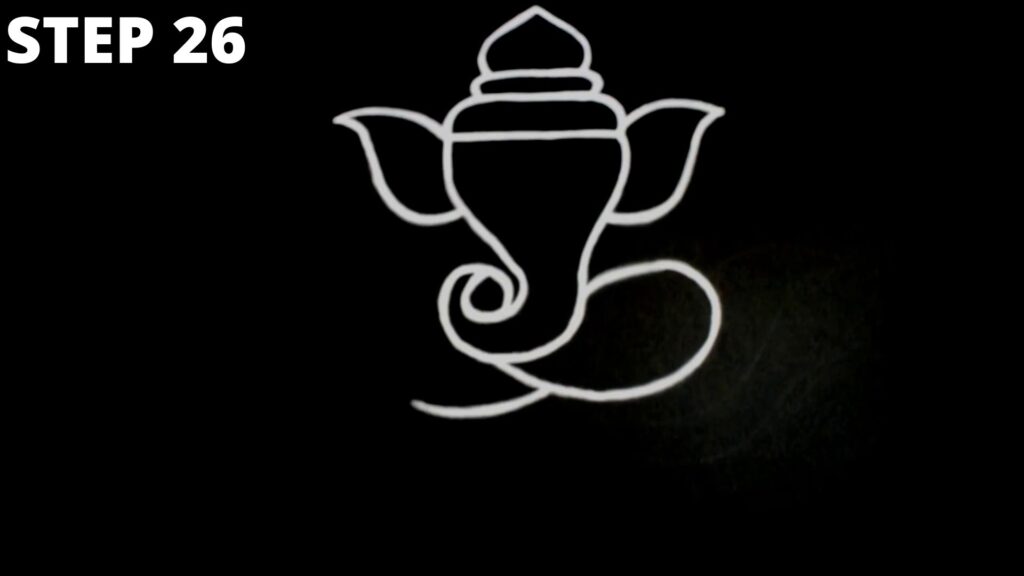
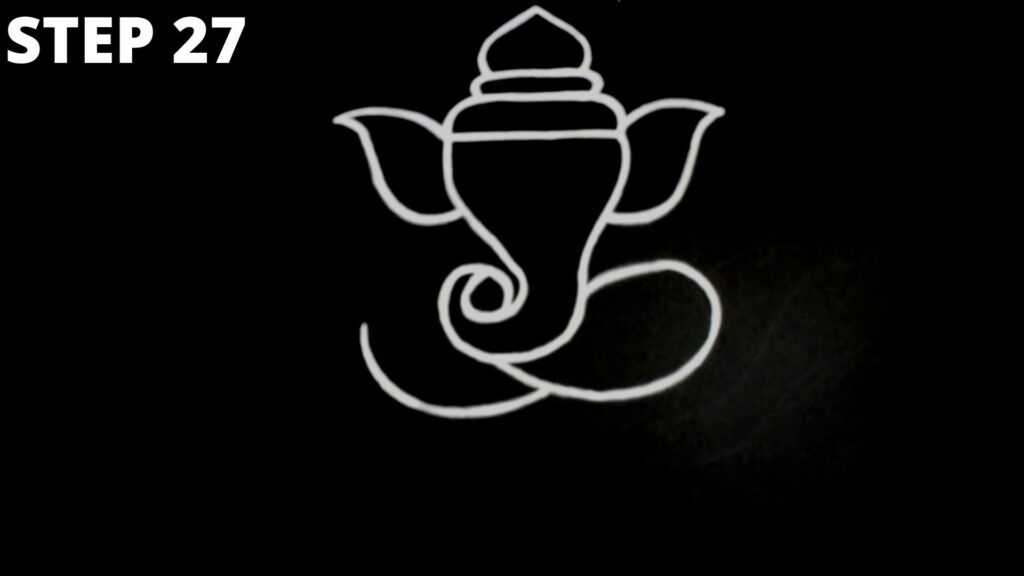
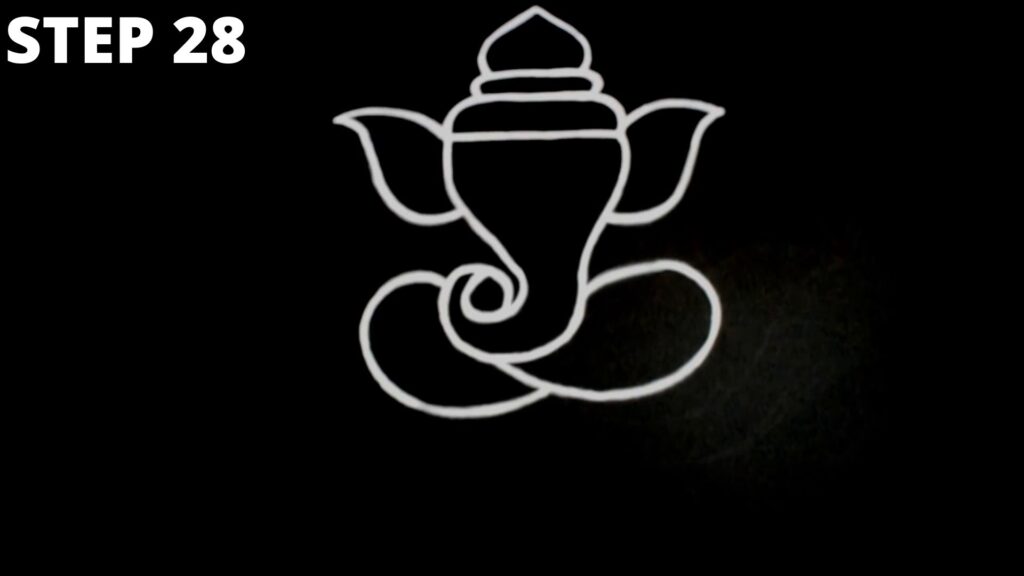
Steps 22 to 28 – Neck
Draw the neck of Ganesh rangoli as shown in 7 simple steps from 22 to 28.

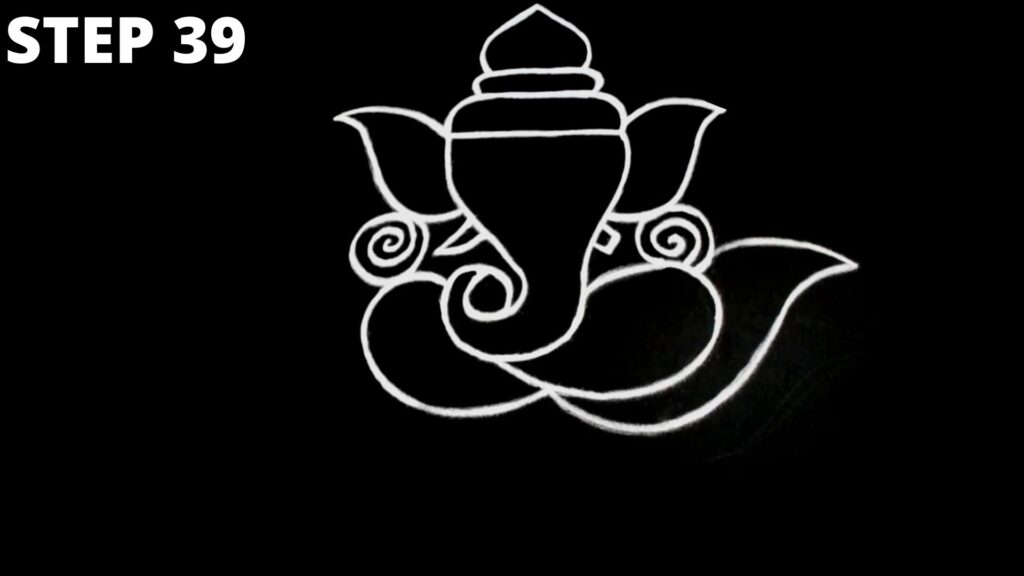
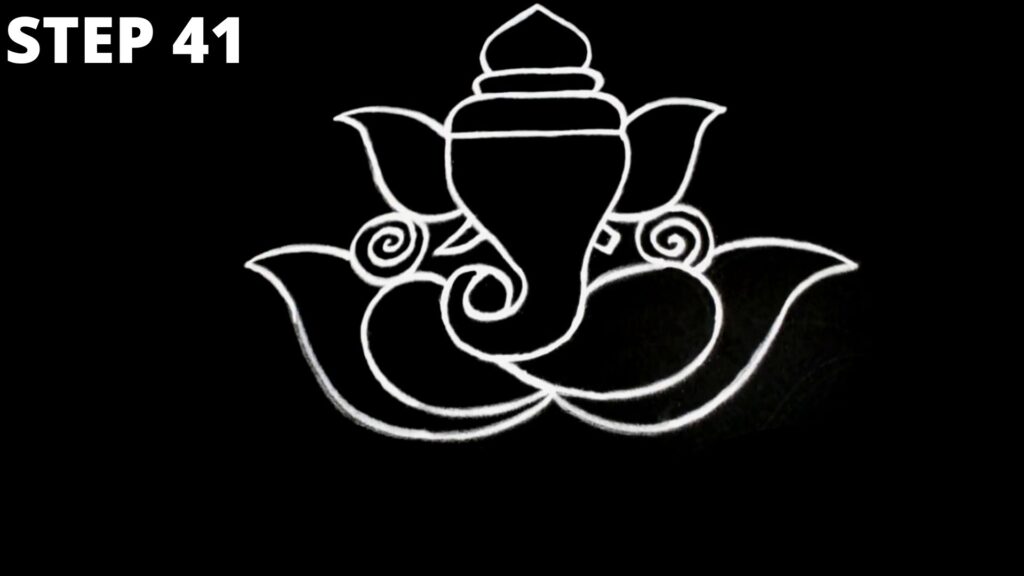
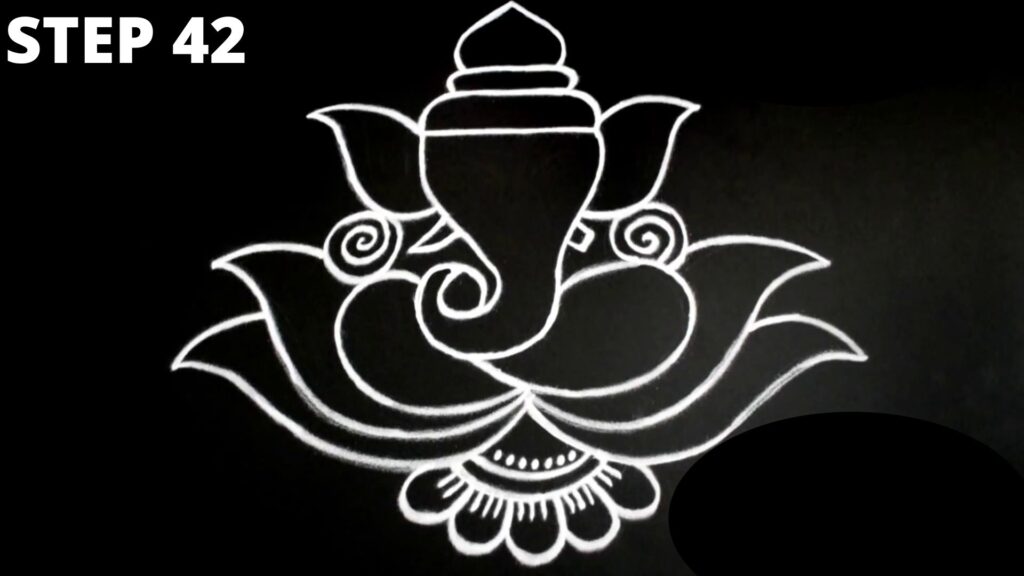
Steps 29 to 42 – Tusk, Half Tusk, and the Trunk
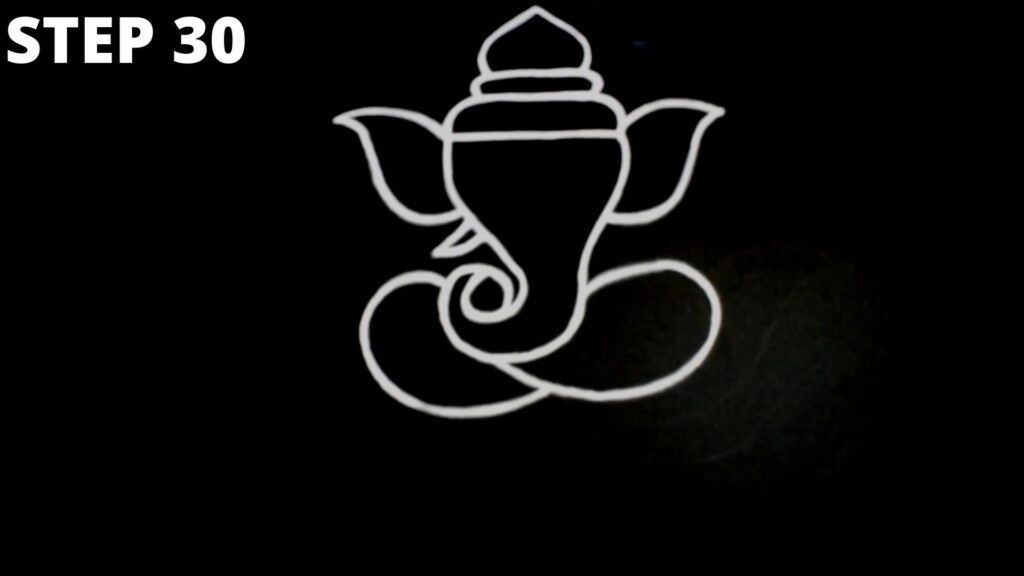
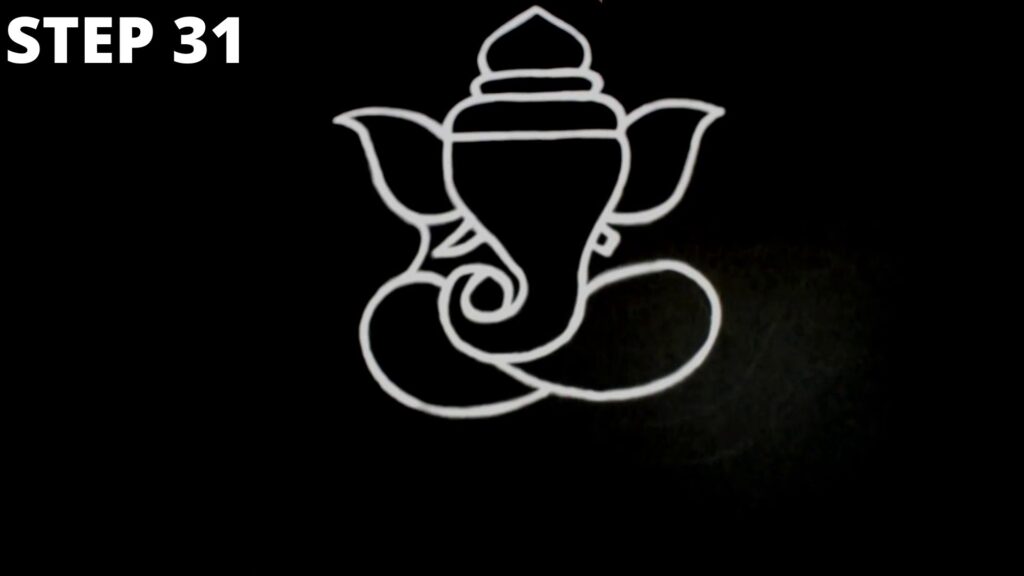
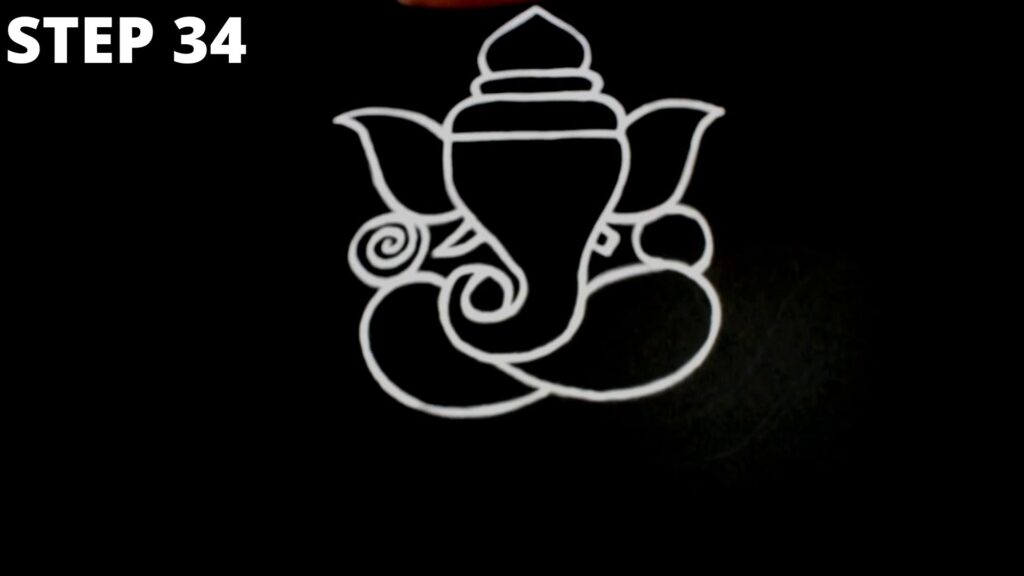
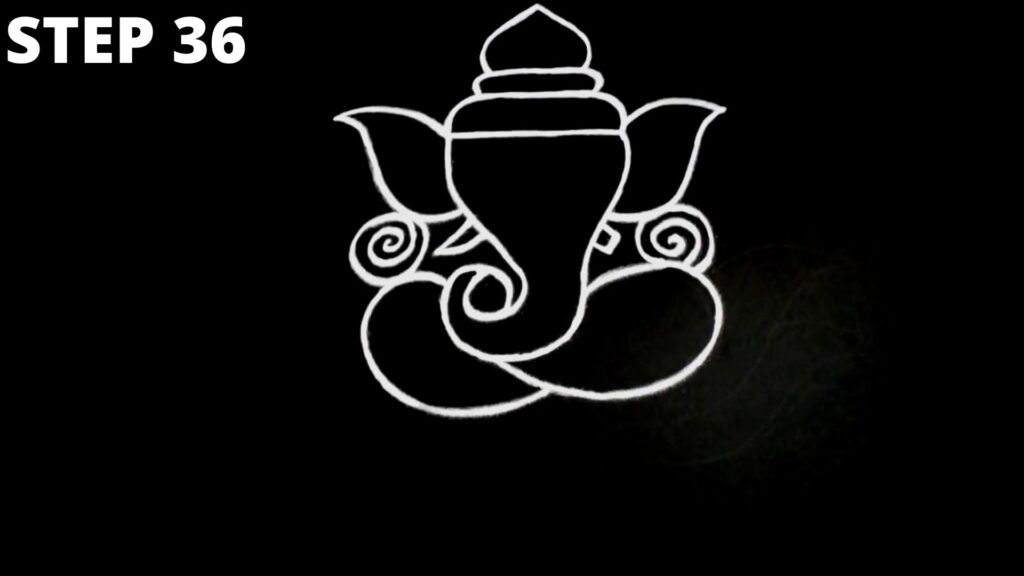
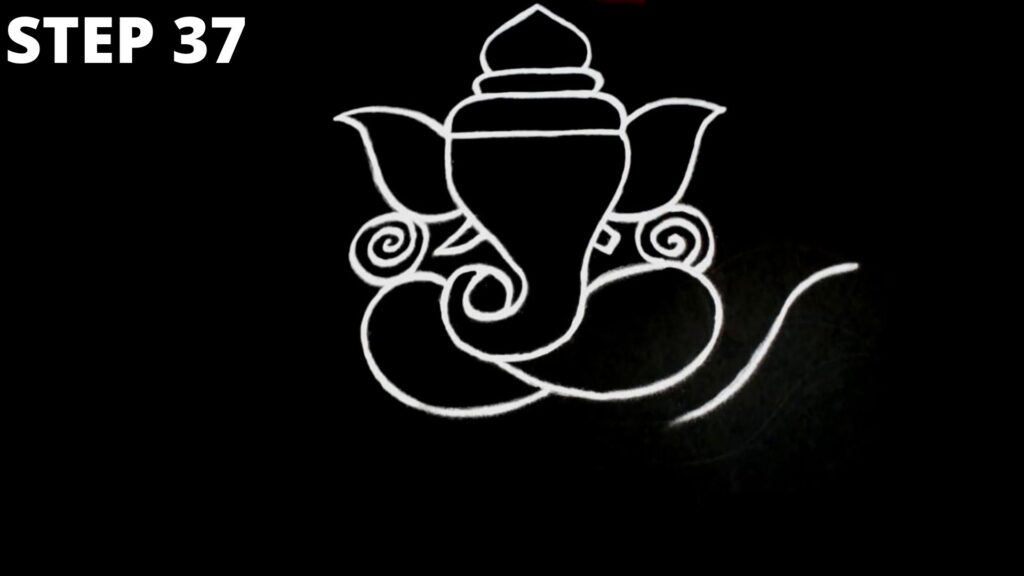
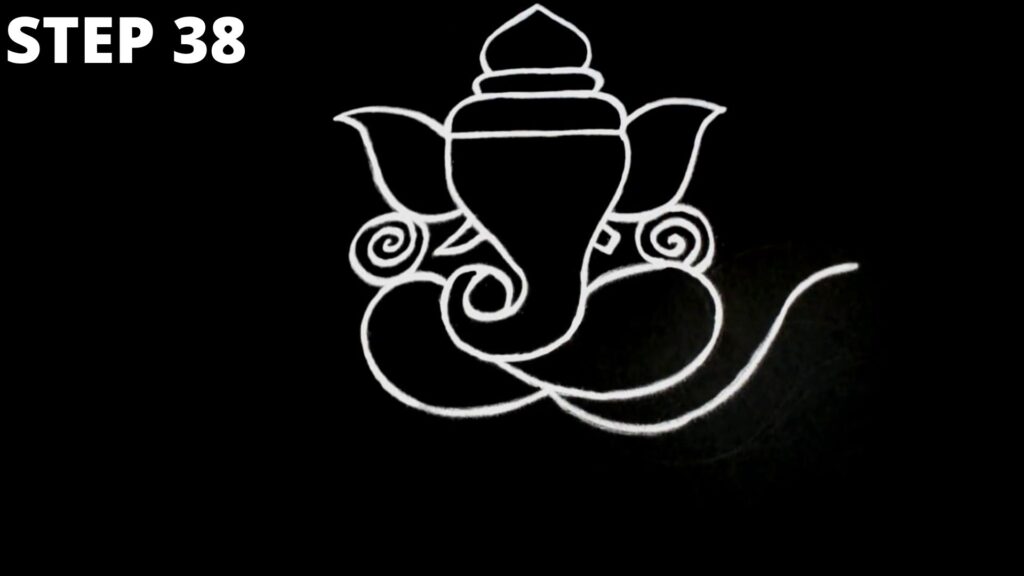
In steps 29 to 42 of this rangoli, we will start drawing the left tusk and right half tusk of Ganesha, as well as the arms. Compare your rangoli design with our design as shown in stage 42. If it matches, you are good to go ahead.





Story behind Ganpati’s half-tusk
You might have noticed Ganpati’s half tusk. There is an interesting legend behind this. While Ganesh Ji was writing the Mahabharata, the feather he was using to write it down broke in between. Veda Vyasa who was dictating the Mahabharata did not stop. Therefore, in order to keep up with the flow of Veda Vyasa’s dictation, Ganesh Ji broke his left tusk and continued writing down the Mahabharata.
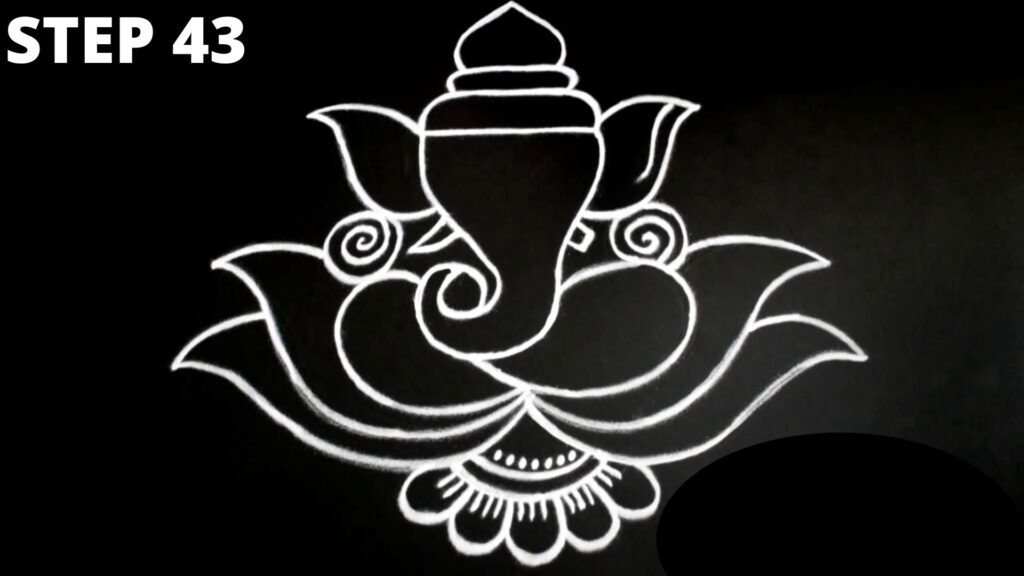
Steps 43 to 63 – Finer Details
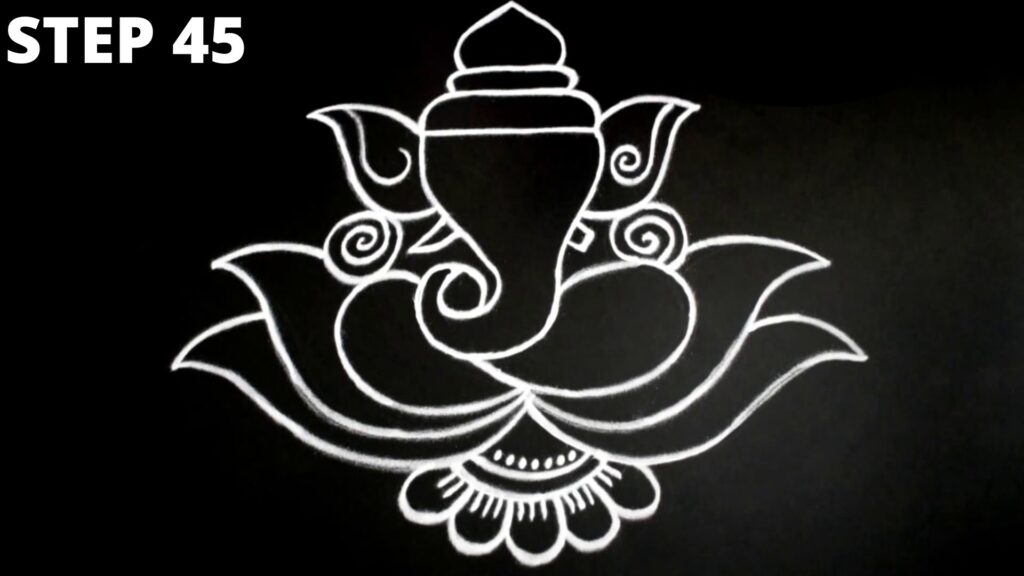
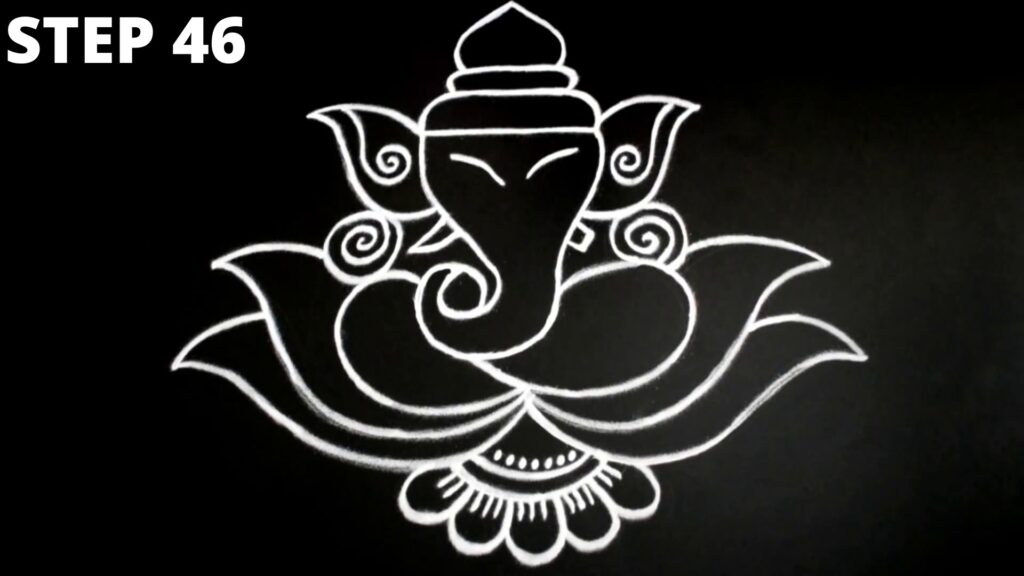
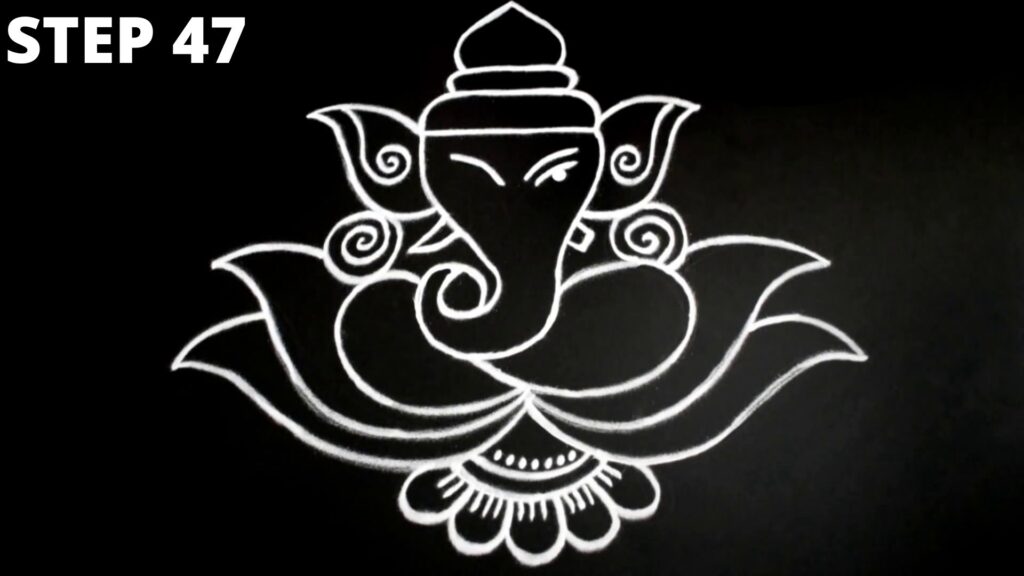
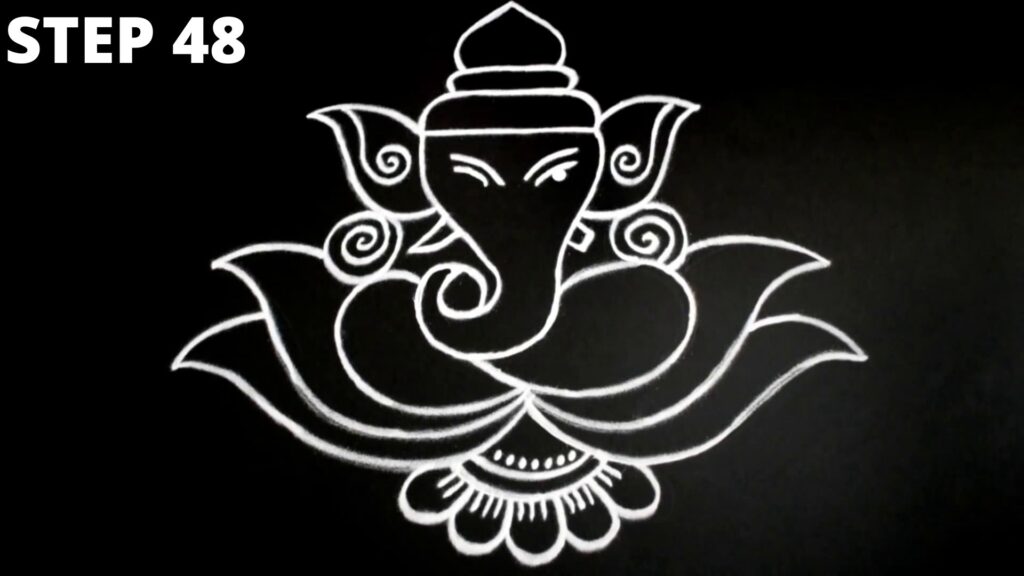
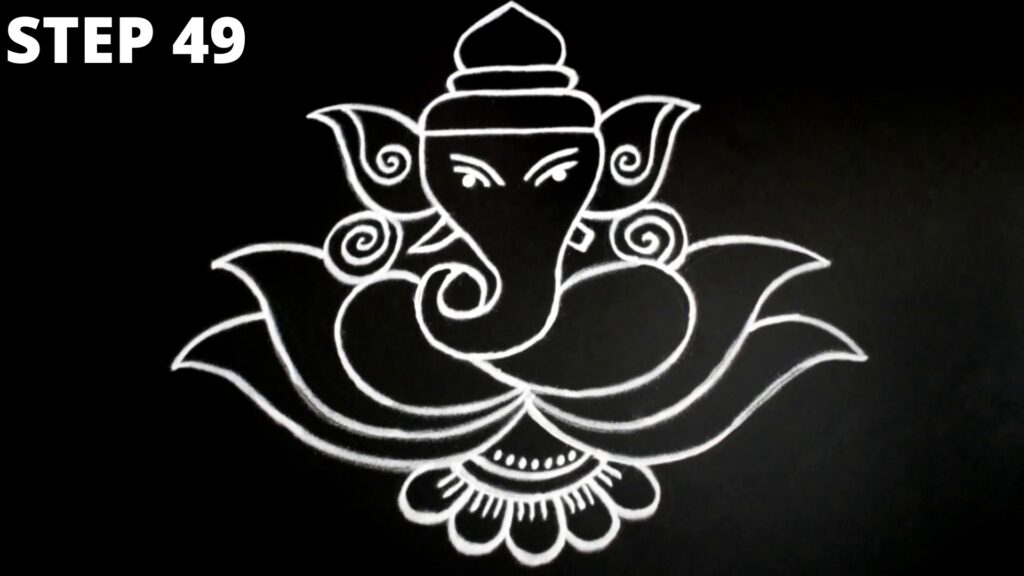
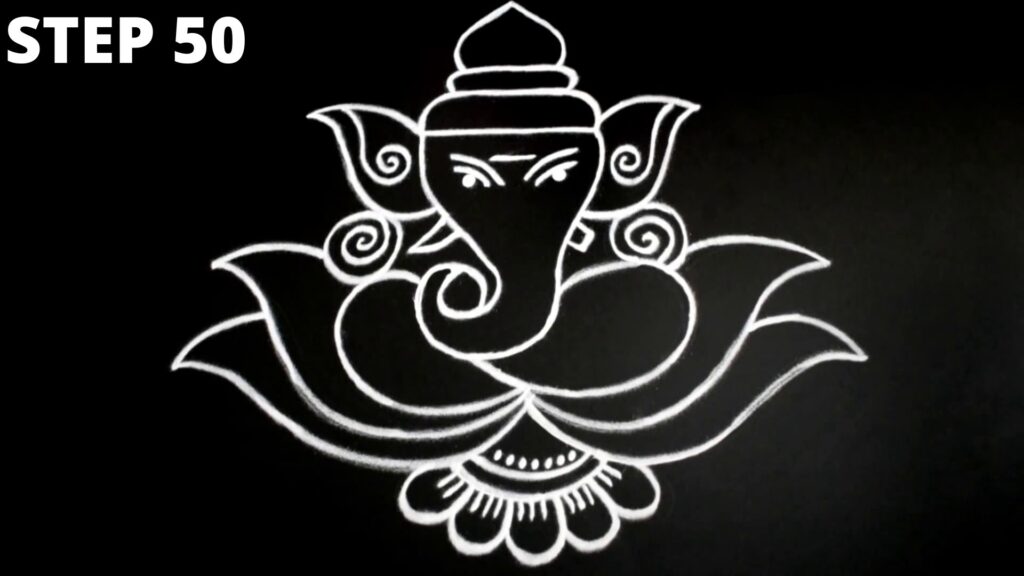
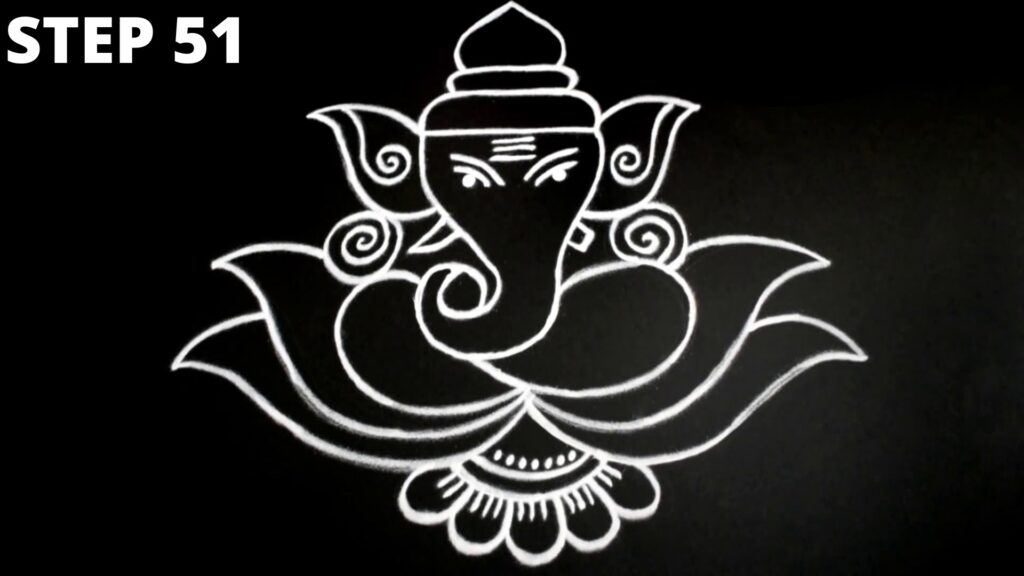
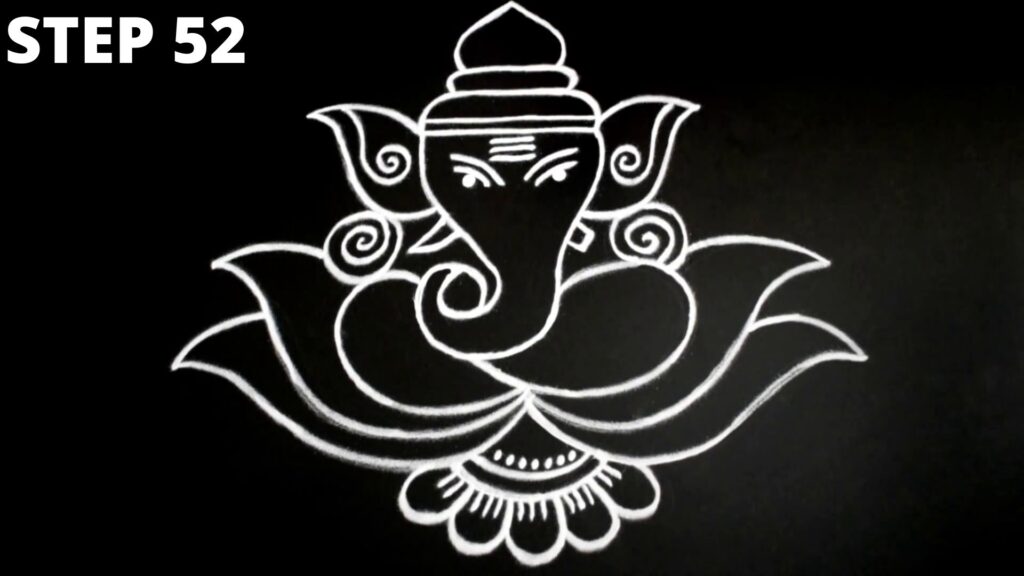
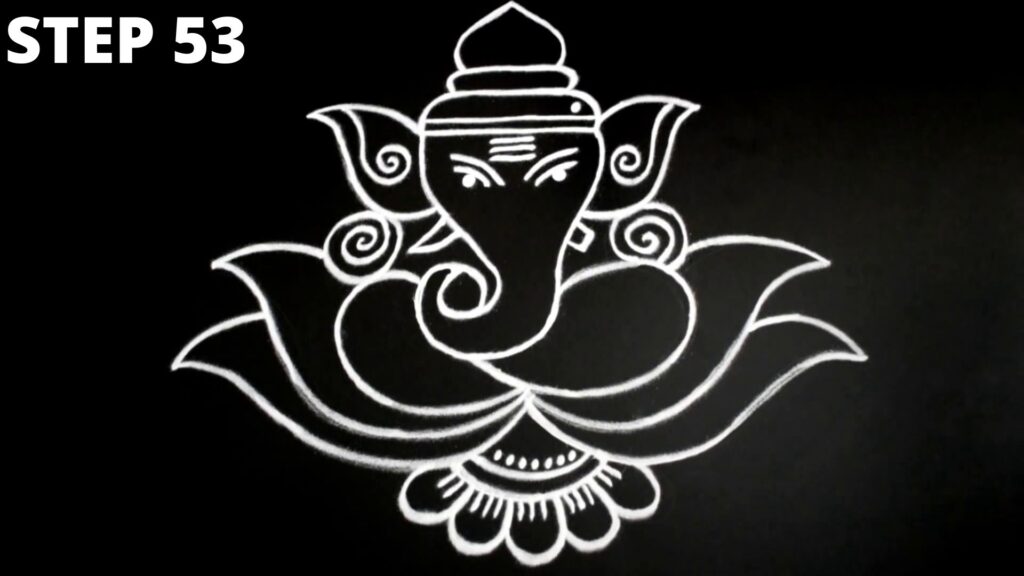
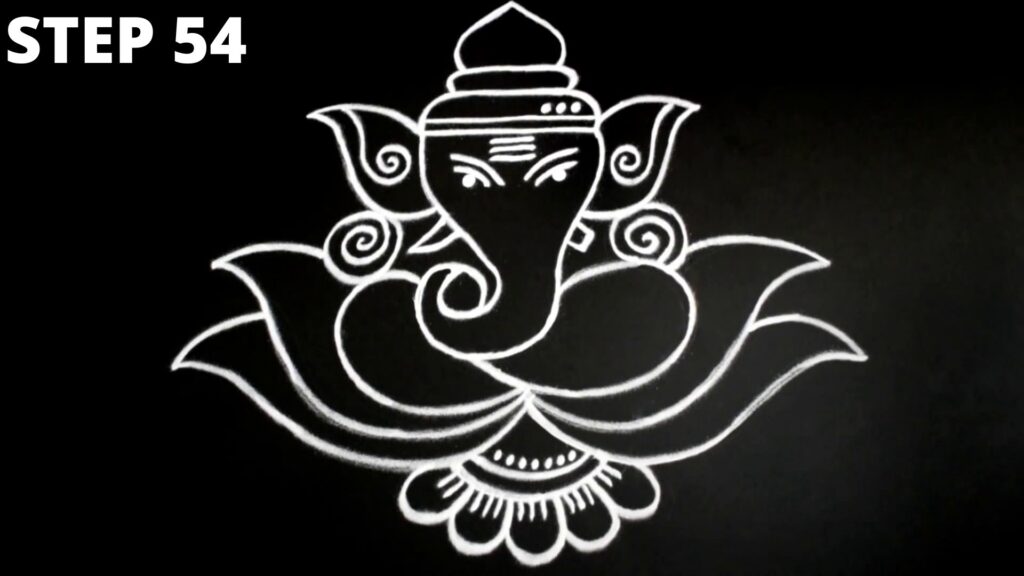
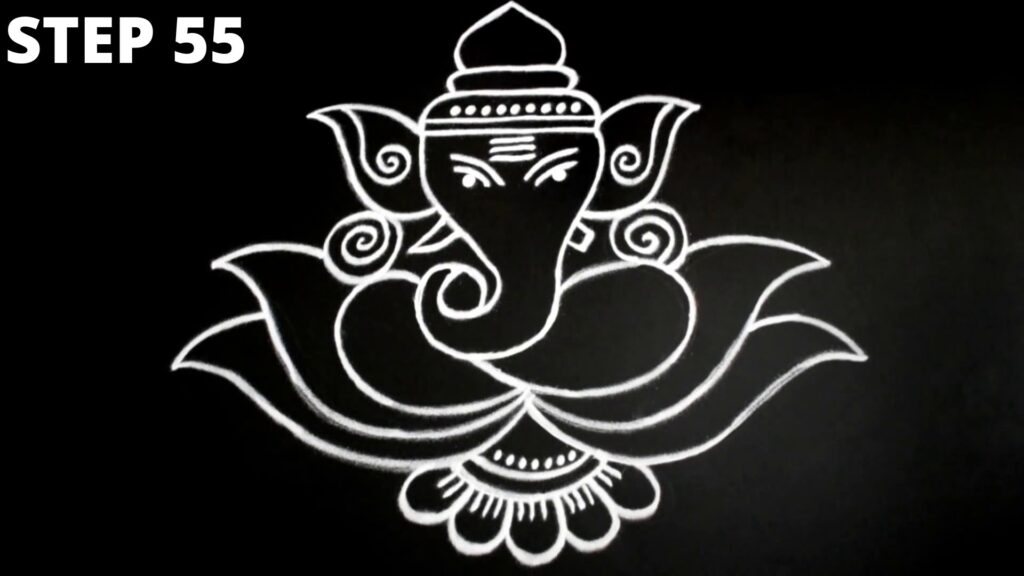
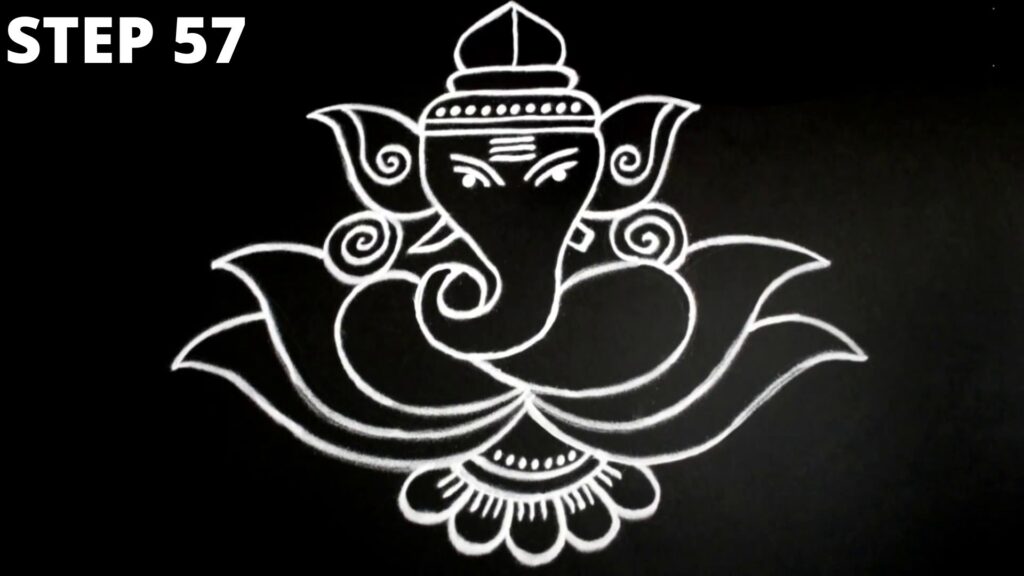
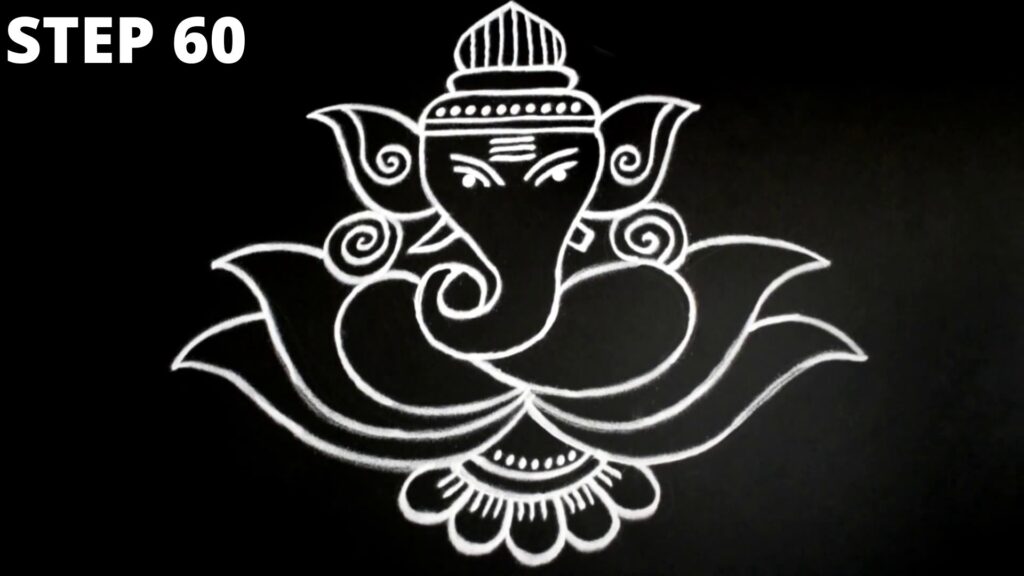
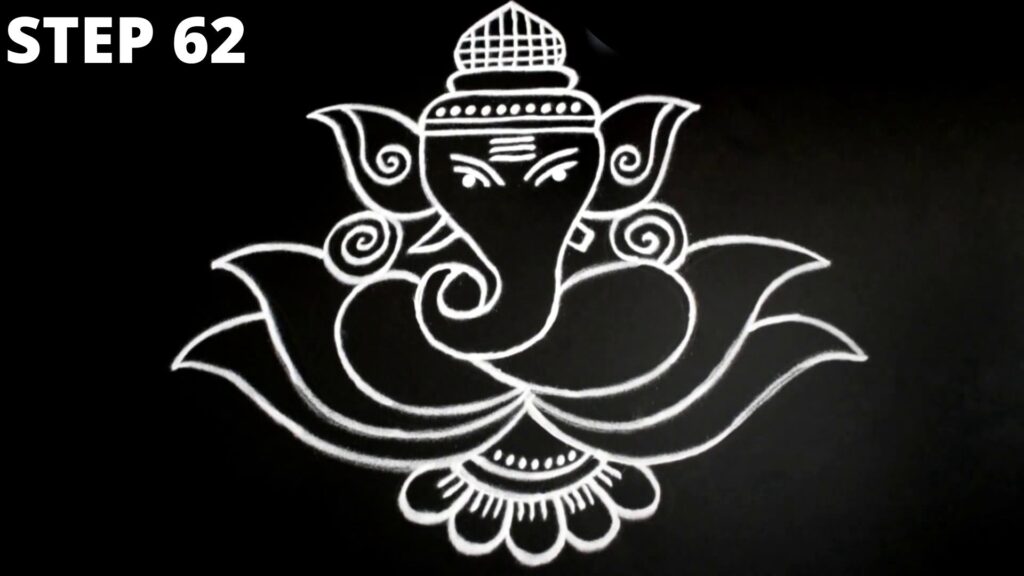
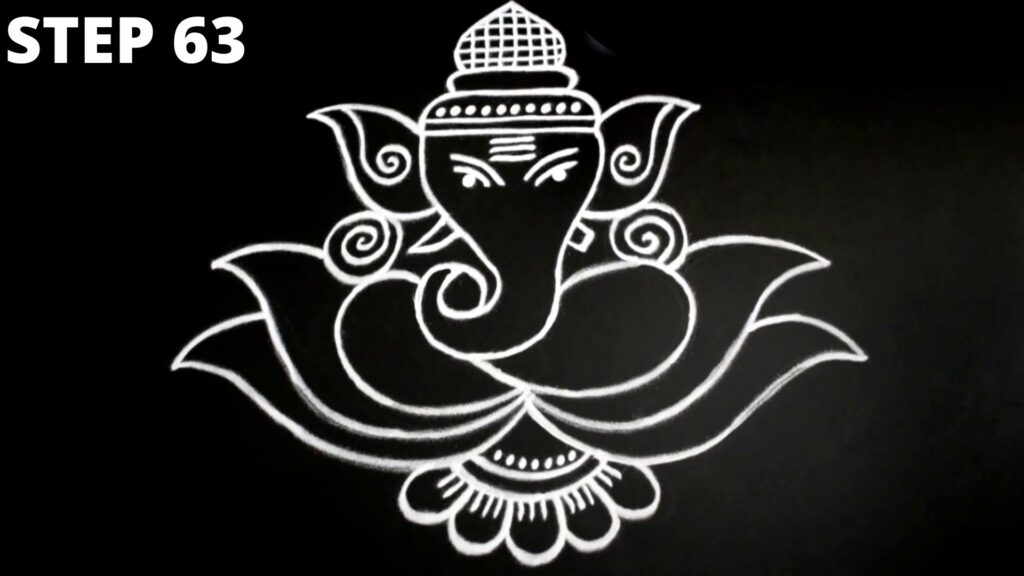
By now you have completed drawing the outline of Ganesh Ji’s face and trunk. In steps 43 to 63, we will add finer details to Ganesh JI’s ears, eyes, and the head. Follow the steps as shown in the images of steps 43 to 63.





Steps 64 to 74 of Simple Ganesh Rangoli – Final Stage
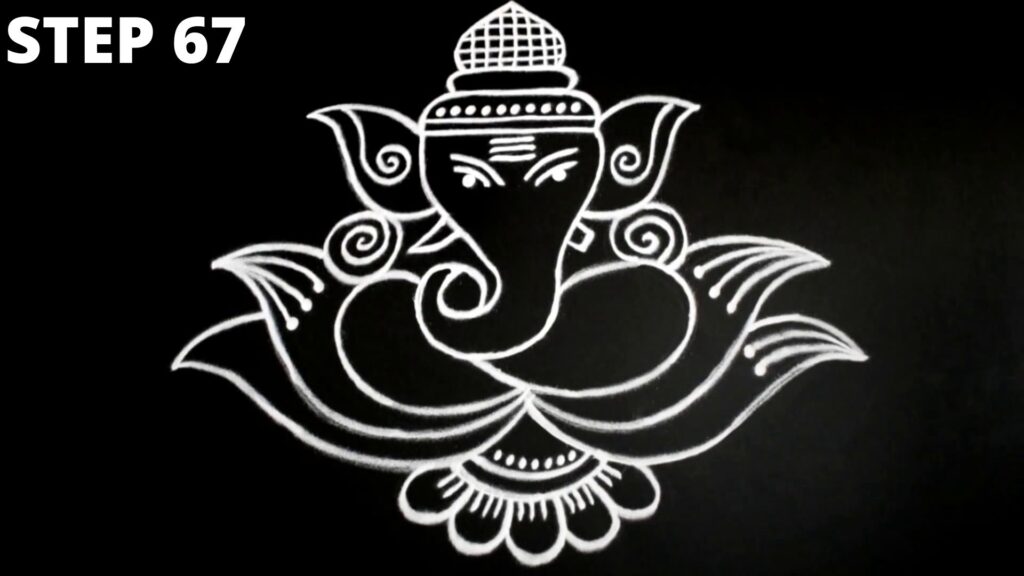
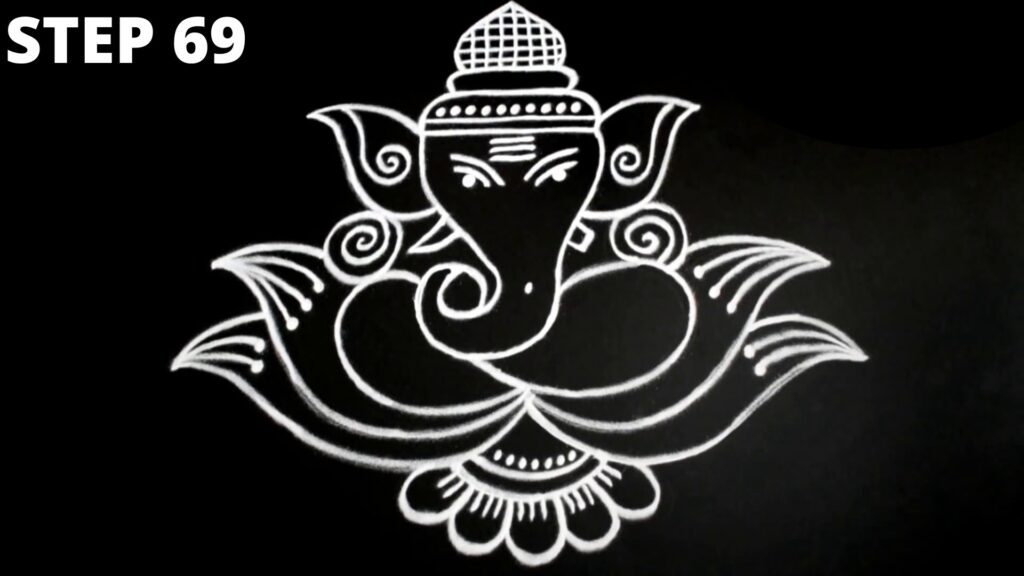
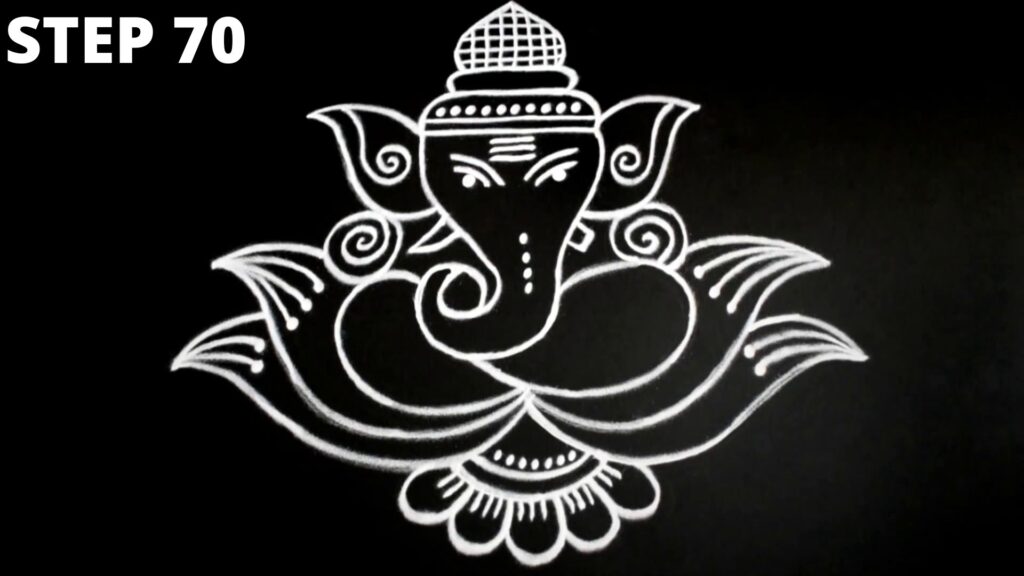
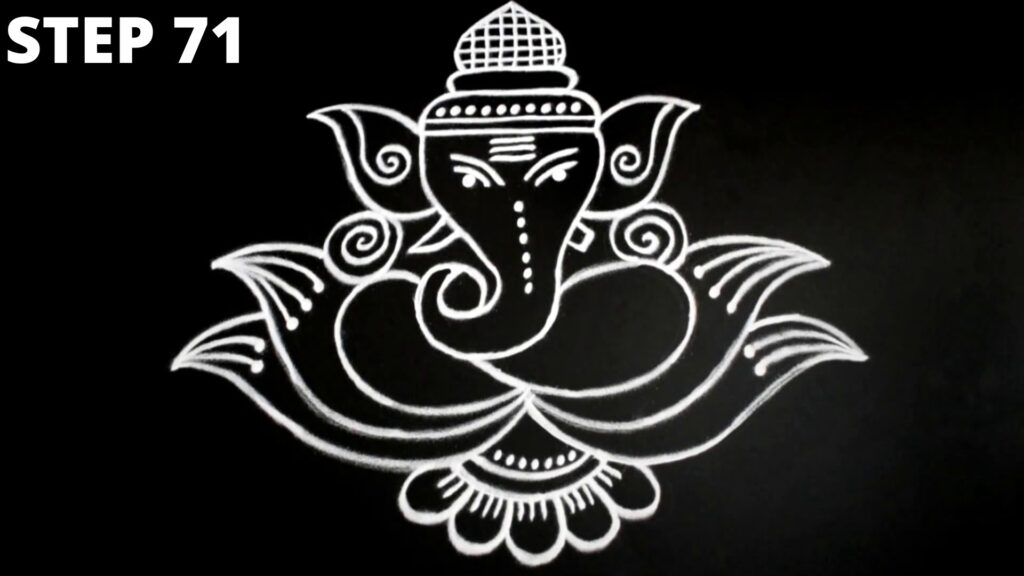
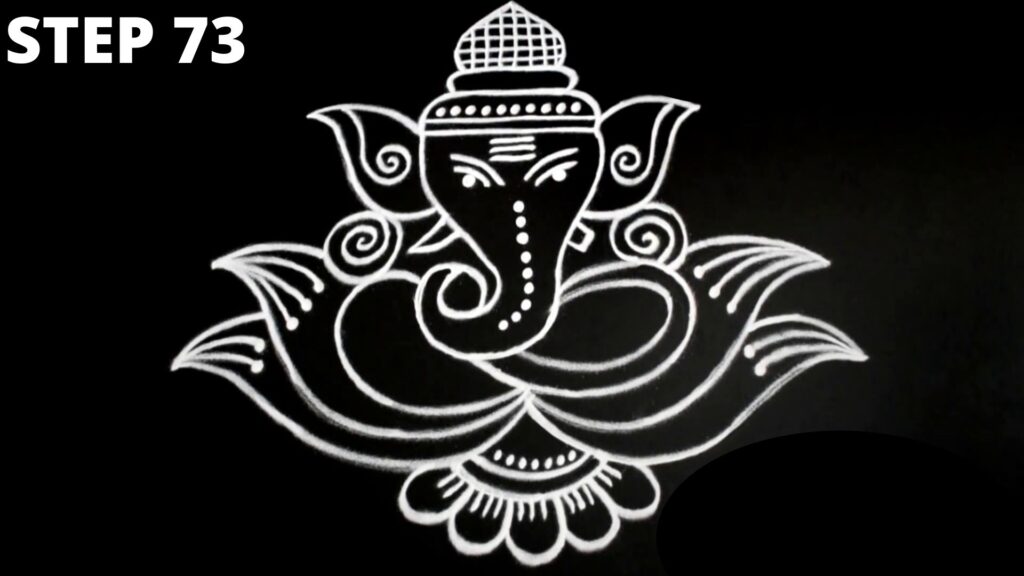
As shown in steps 64 to 74 of this rangoli, we will start decorating Ganesh Ji’s arms and the trunk with simple curved lines and dots on the trunk. Step 74 is the final step.





Final Design
Here is the final image of Ganpati rangoli design. You can decorate this rangoli with various colours.
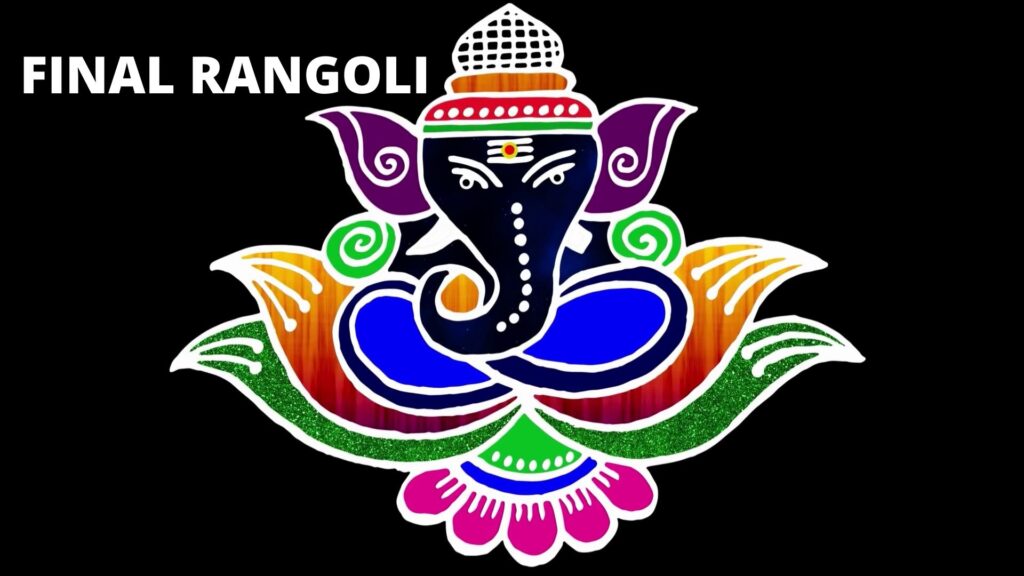
We hope you liked the presentation and enjoyed designing this simple Ganesh Rangoli.
How to make rangoli coloured powder at home?
You can either buy readymade rangoli powder from the market or you can make it on your own. Traditionally women used household items from the kitchen to make rangoli/muggulu/kolam designs. Using household items, such as rice flour powder, haldi, Kumkum, gulal, spices, grains, for rangoli designing is considered auspicious.
You can use either the rice flour or salt to make the rangoli coloured powder. Take rice flour or salt in a container with lid. Add food colour and vinegar to it. Cover the container with lid and shake it well until the blend gets mixed up well. Finally spread the mixture on a clean cloth or a newspaper and let it dry.

