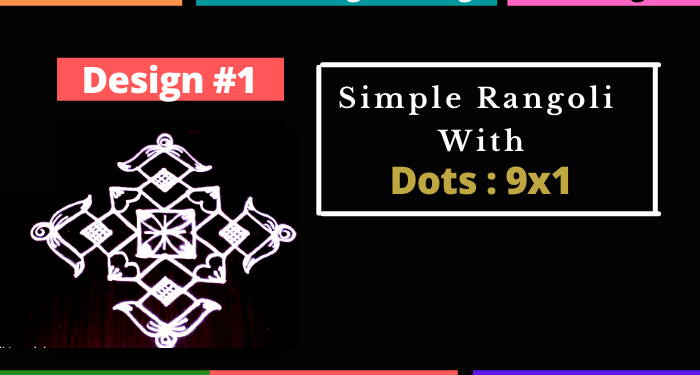
Simple Rangoli Designs with Dots (9-1 Dot Grid) – Design #1
Simple rangoli designs with dots are basically drawn around a specific dot pattern. Today’s design is based on a 9-1 dot pattern.

Even if you are a beginner and with a very low skill level, by following these simple steps mentioned below in the article, you shall be able to make a special rangoli design with dots for your house.
Before we start, here are a few points to remember.
Materials Required to Make Rangoli
Use white Kolam powder to make these rangoli designs, and finally after you have finished drawing, you can always decorate your rangoli design with rangoli coloured powder, kumkum, haldi powder, flowers, petals, diyas, pot-lanterns, spices, grains, cereals, etc.
Before you start making your rangoli, finalize the surface where your want to make it. Clean it with wet cloth.
To know more about the materials required to make a simple rangoli design, also read our previous article 8 Steps to Make an Easy and Simple Rangoli Design.
Rangoli with Dots (9×1) – Step by Step
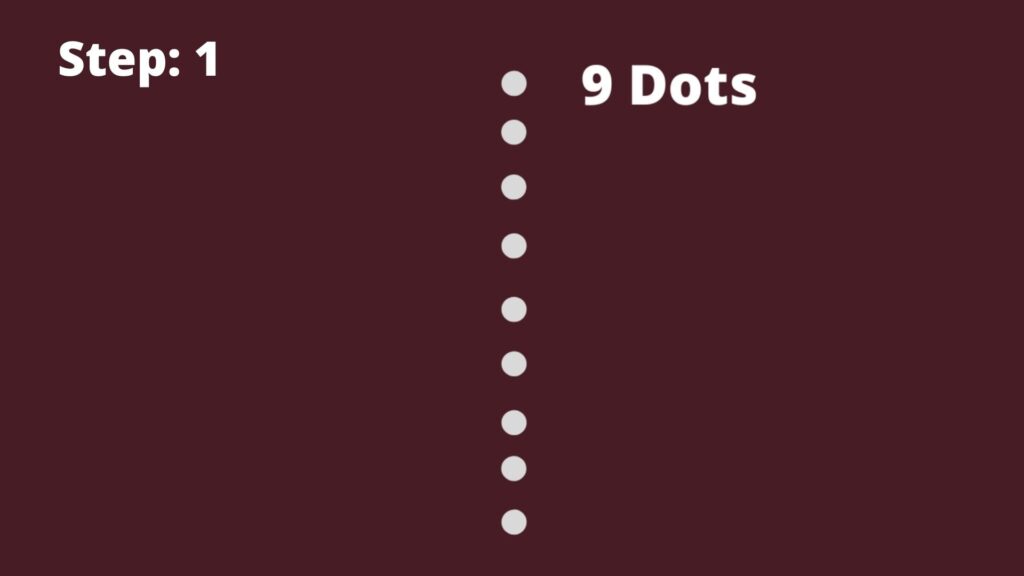
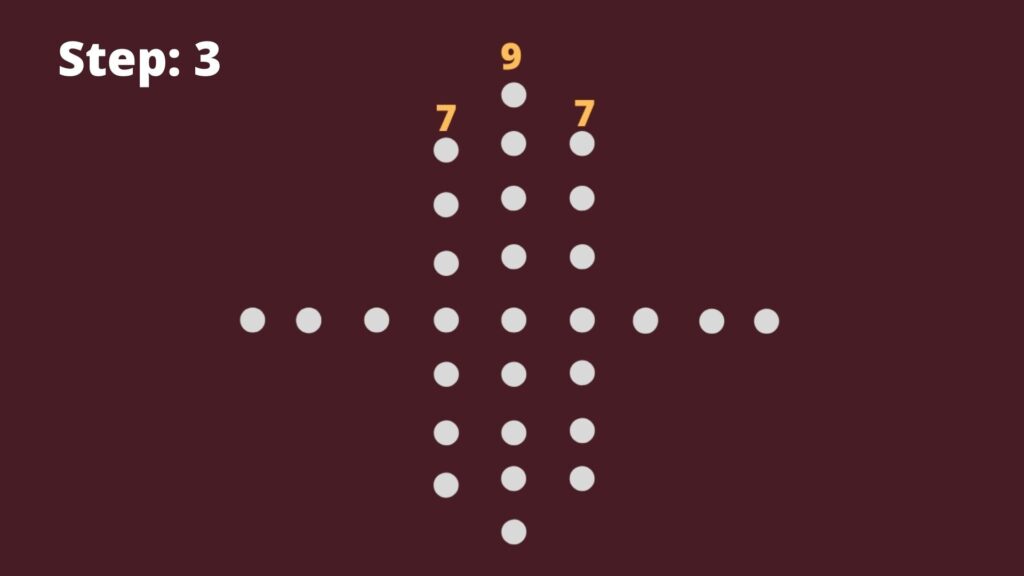
Step 1 to 6: Preparing the 9-1 Dot Grid
This is a 9 to 1 dot simple rangoli design. You will start with drawing 9 vertical dots as shown in step 1. Check step 2 and make another 8 dots as shown in the picture. As shown in Steps 3, 4, and 5, follow the making of dot grid for simple rangoli design.


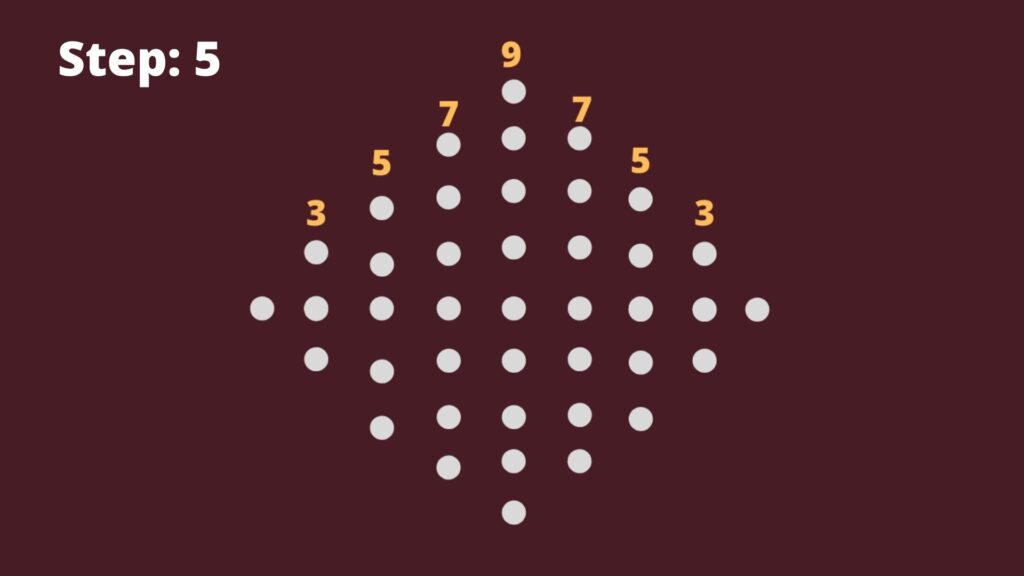
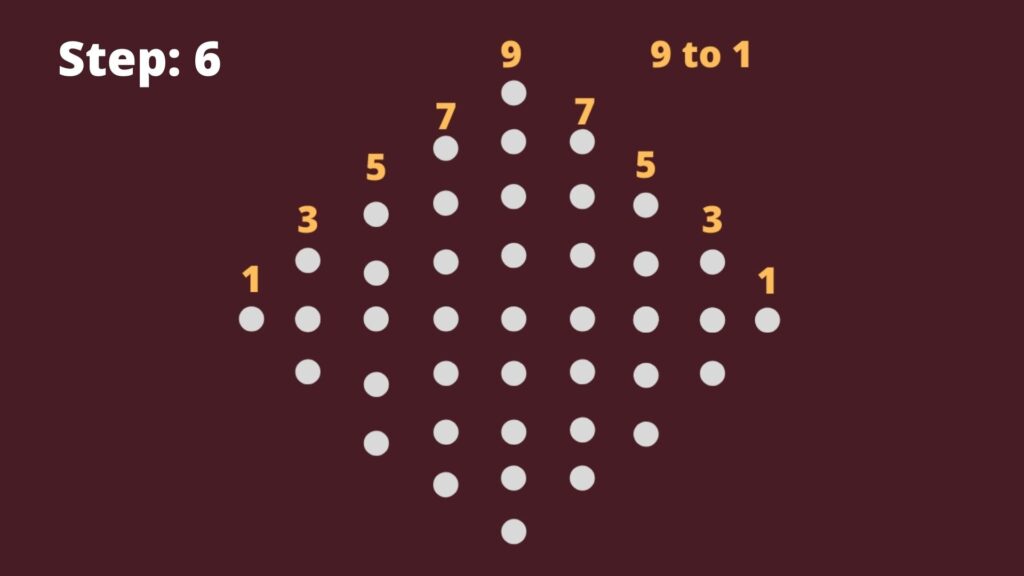

After you have finished steps 1 to 6, the final rangoli dot grid will look like above.
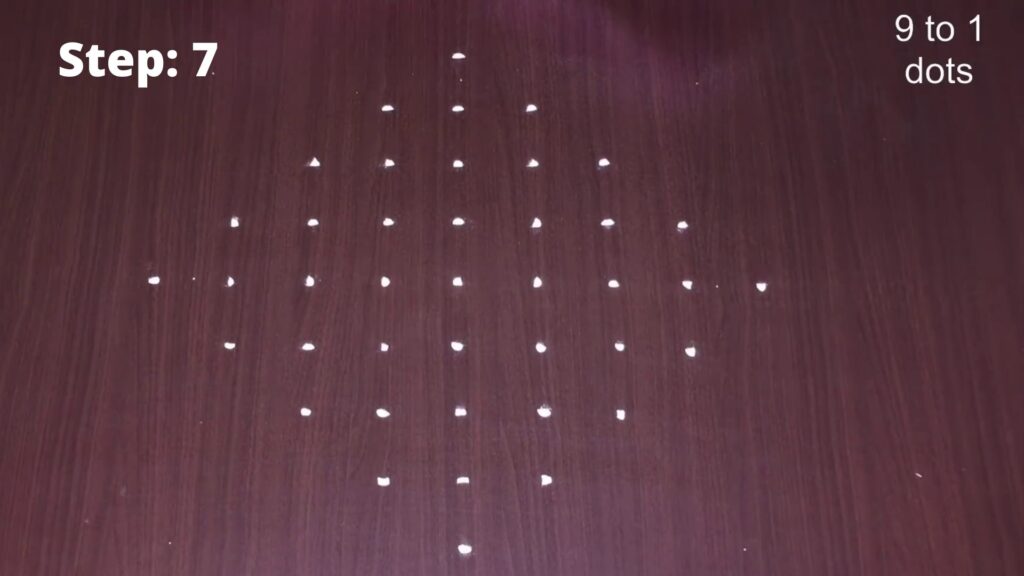
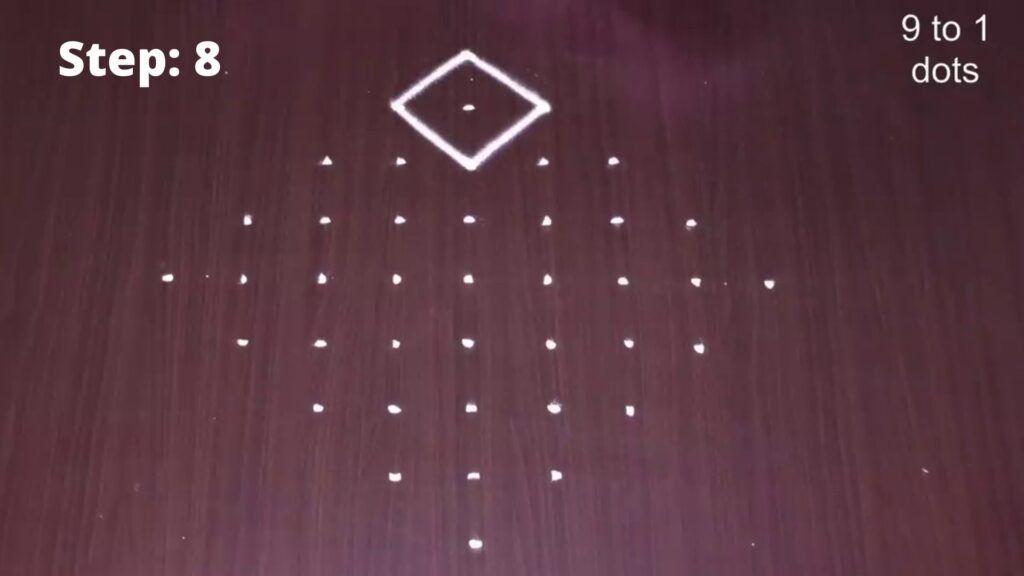
Steps 7 to 13: Beginning with the Rangoli – Design #1
Now that the 9-1 rangoli dot grid is ready, we will start by steps 7 to 18 of making simple rangoli design. Start by making a square in the dot grid as shown in Step 8 image. The images below are self-explanatory and very easy to understand. Keep following the dots as shown in the images until you reach Step 13.

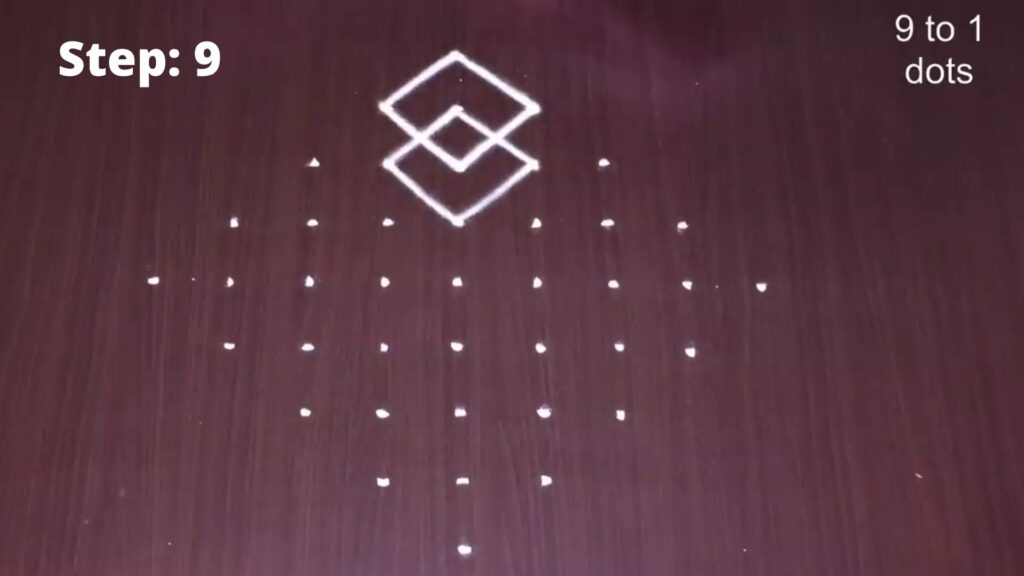
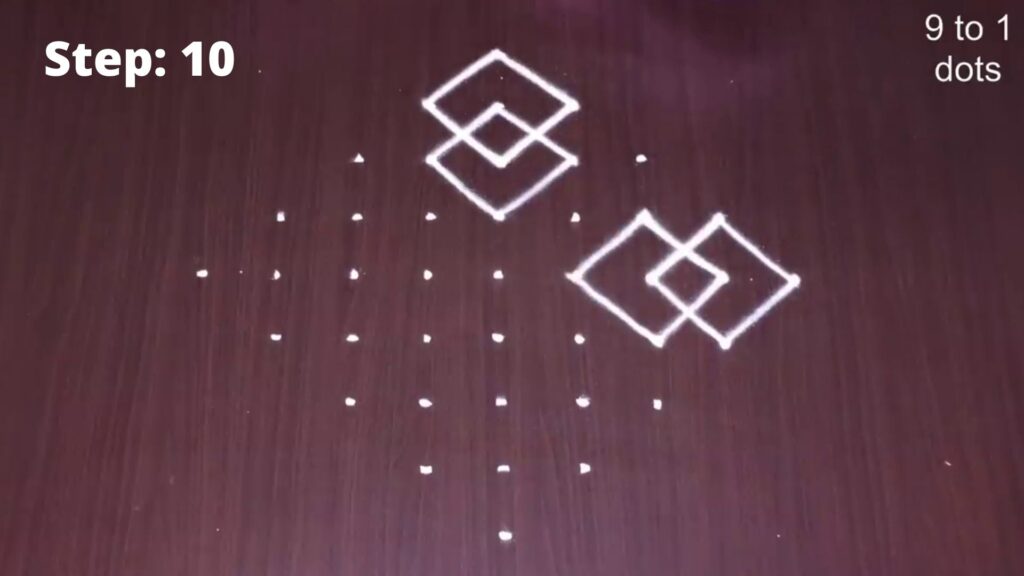


Now by Step 13, you can see that your rangoli design has started to take shape. Wasn’t it just too easy? Well, now that you are happy with Step 13, it’s time to move ahead with our rangoli design with dots.
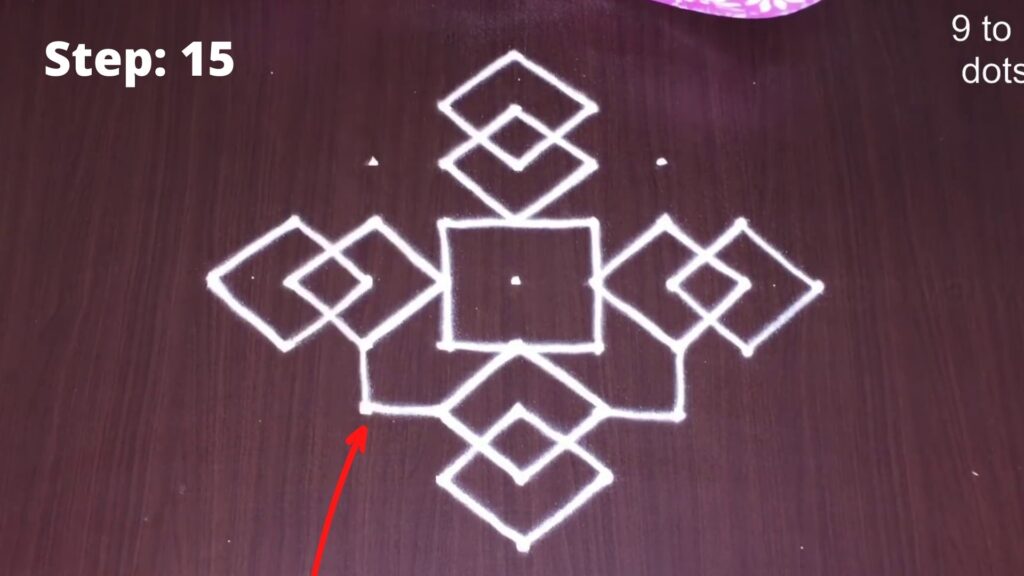
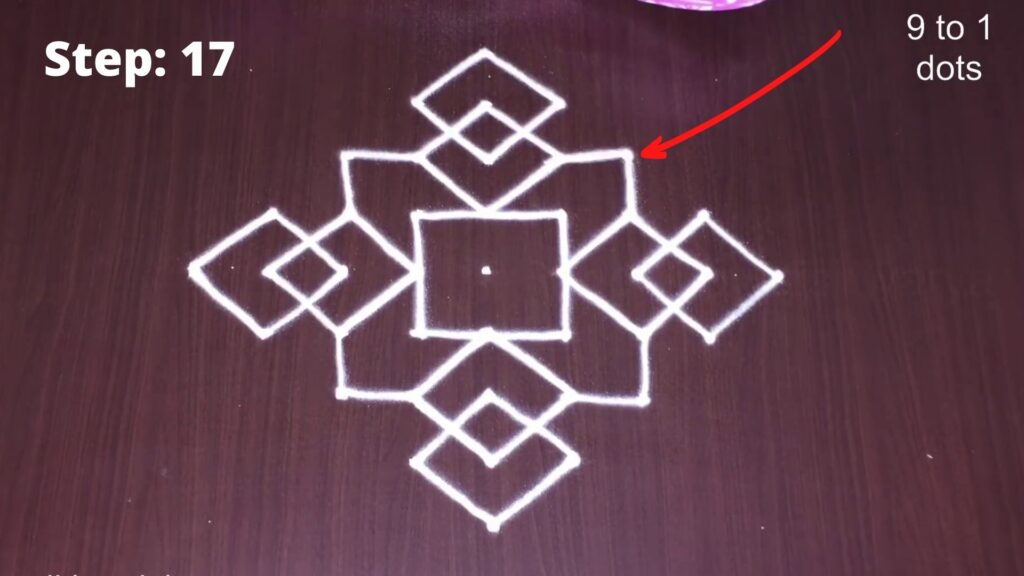
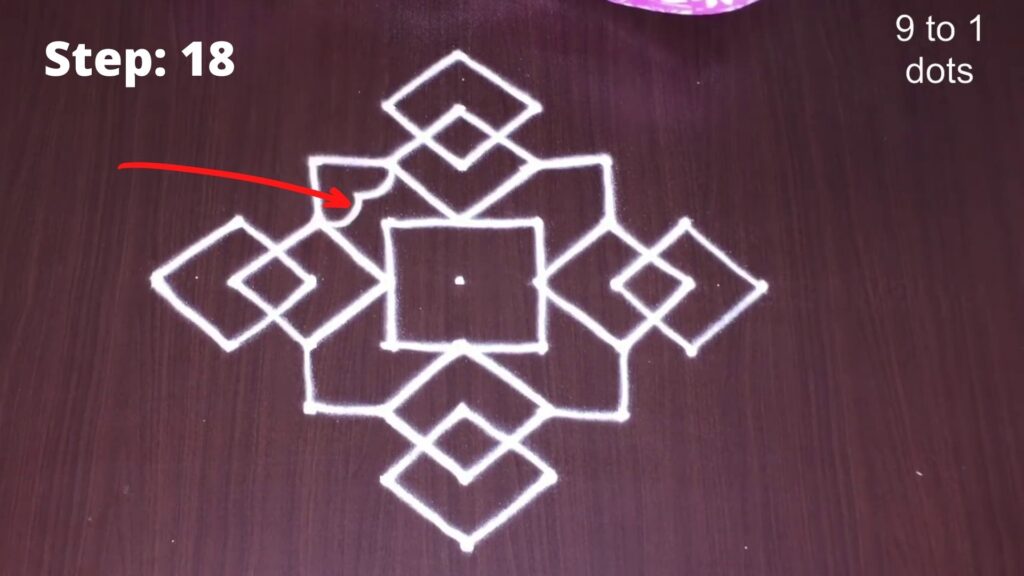
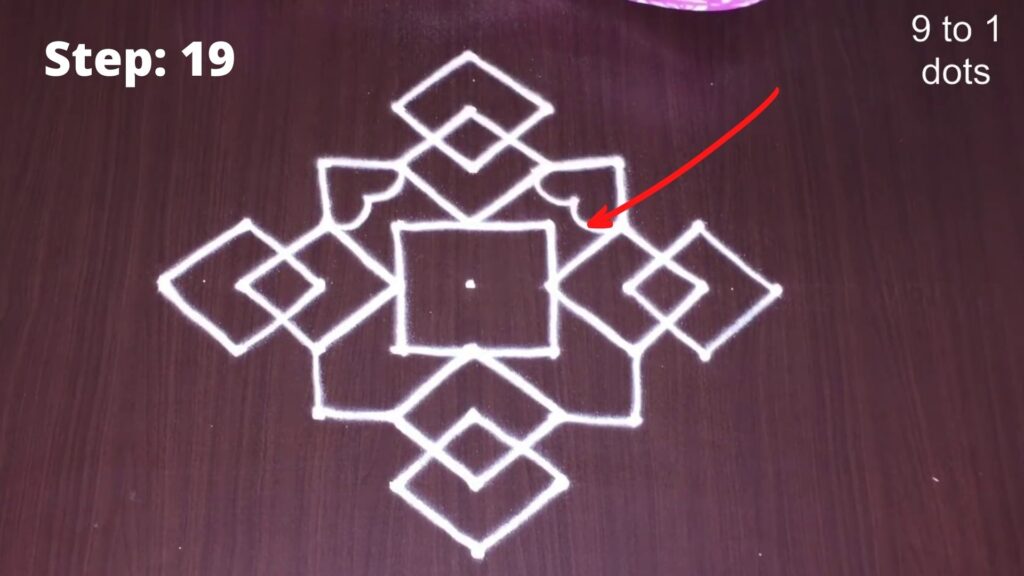
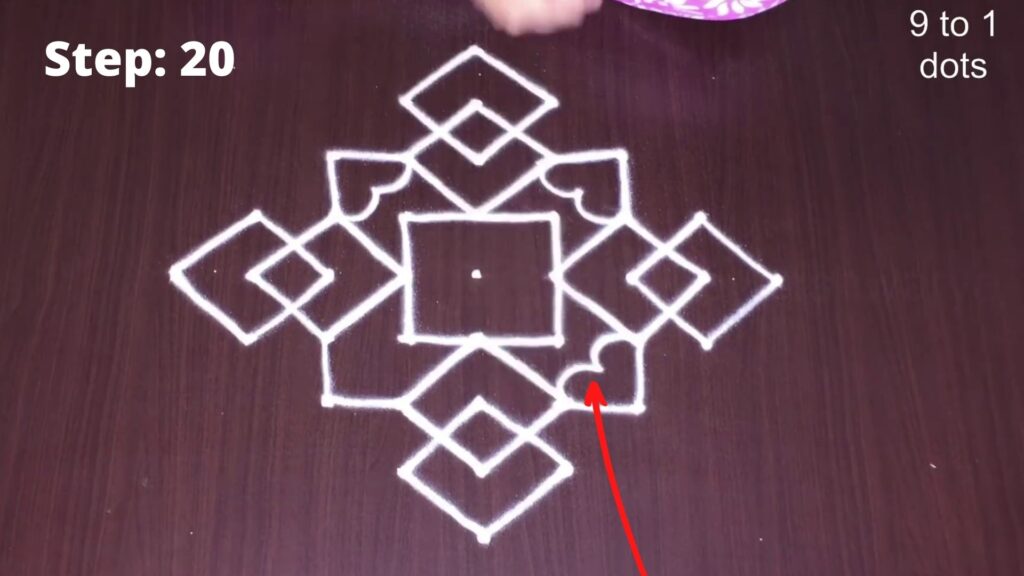
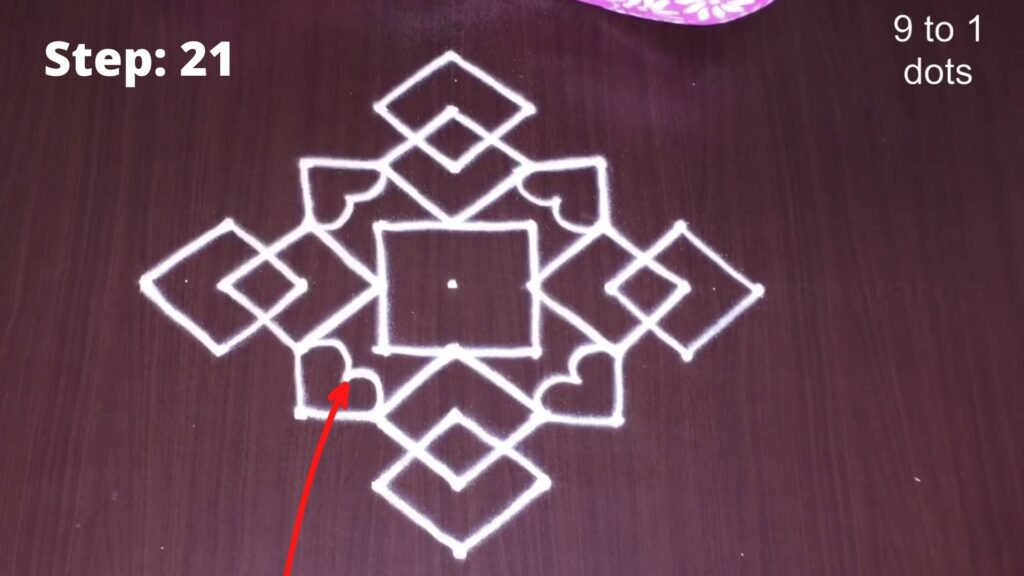
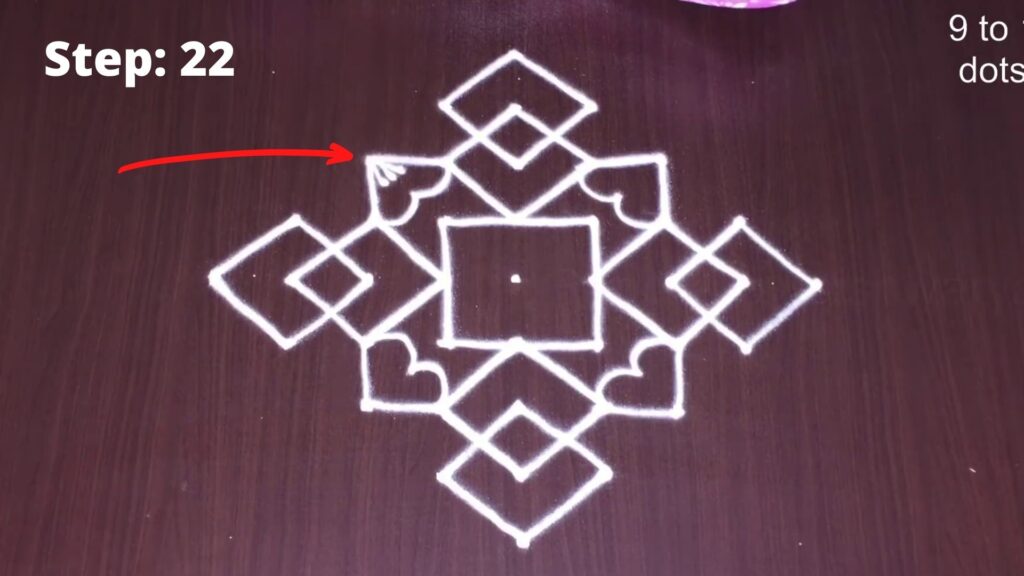
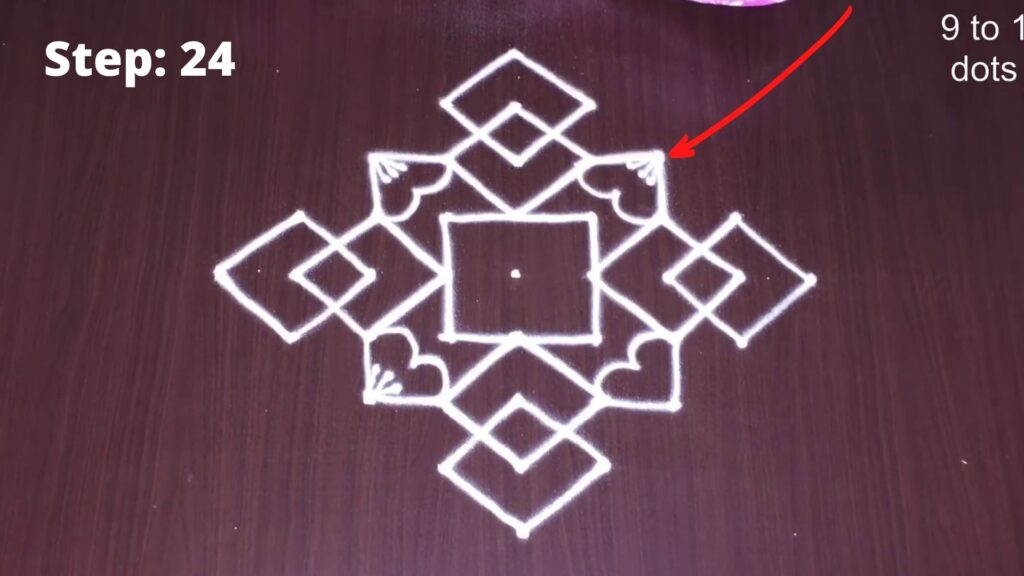
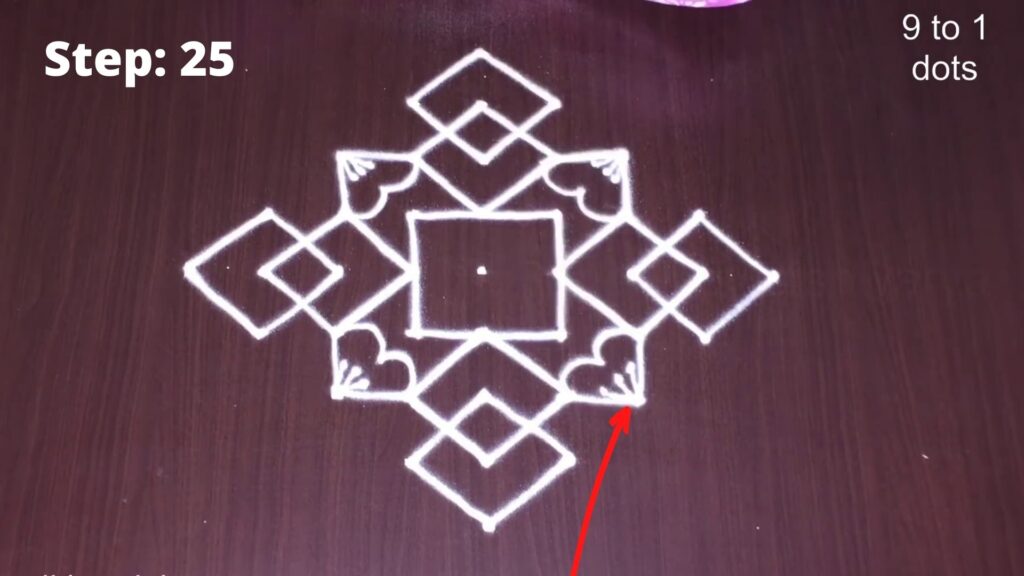
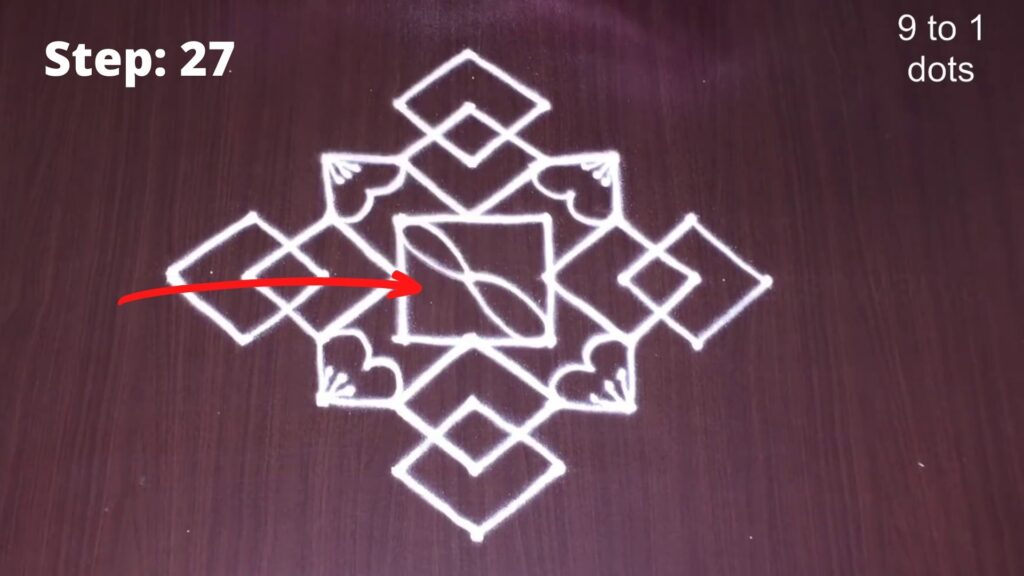
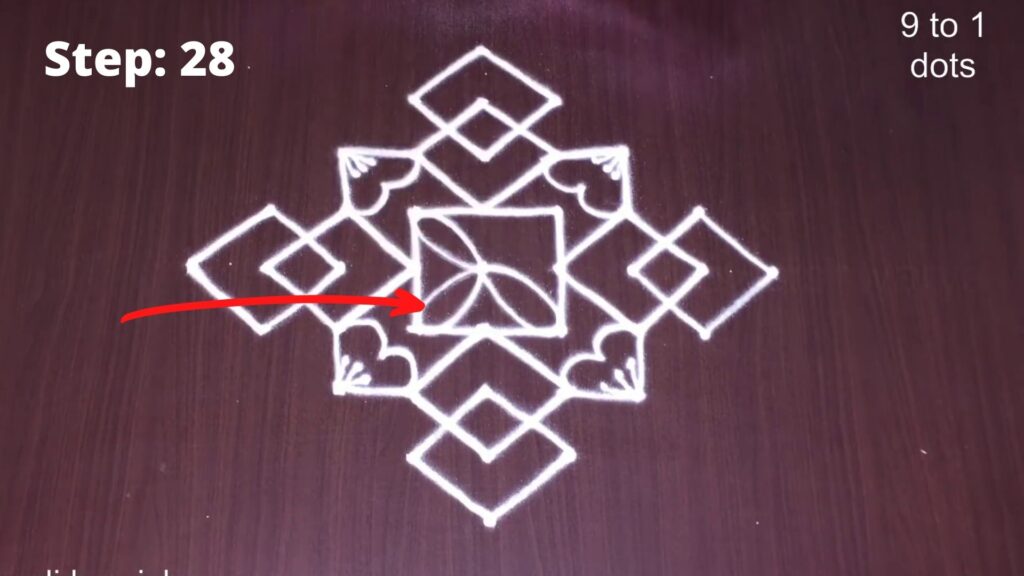
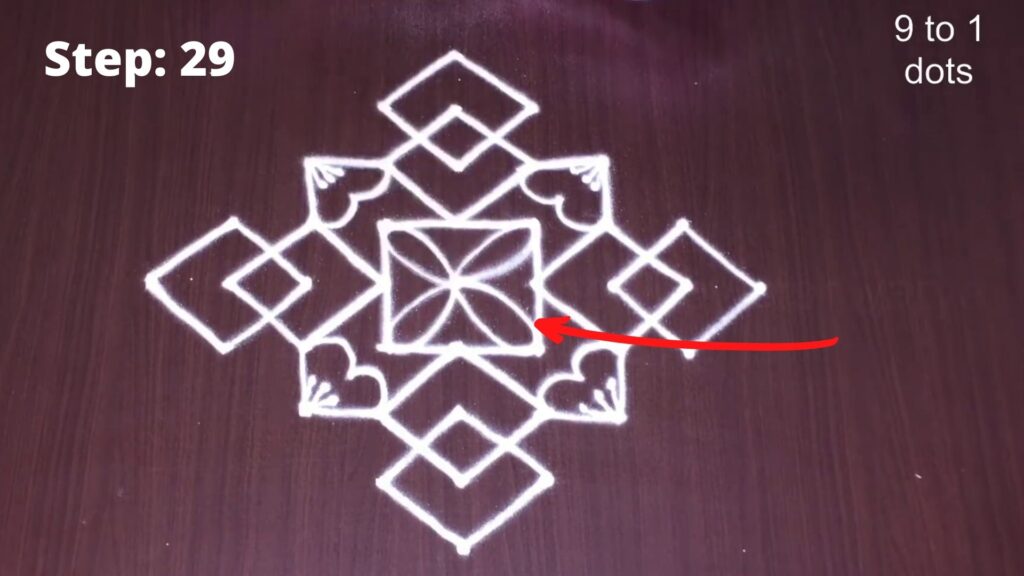
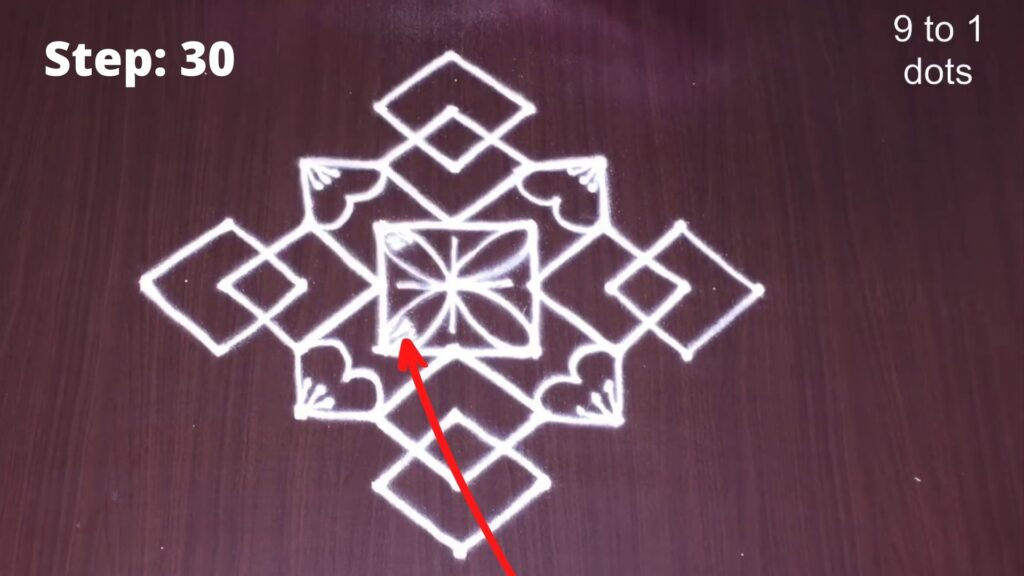
Steps 14 to 30
Well, you do not need to do anything spectial or extraordinary even in Steps 14 to 30. Keep following the images and keep making changes at the places where the red pointer is indicating.


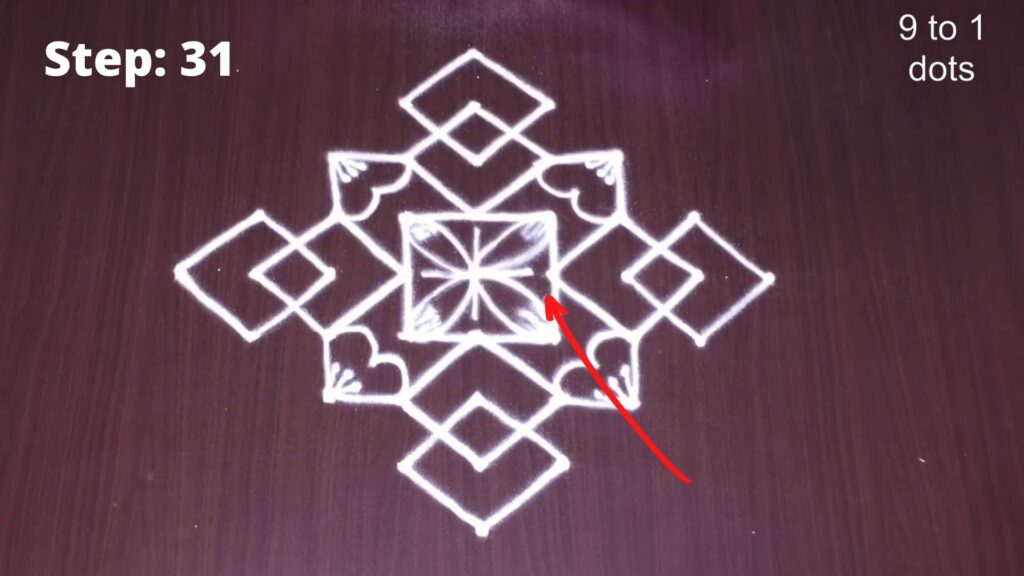
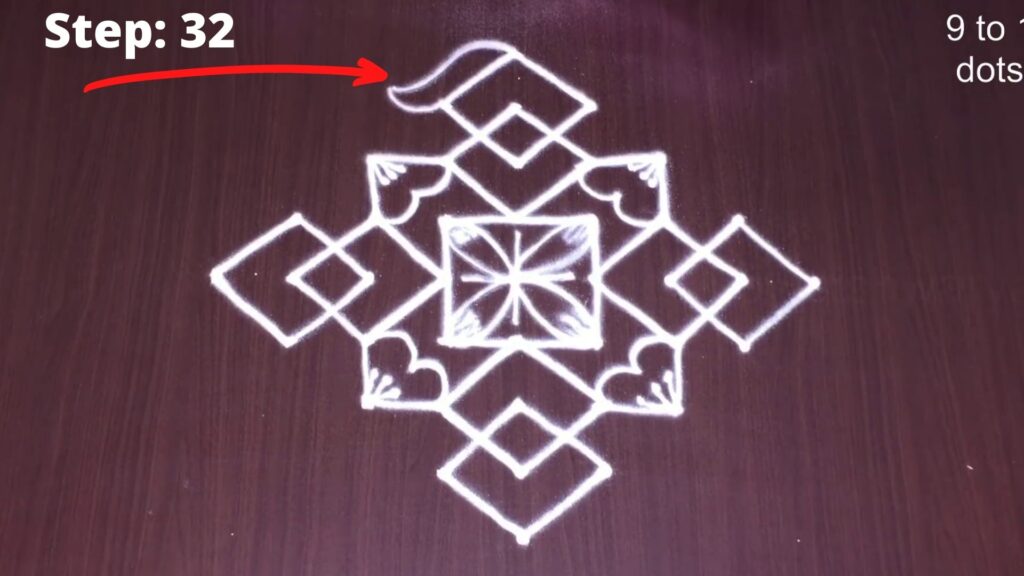
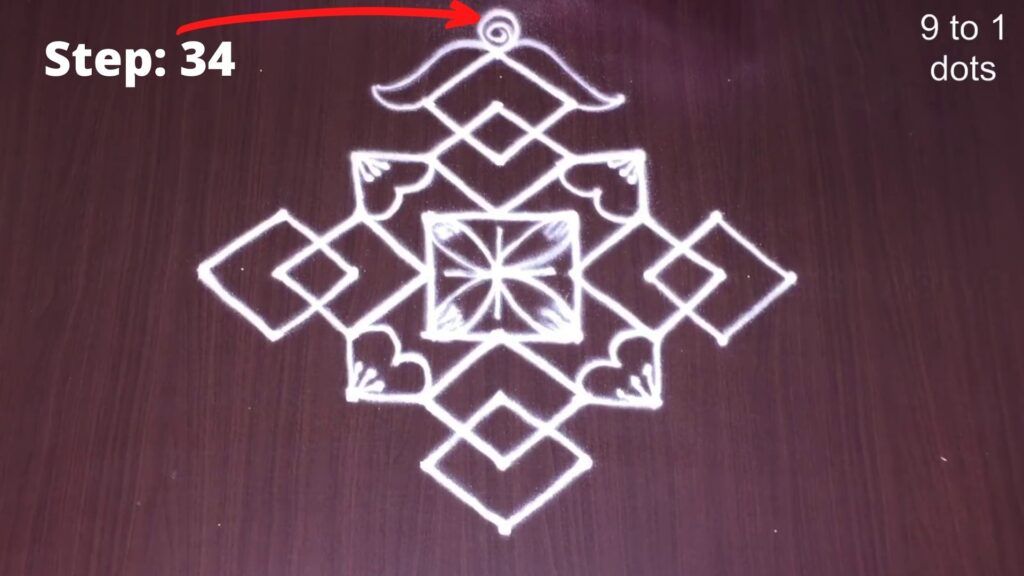
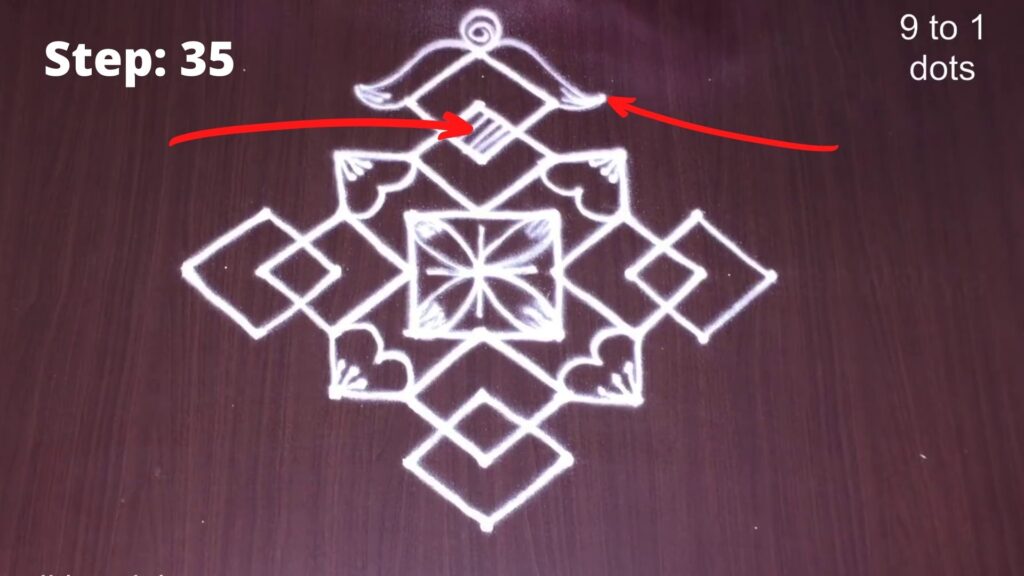
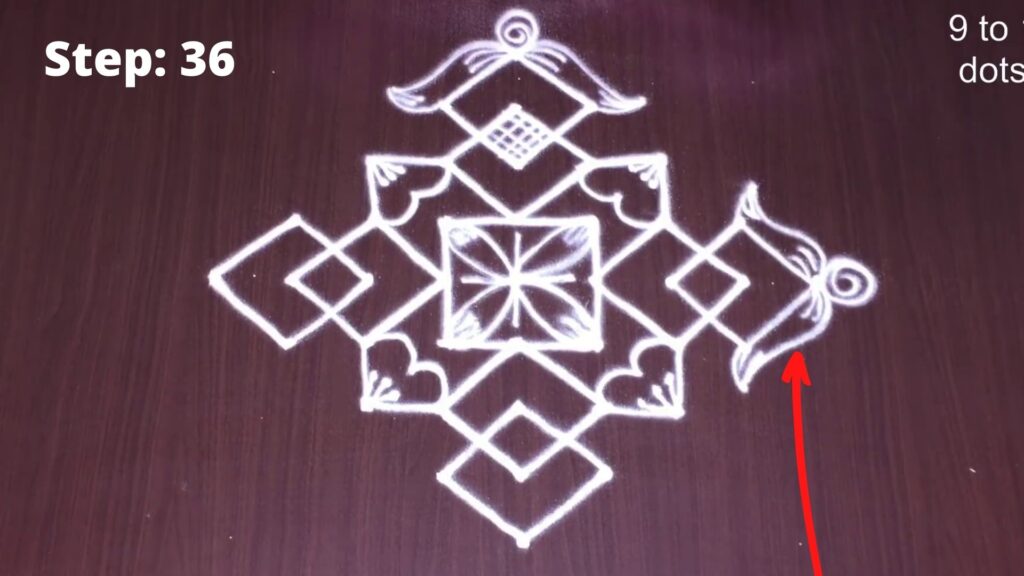
Steps 31 to 41: Final Stages
Congratulations! you are at the final stages of making a simple rangoli design with 9-1 rangoli dot grid. Now pay attention to the minute details of the rangoli design with dot in the images below. You are just a few steps away from successfully drawing a simple rangoli design with 9-1 dots.
For many more rangoli designs with dots, keep following your articles and links that we share. Well, let’s get ahead with our first design in the series of many rangoli designs that we will present on different dot grids, such as 7-4, 9-4, etc.

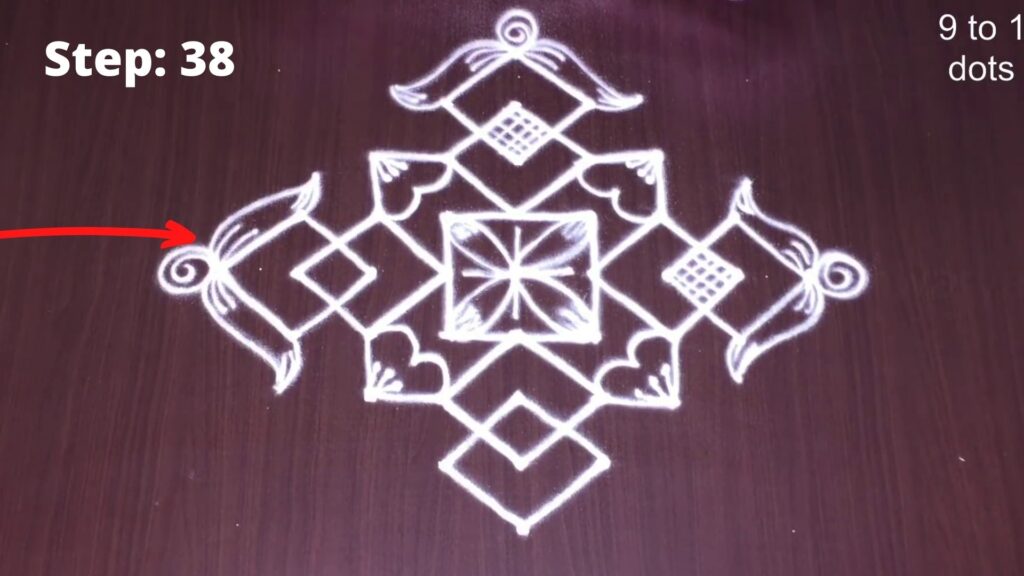

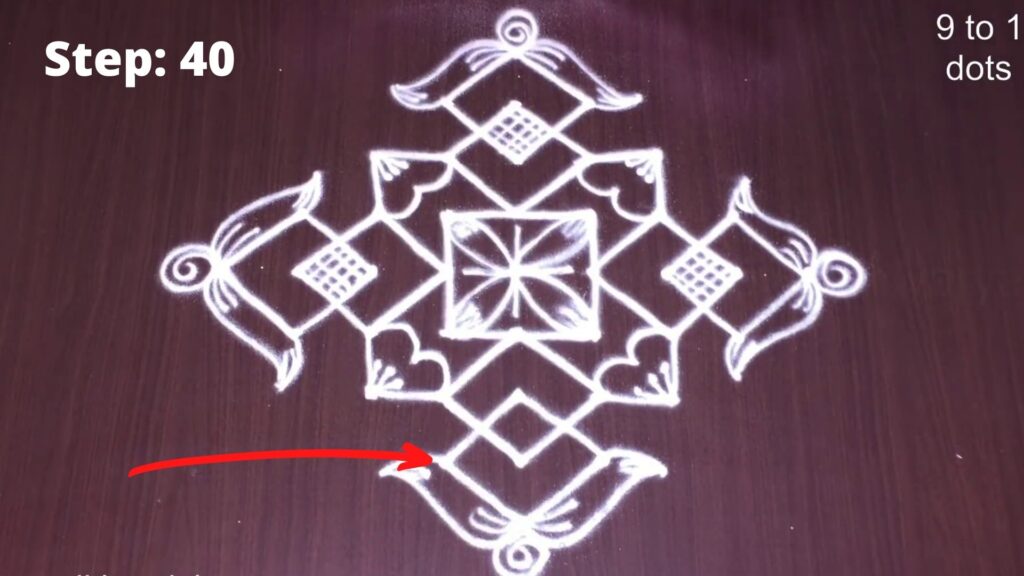

Follow the images until you reach Step 41 as shown above.
Final Rangoli on 9-1 Dots

Congratulations again for finishing the design 1 of your simple rangoli designs with dots.


