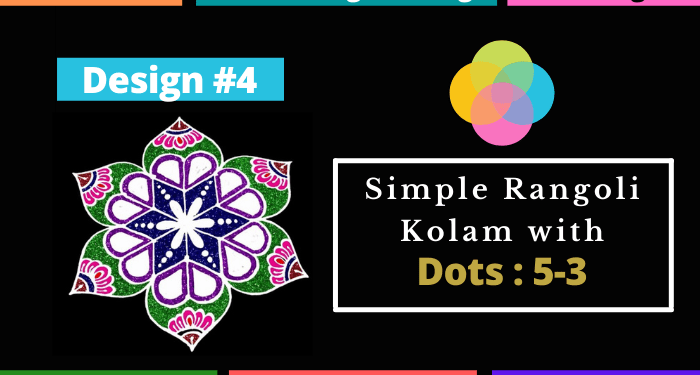
Name of Rangoli Design: Simple Rangoli Kolam with Dots – Design #4
Surface to Draw: Front door entrance, sidewalks of the main door entrance, corners of the house.
Materials Required: To make the outline of the kolam, you can use rice flour, chalk powder, or white rangoli powder. Using white for outlining the Kolam with dots is considered sacred because white signifies purity, innocence, peace, and simplicity. Make your Kolam rangoli freehand by taking the rangoli material between your thumb and forefingers and letting it flow freehand. If you are not comfortable freehand, use a mehndi cone or a tube.
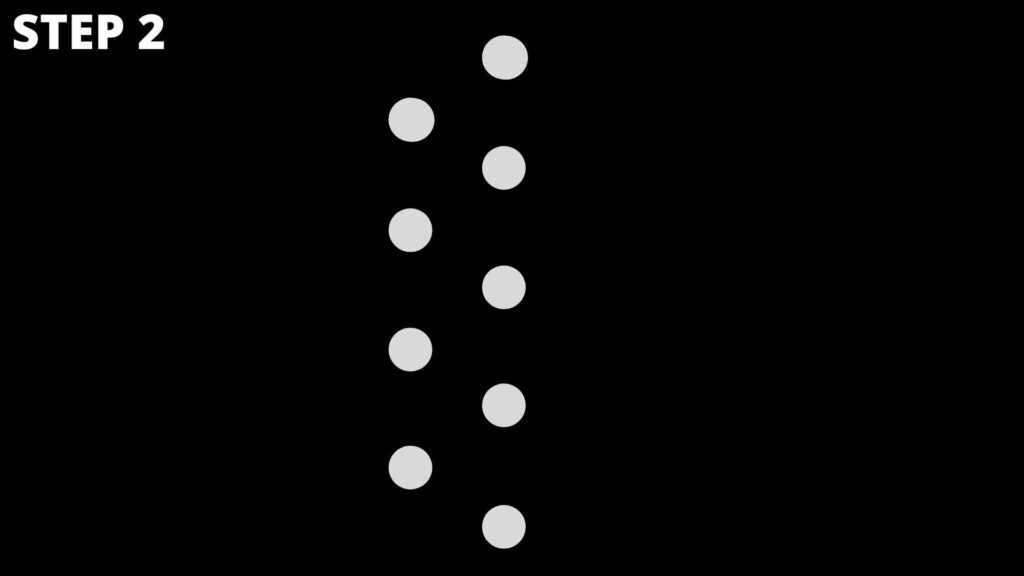
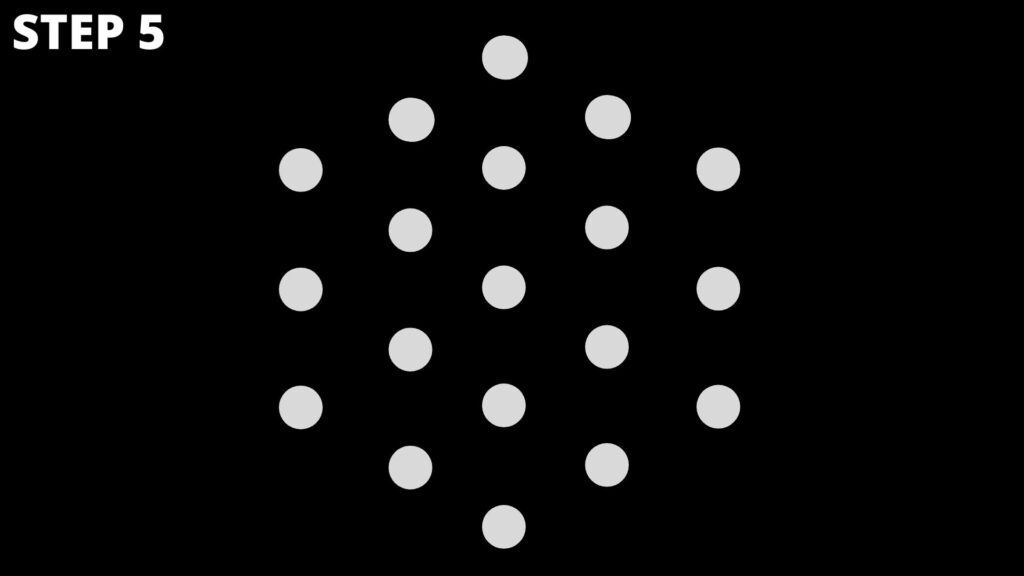
Steps 1 to 5: Creating 5-3 rangoli dot grid
This simple rangoli Kolam will be made on 5×3 rangoli grid, and we will start by making a 5 to 1 dot grid as shown in steps 1 to 5 in the rangoli images.



Even if you are a beginner and want to learn making rangoli, do not forget to read 8 Steps to Simple Rangoli Design 2021 | Images.
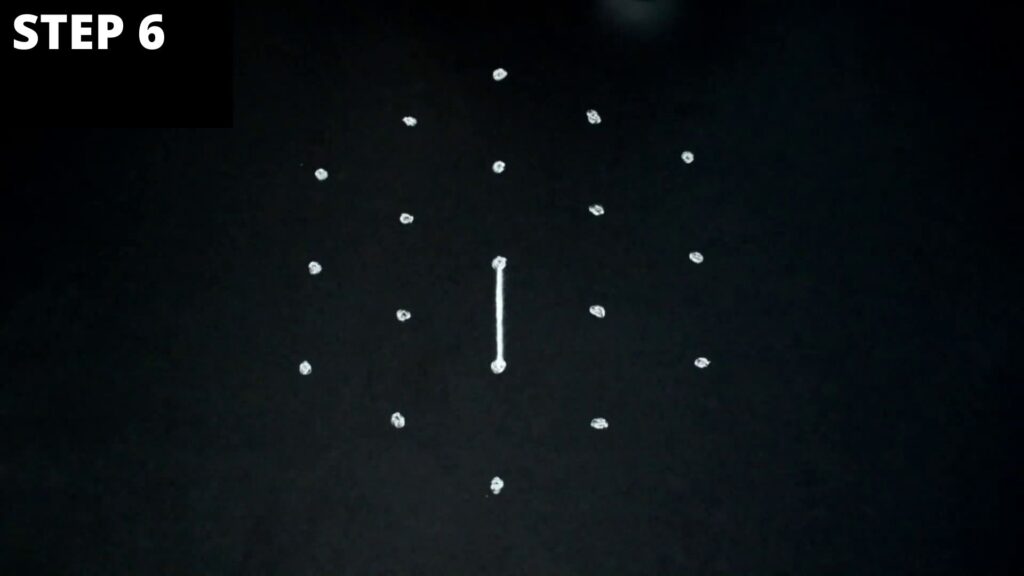
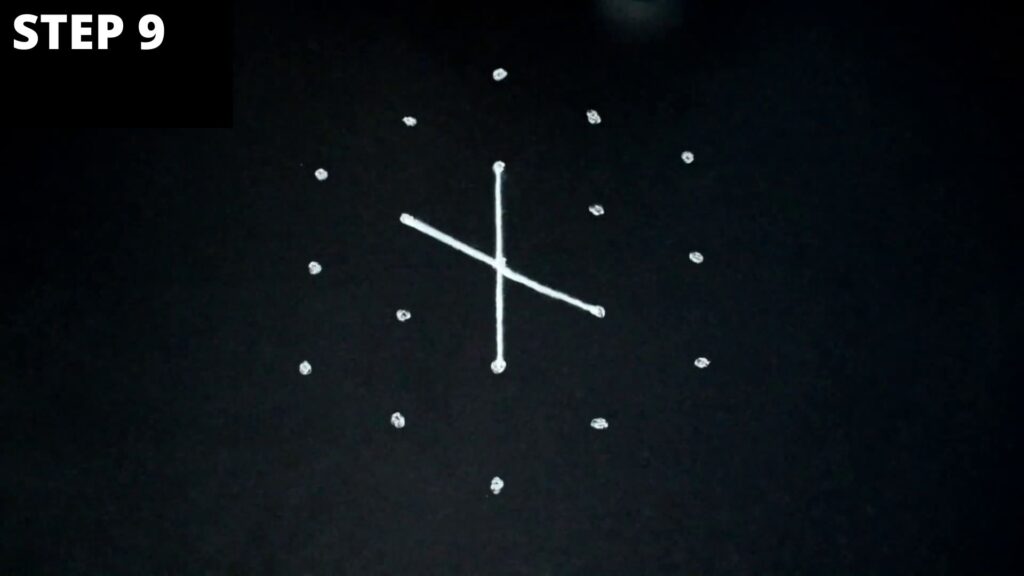
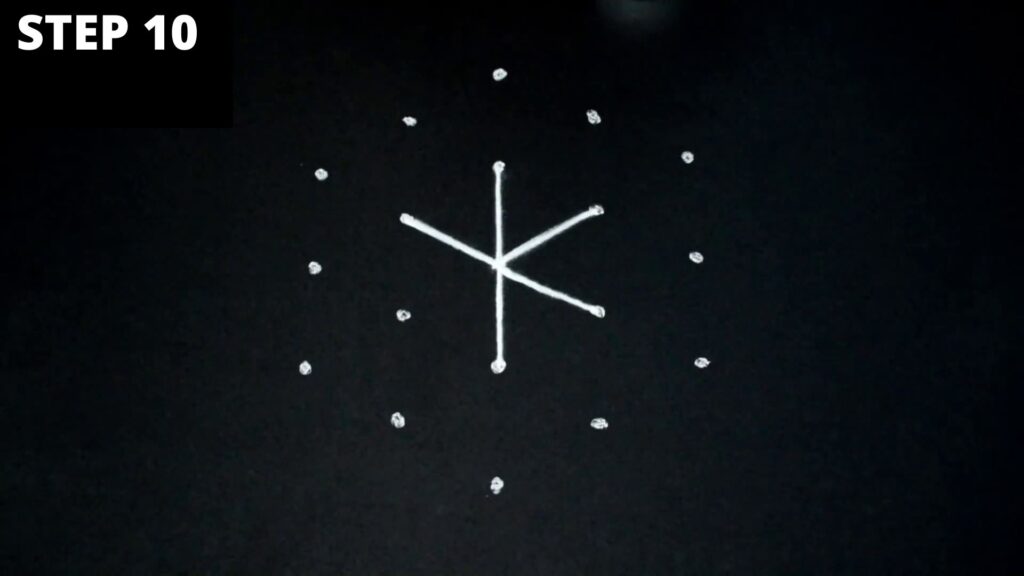
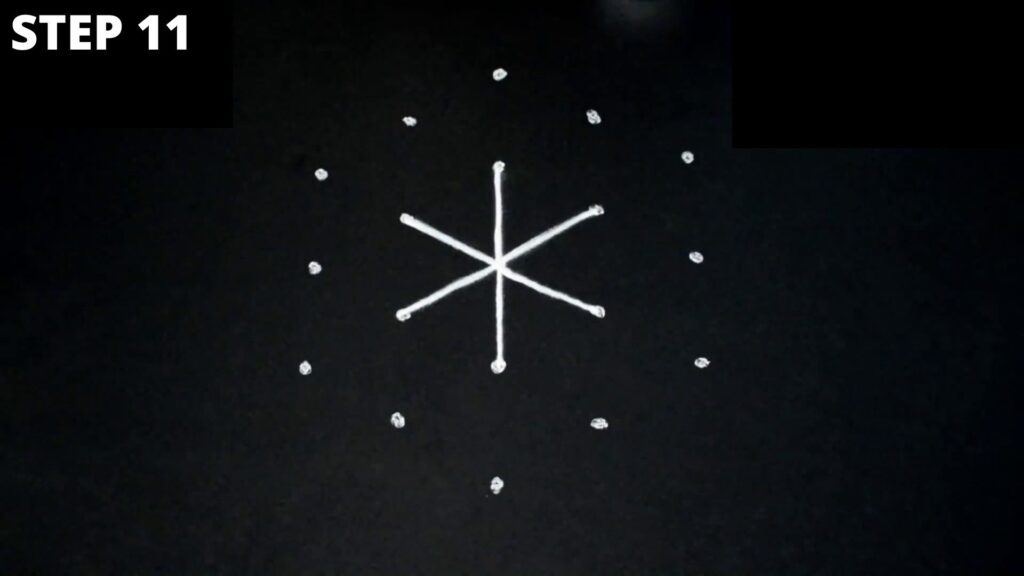
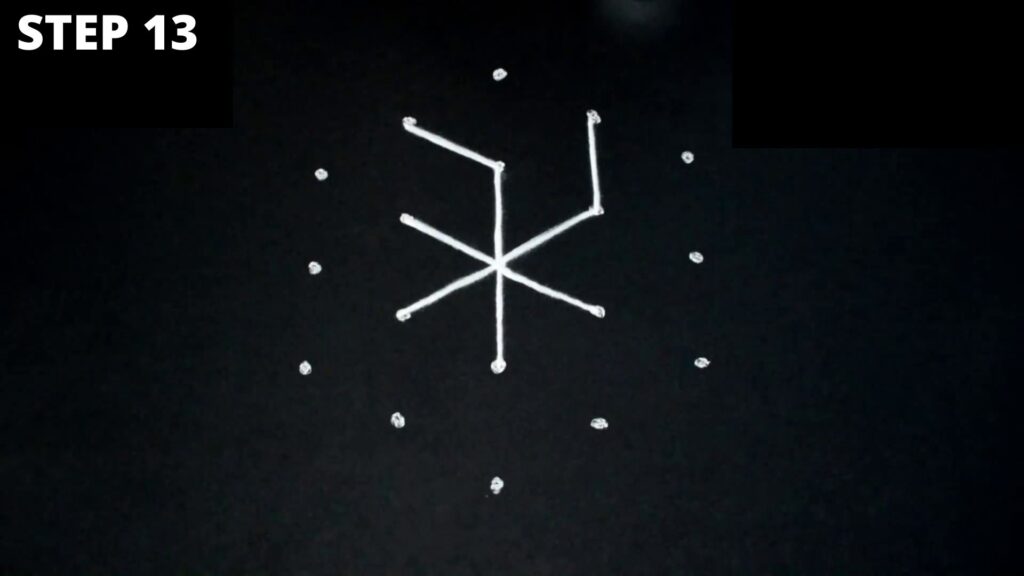
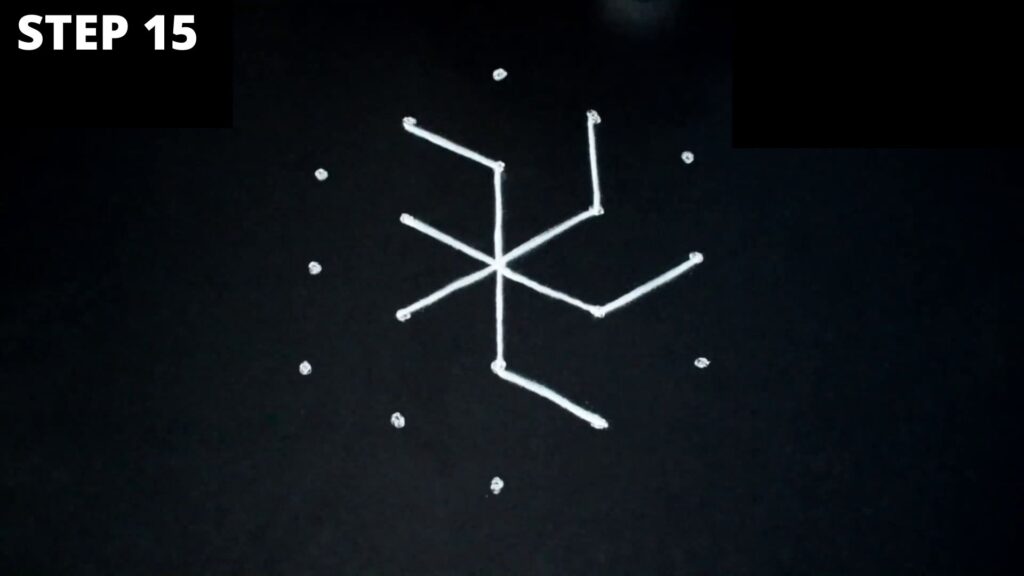
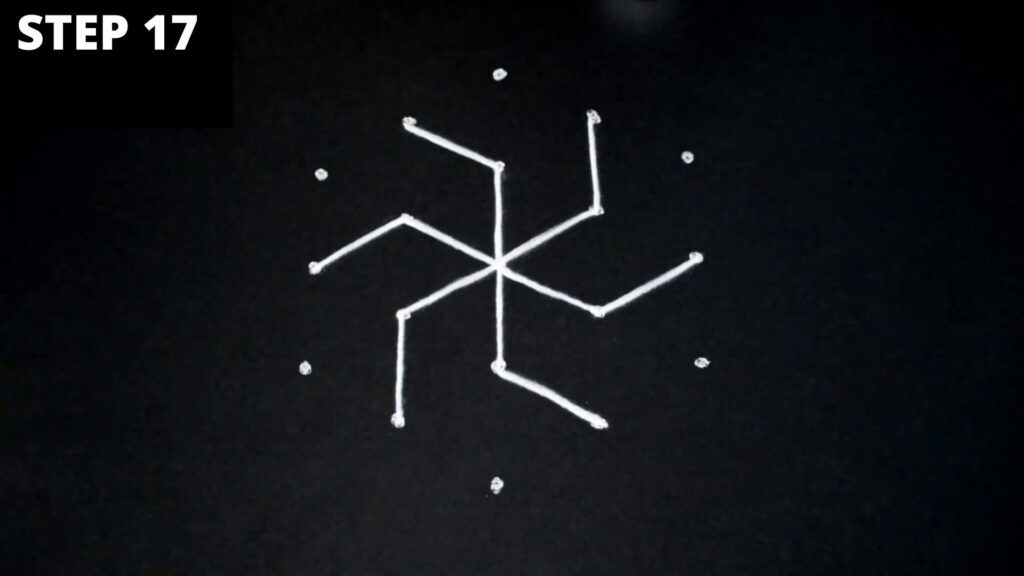
Steps 6 to 17: Start drawing the kolam
Now that the dot grid is ready, we will start using these dots to create this kolam. Step 6 starts with connecting the dot in the centre with another dot right below it. In the subsequent steps, you will continue connecting these rangoli dots as shown in the images of steps 6 to 17. This phase of creating kolam with dots will involve doing a total of 12 lines as shown in the steps.






Steps 18 to 29: Proceeding with connecting the dots
Now that you have completed steps 6 to 17 of the kolam, now draw another 12 lines by connecting dots as shown in steps 18 to 29.
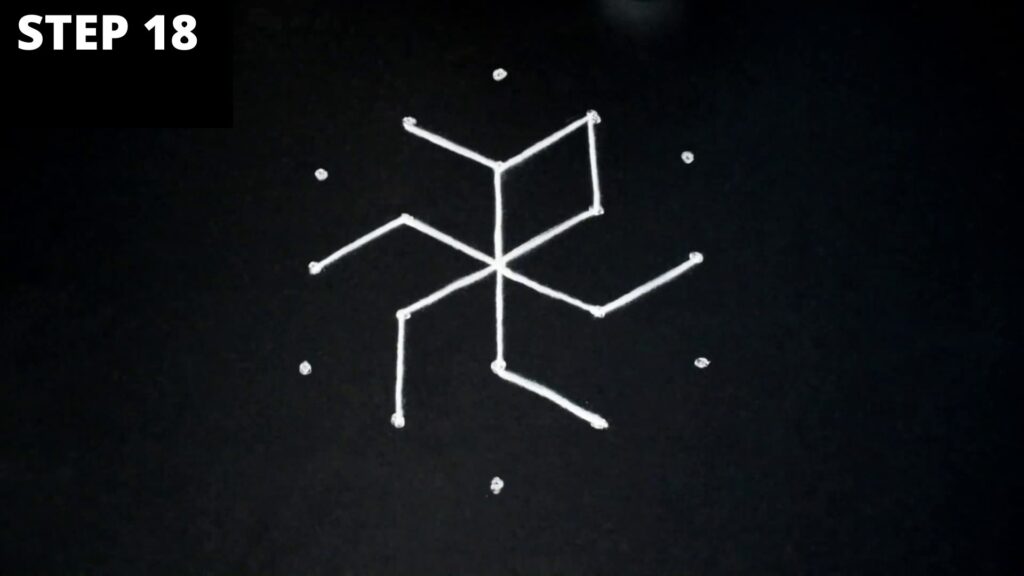
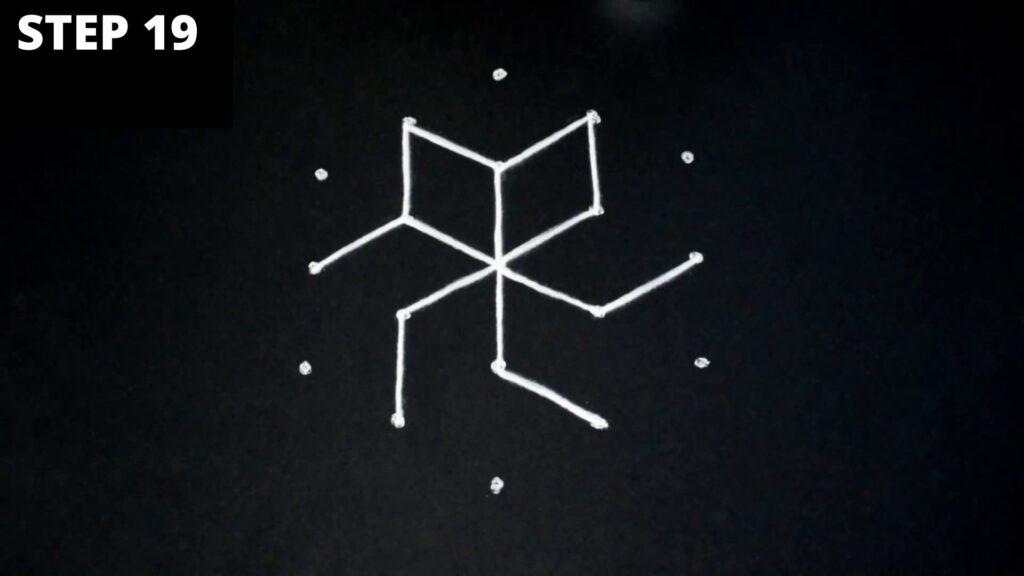
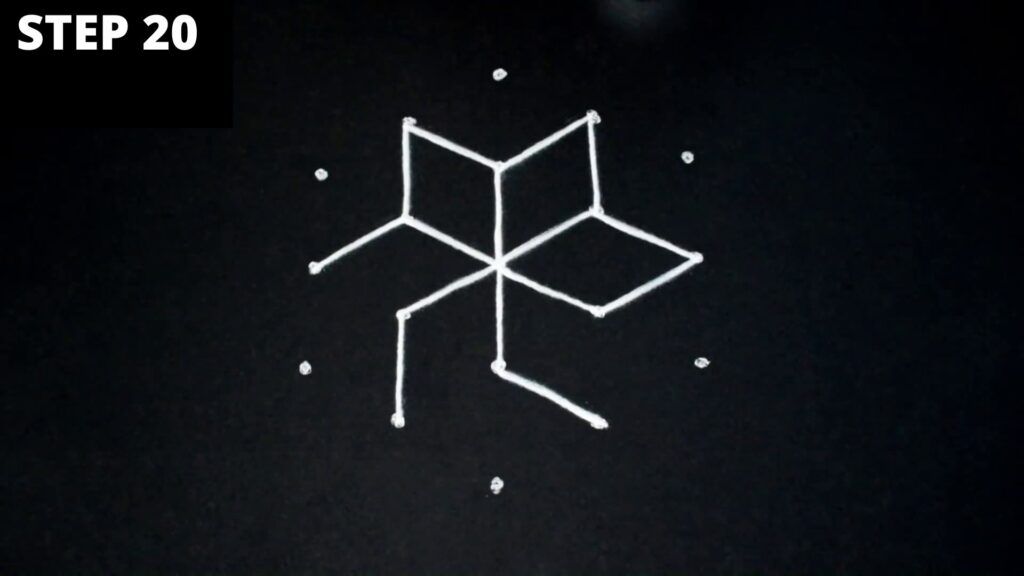


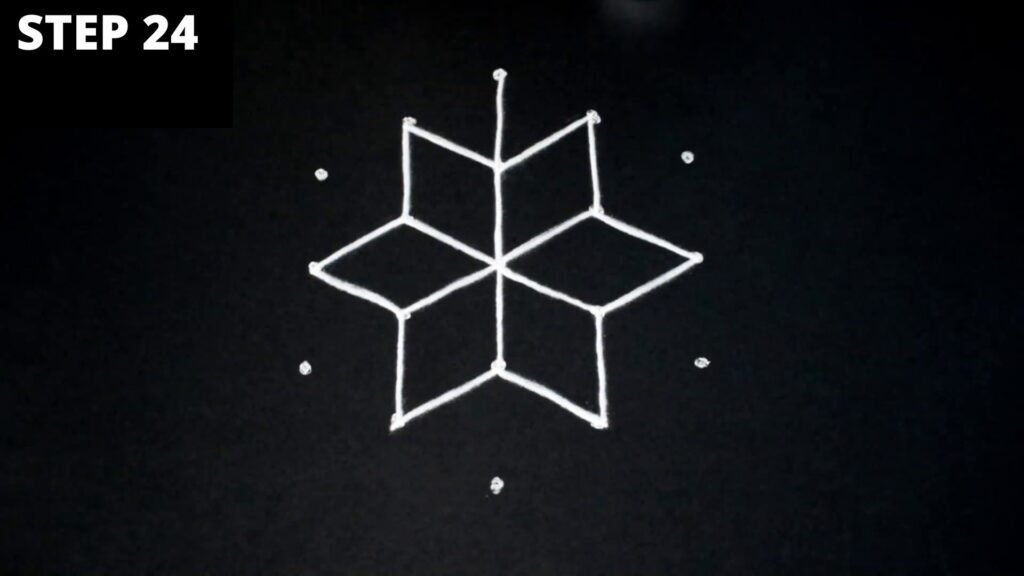
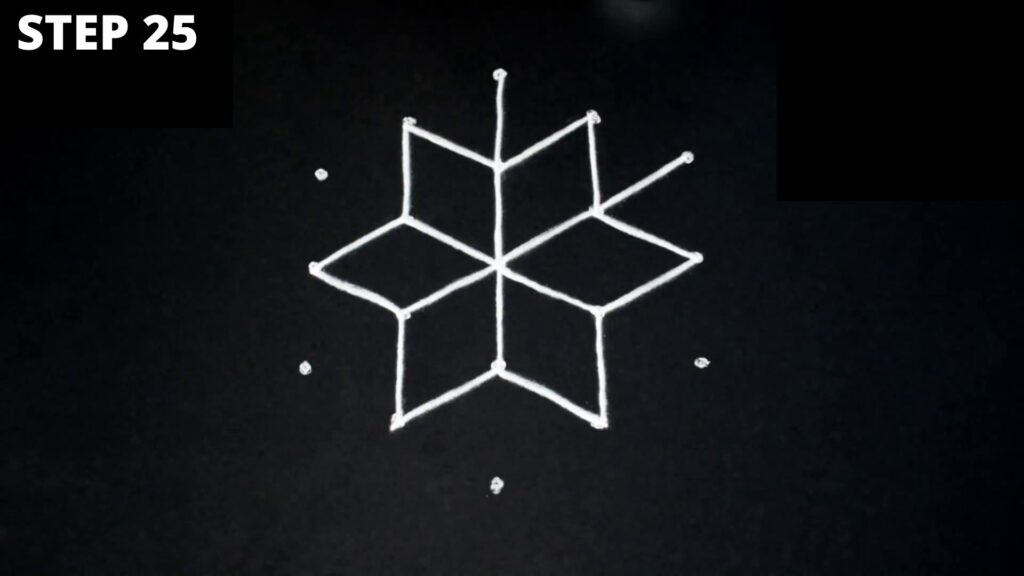
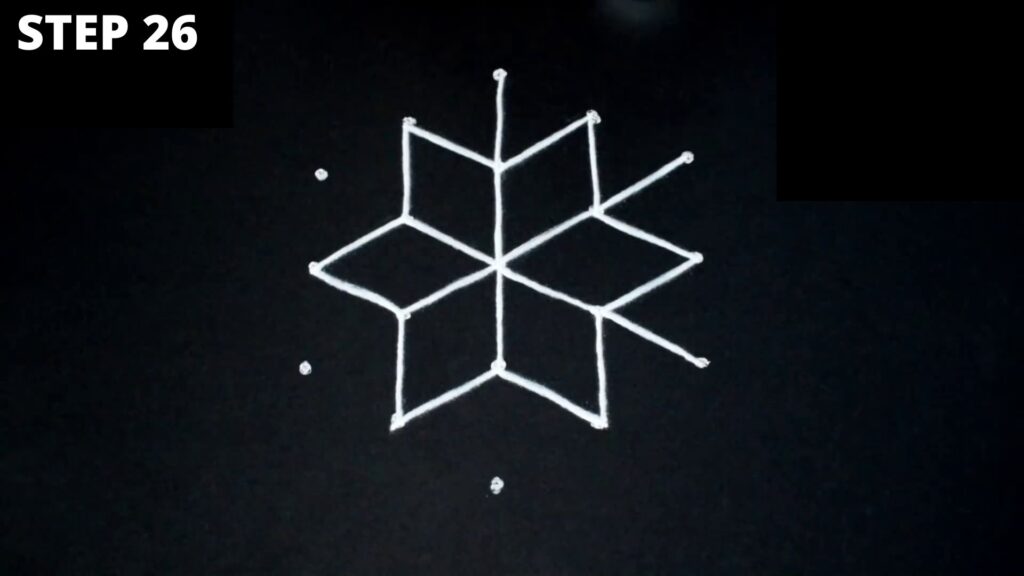
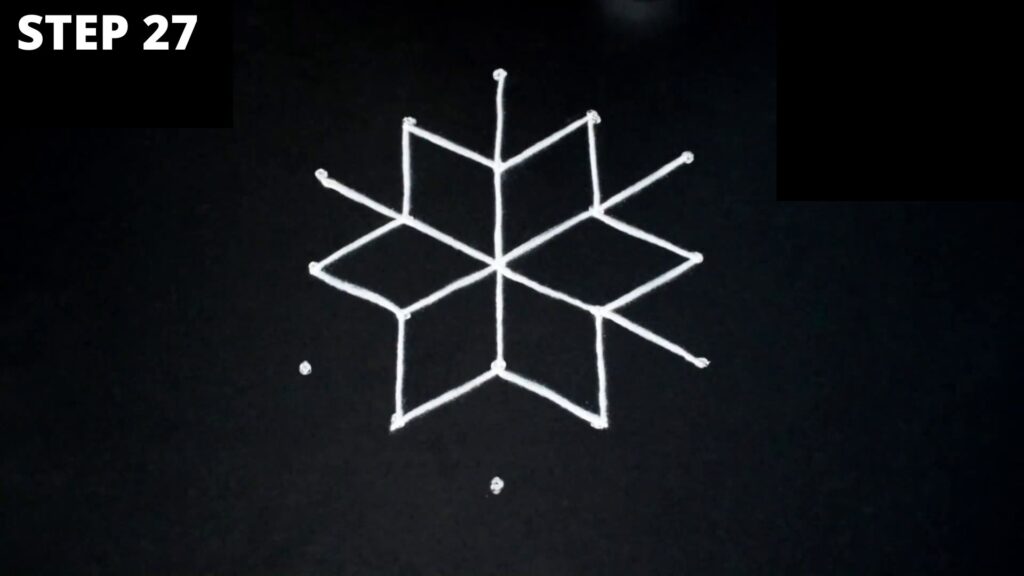
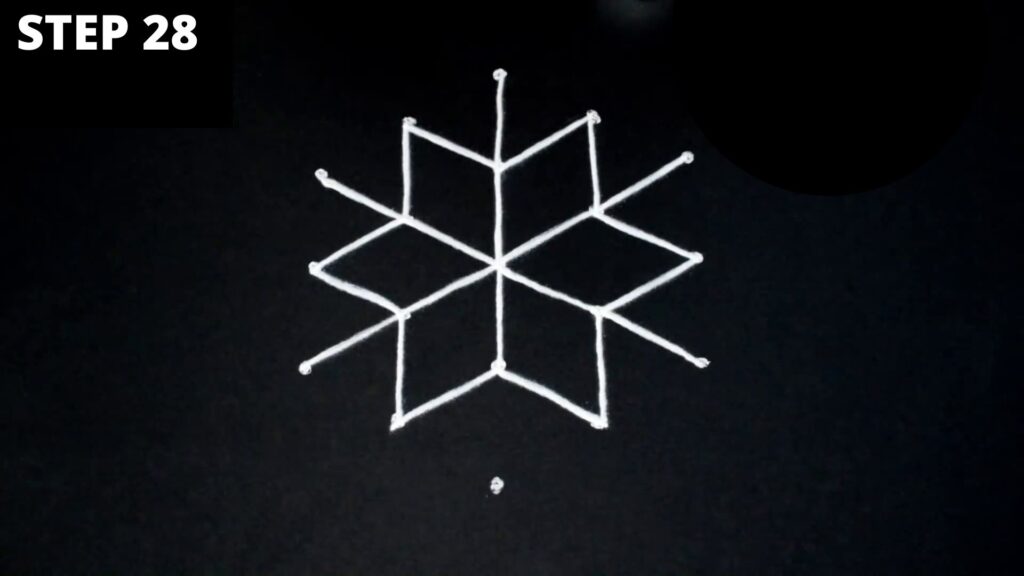
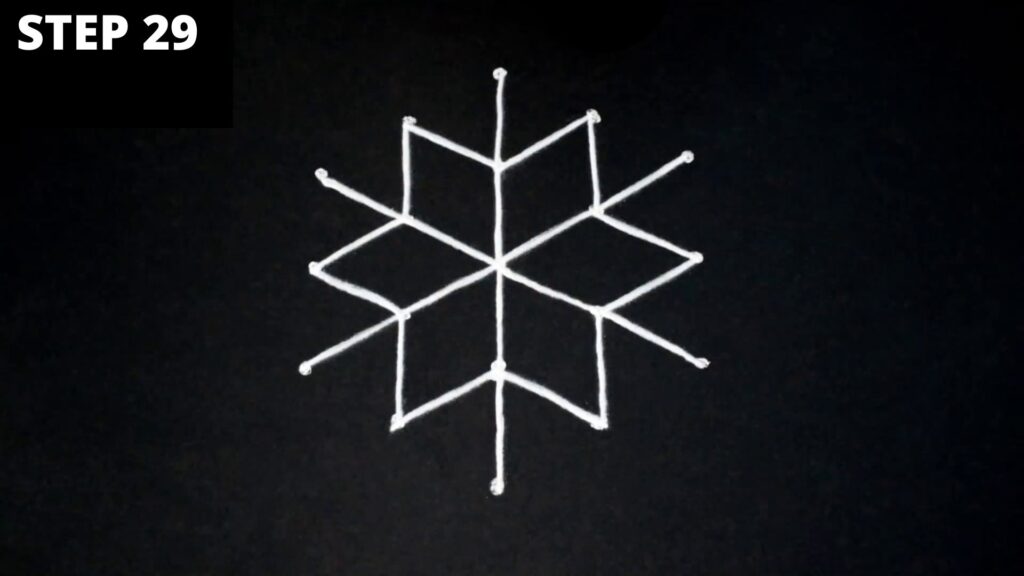
By now your Kolam rangoli is starting to take shape.
Steps 30 to 52: Connecting dots with curved lines
The next steps in creating this Kolam with dots is connecting the outside dots with curved lines as shown in the images of Steps 30 to 52.
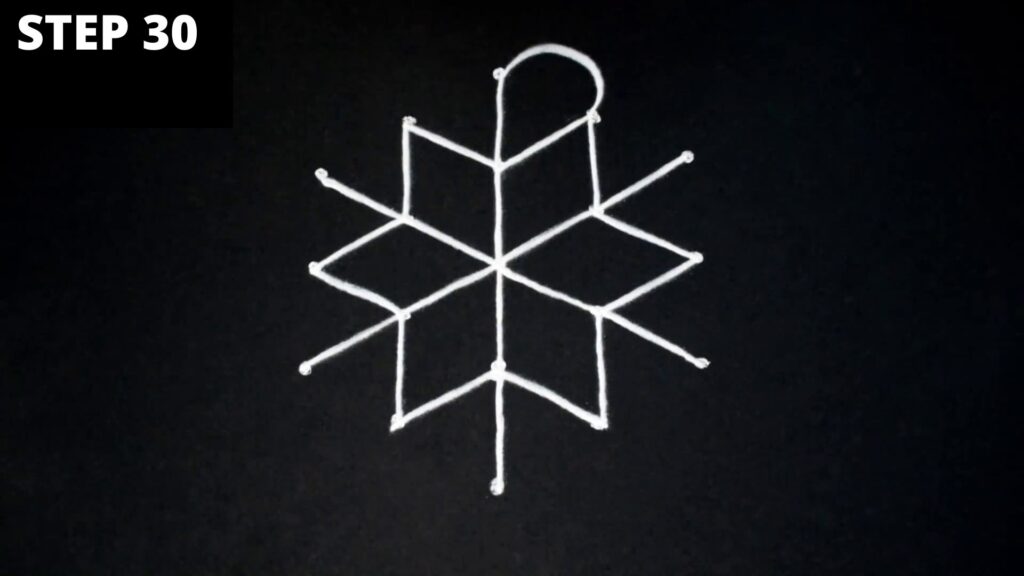
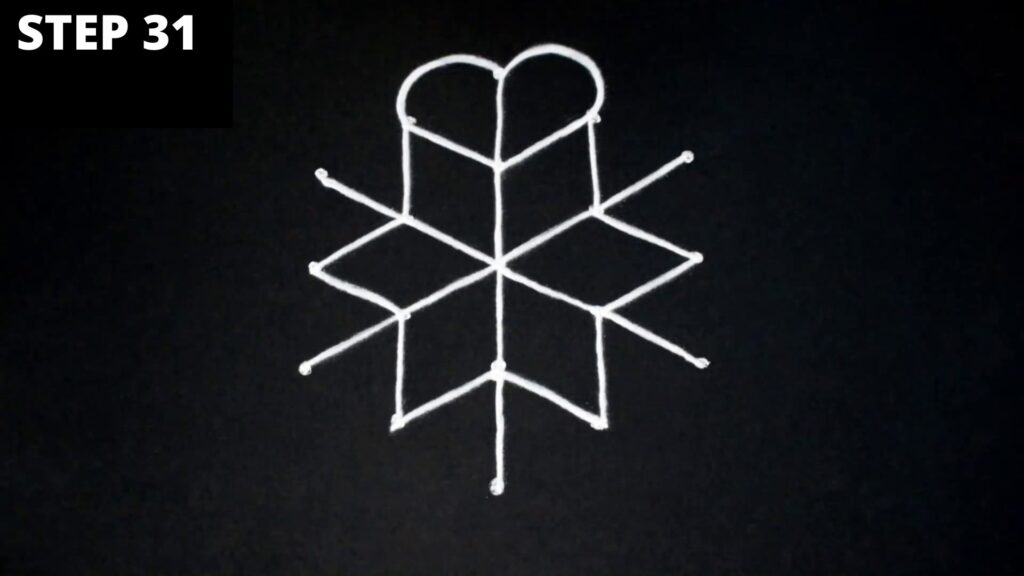
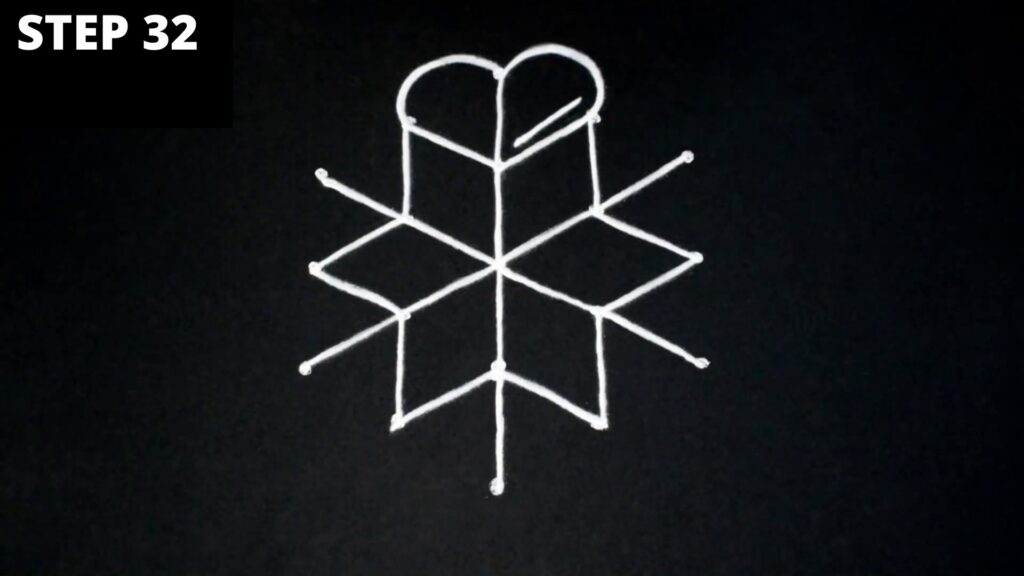
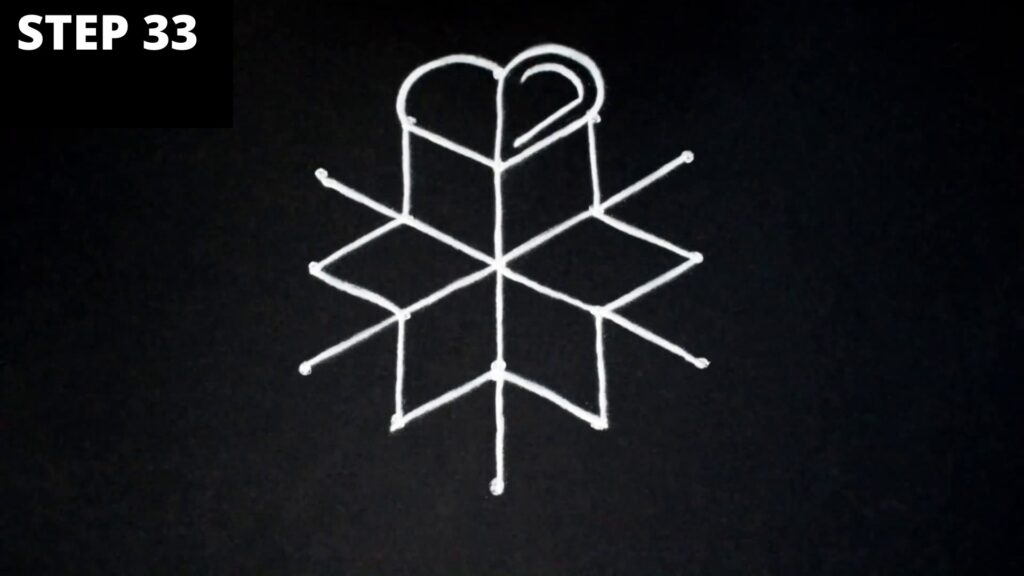

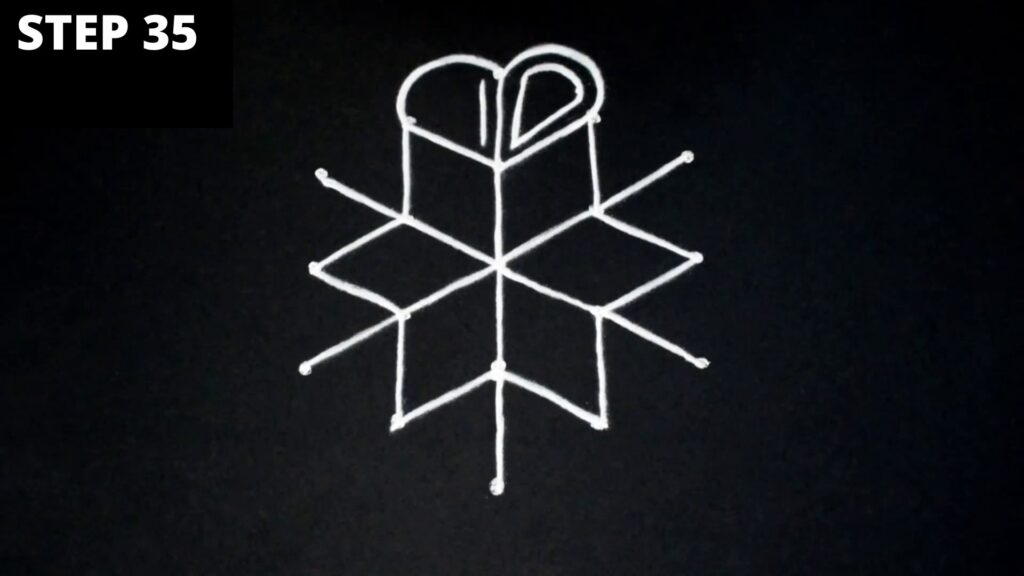
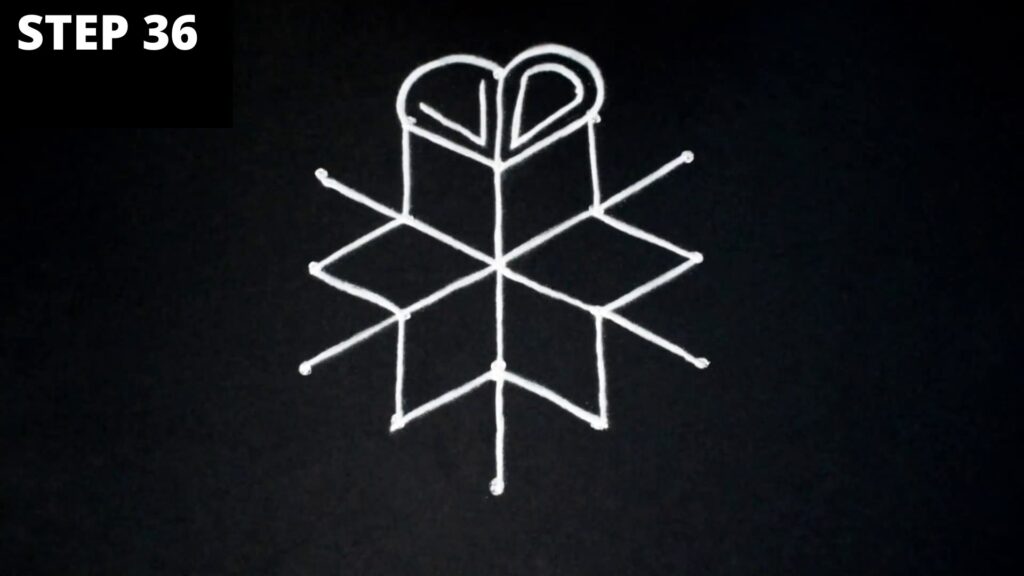
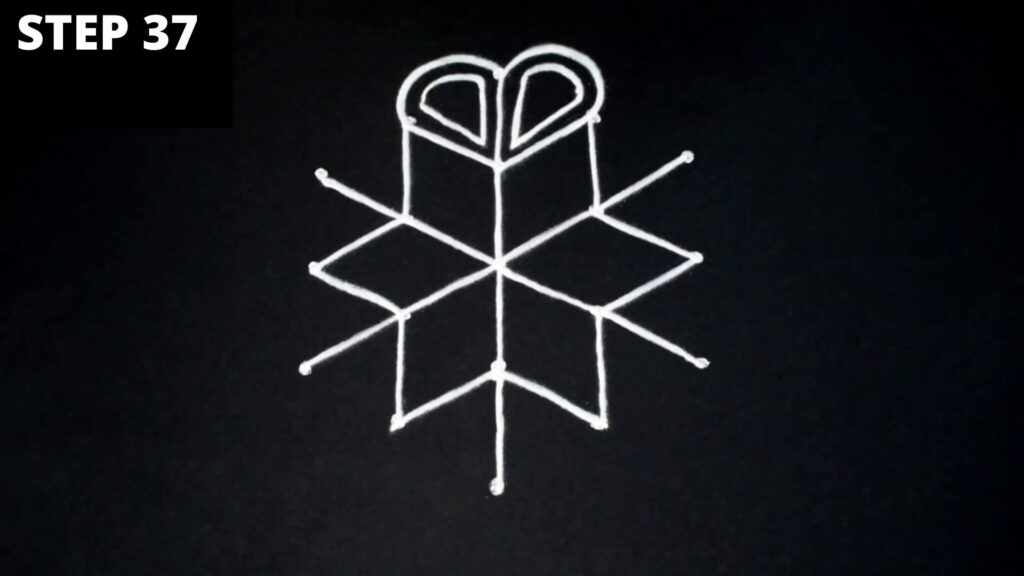
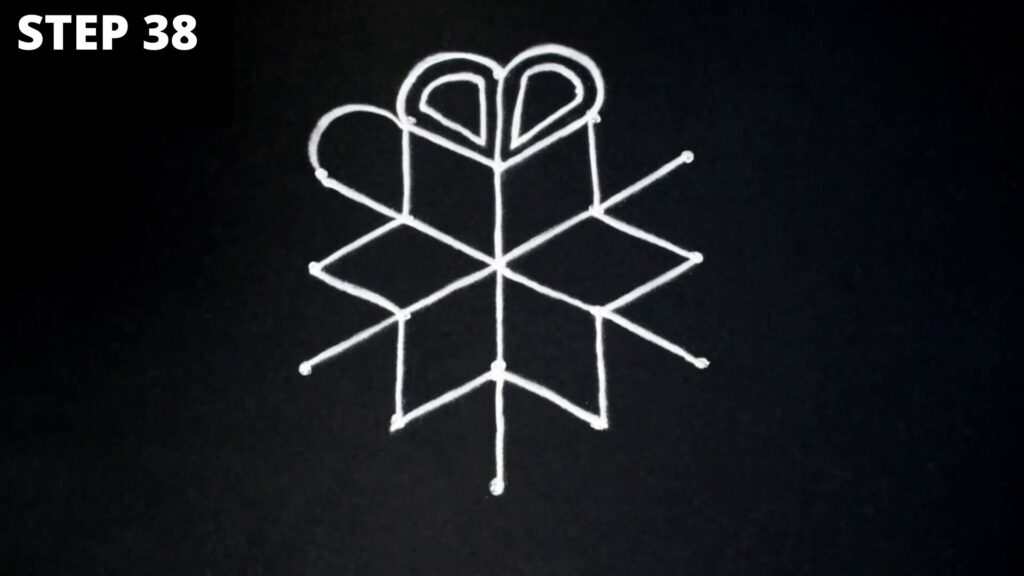
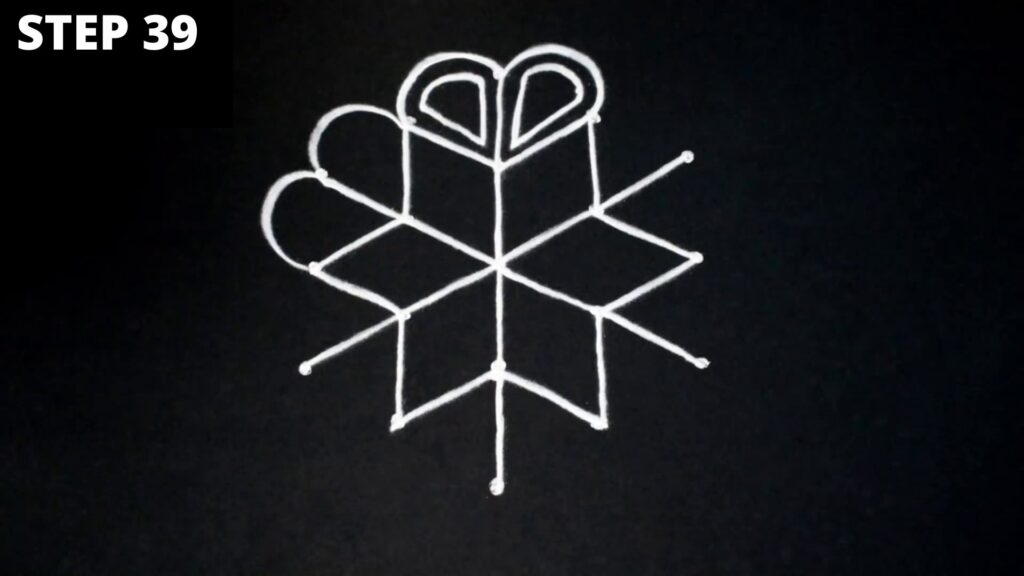
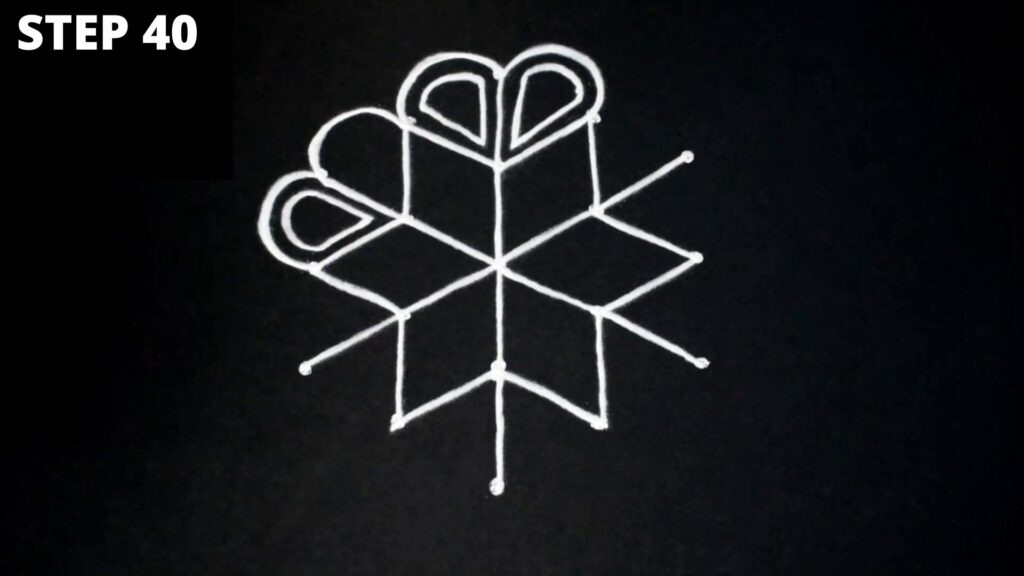
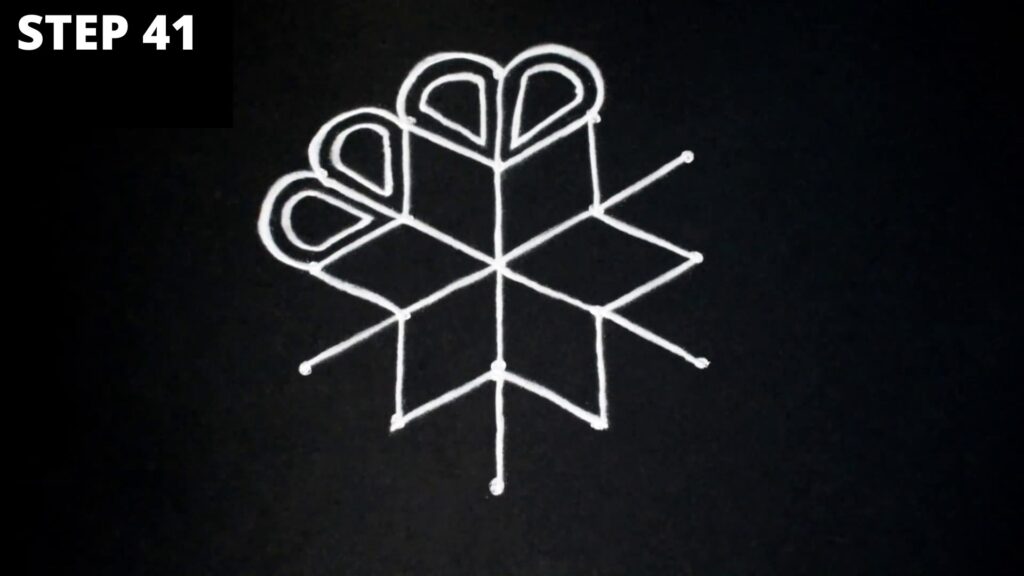
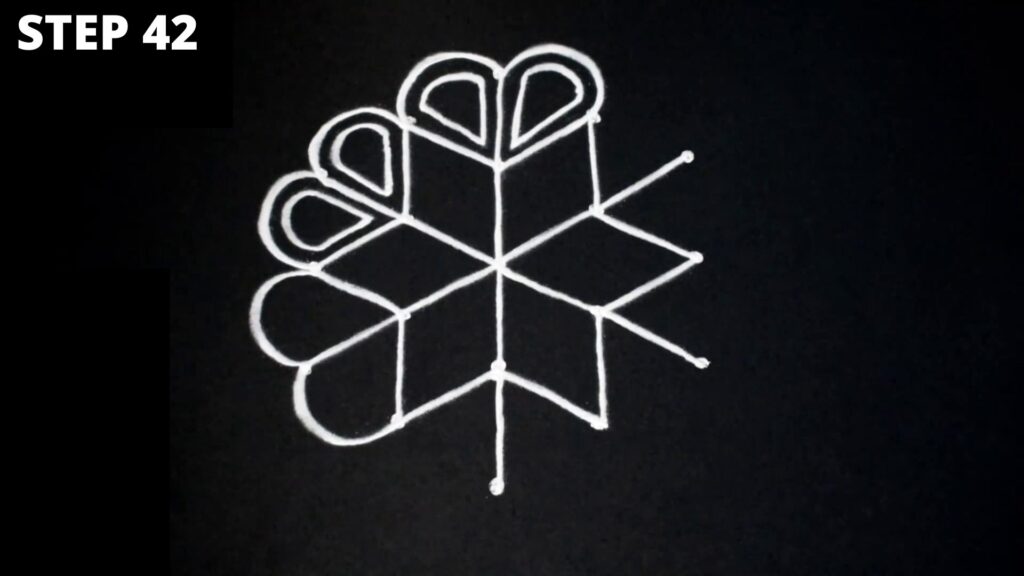
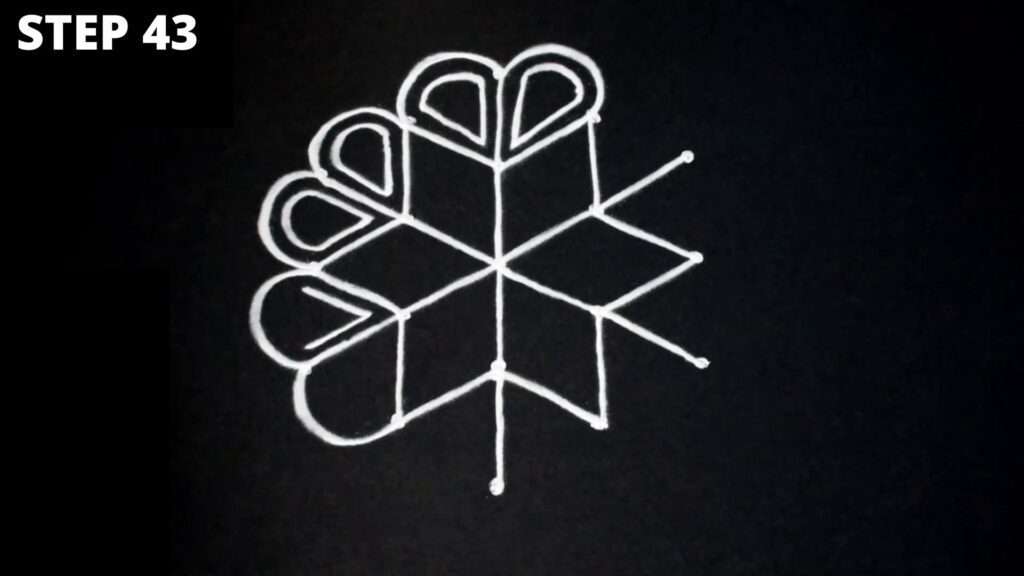
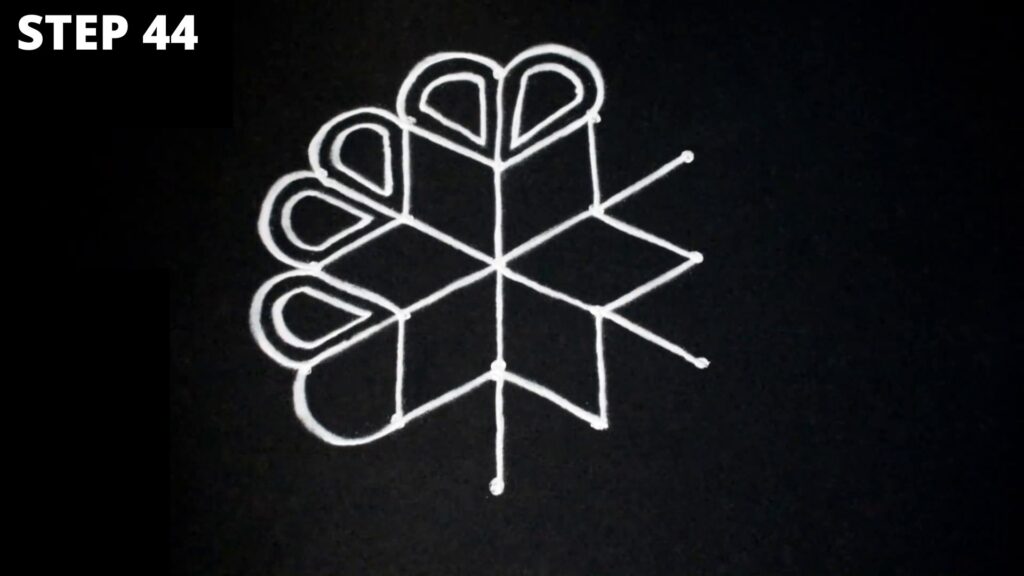
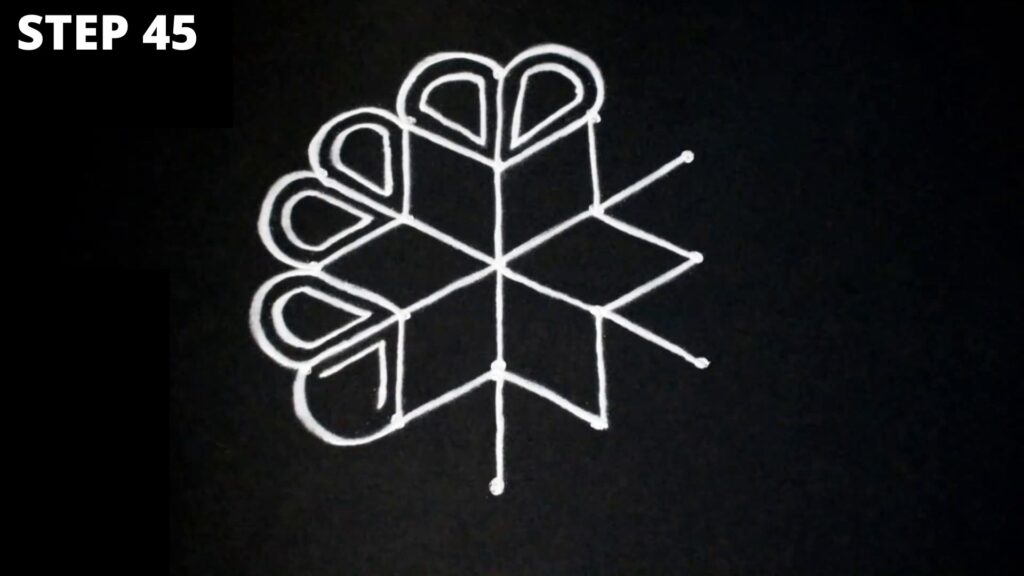
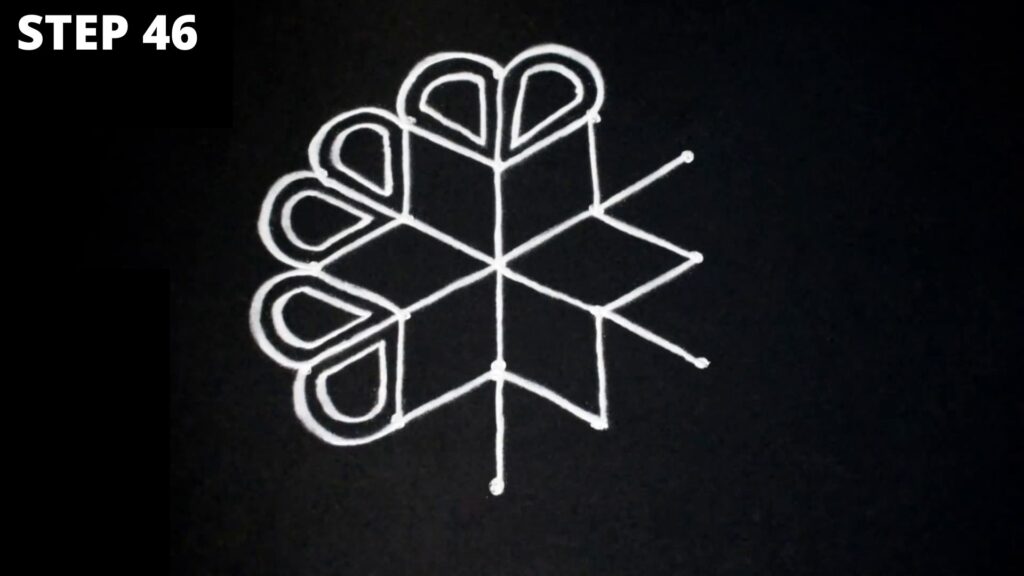
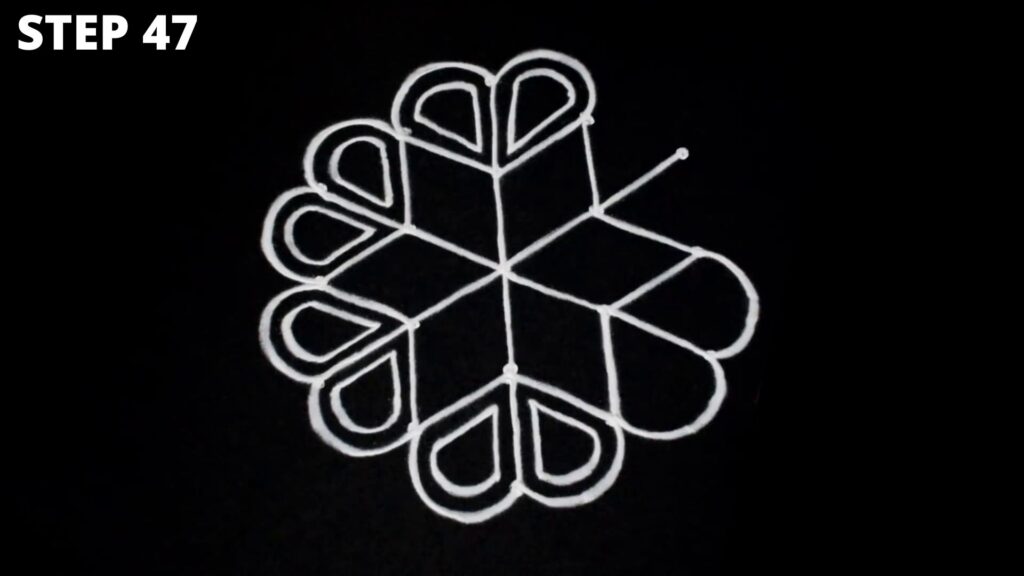
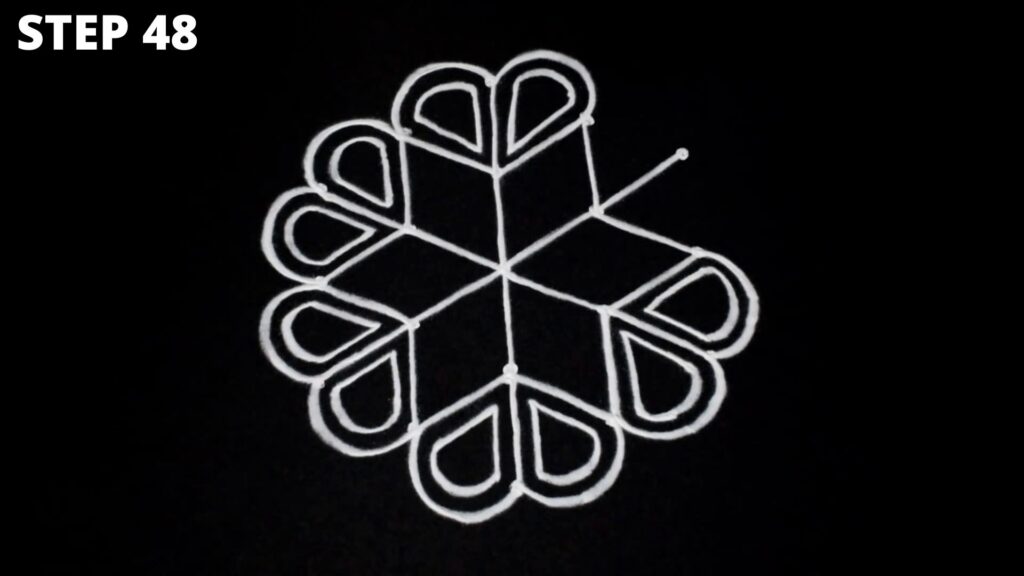

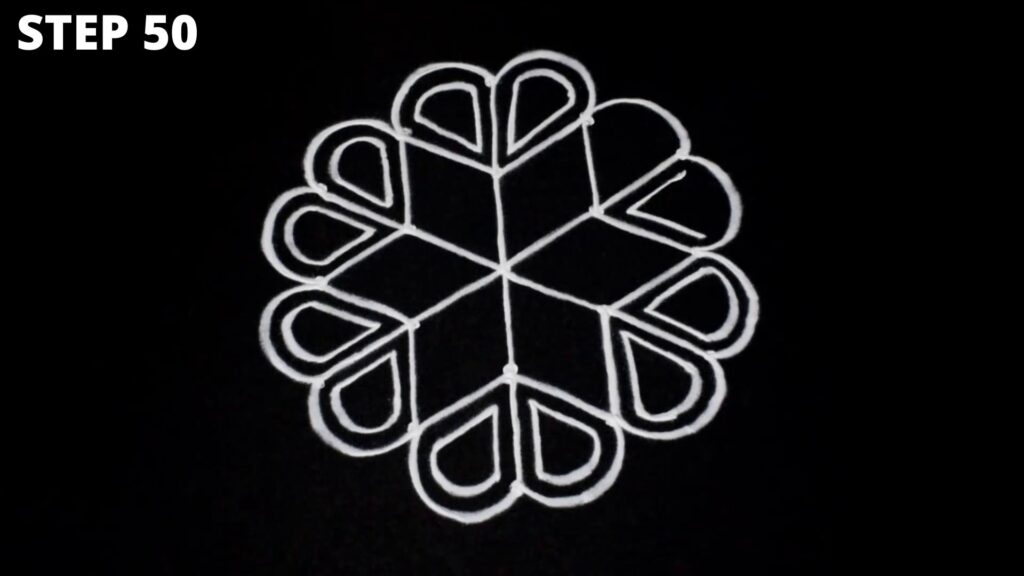

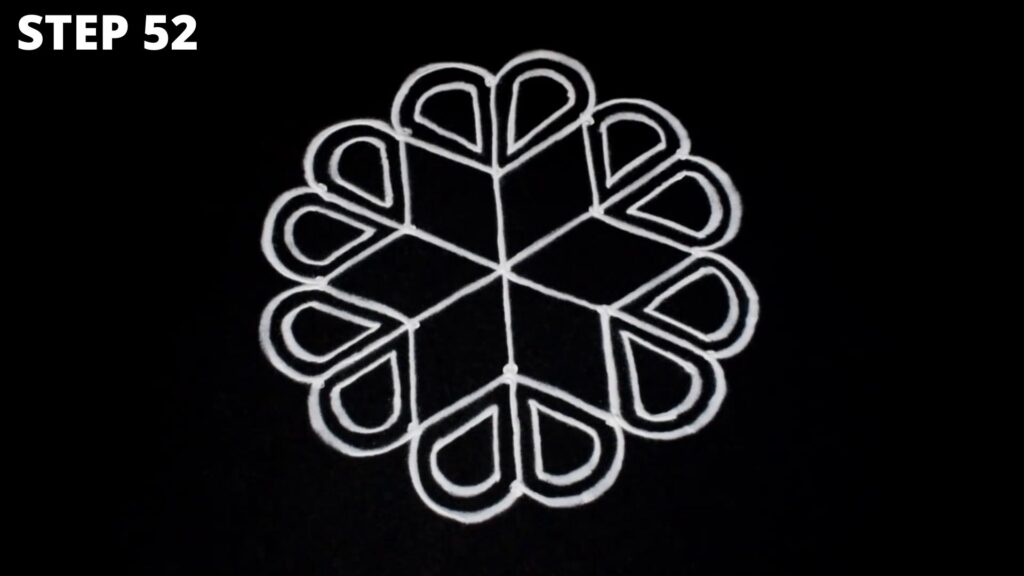
Steps 53 to 68
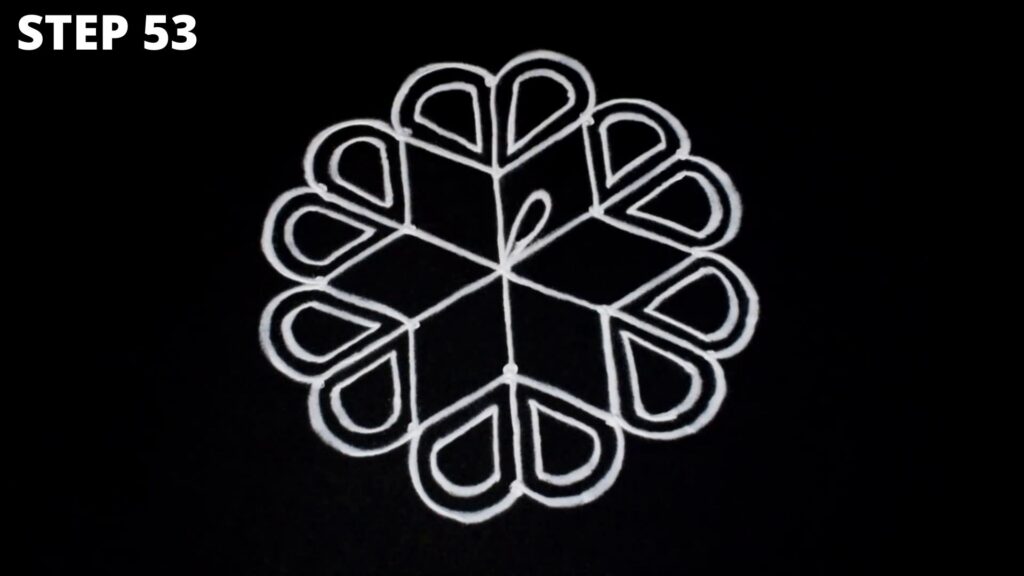
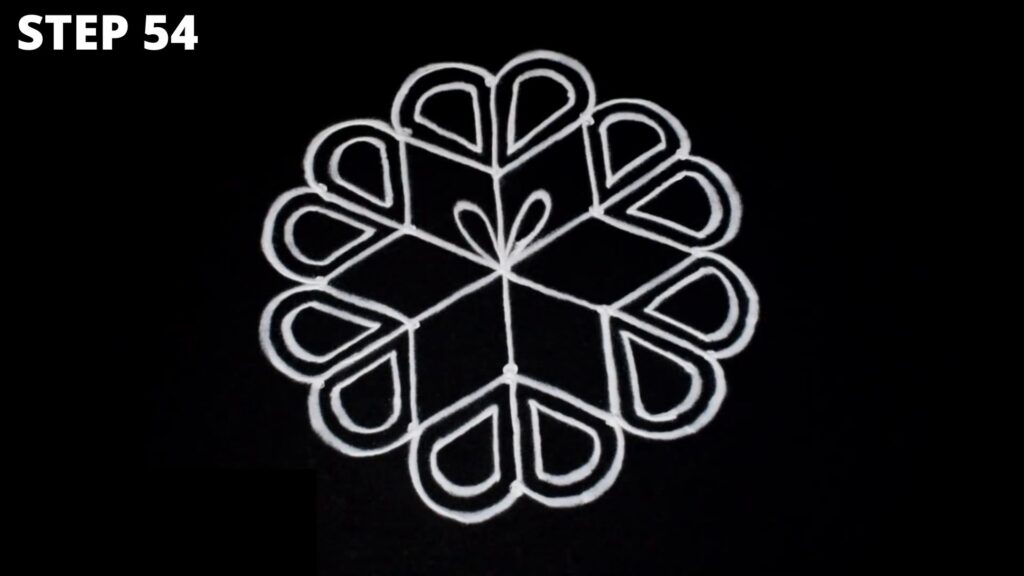
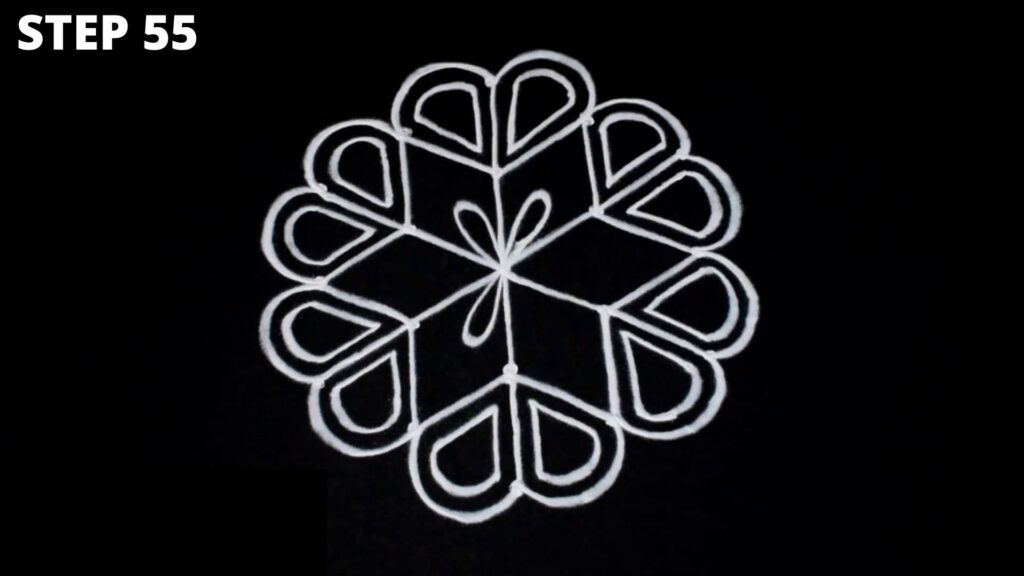
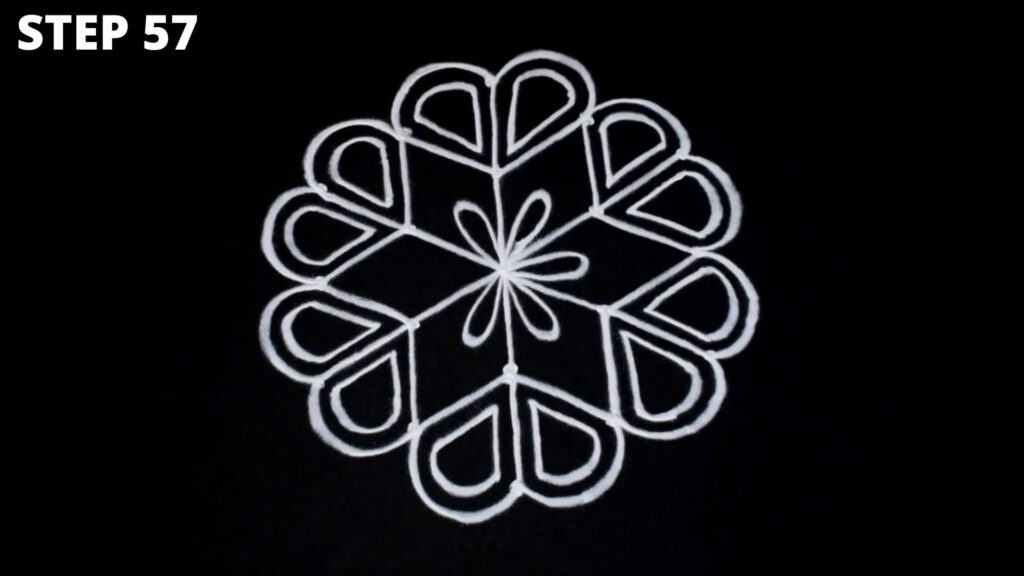
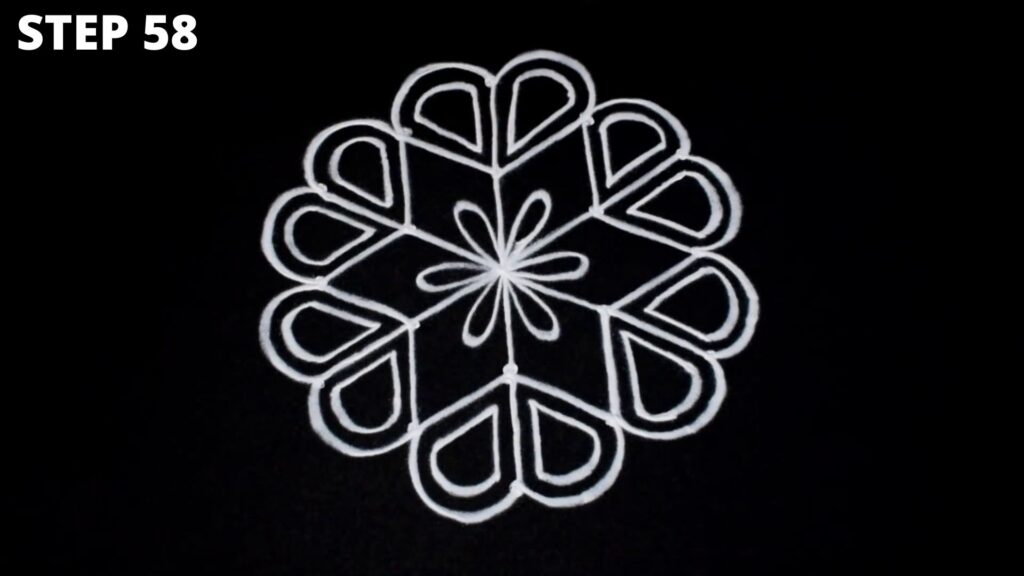
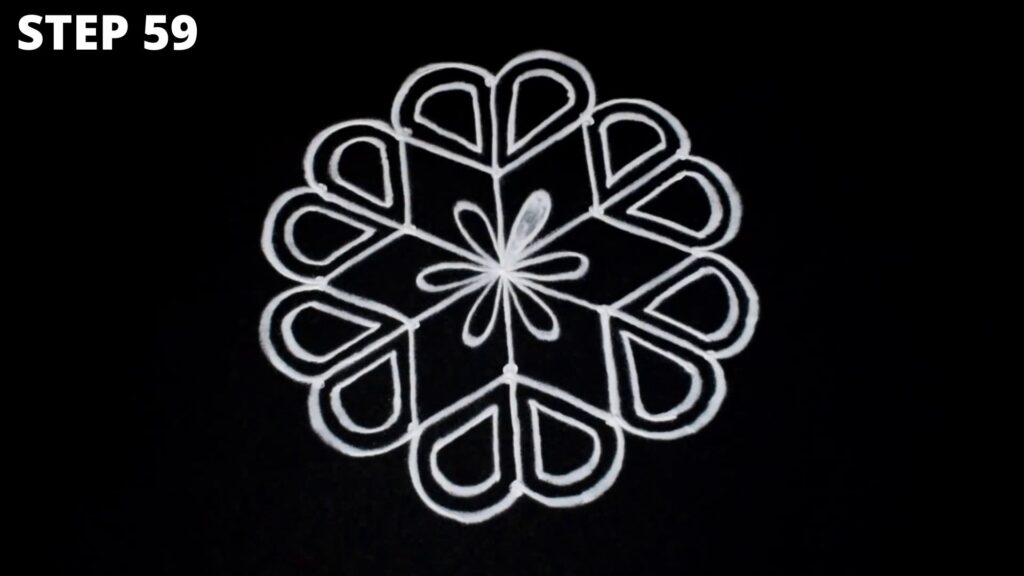
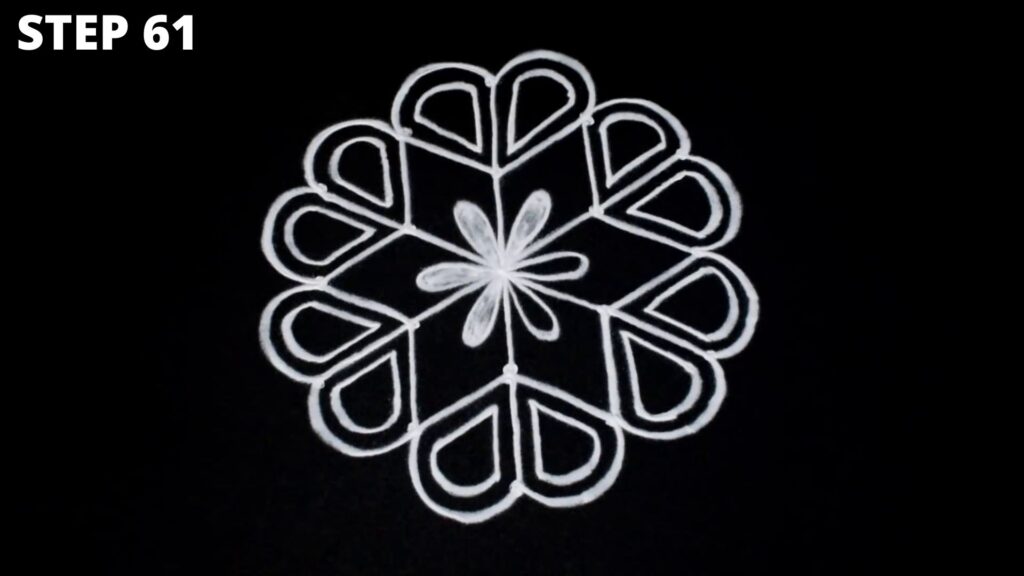
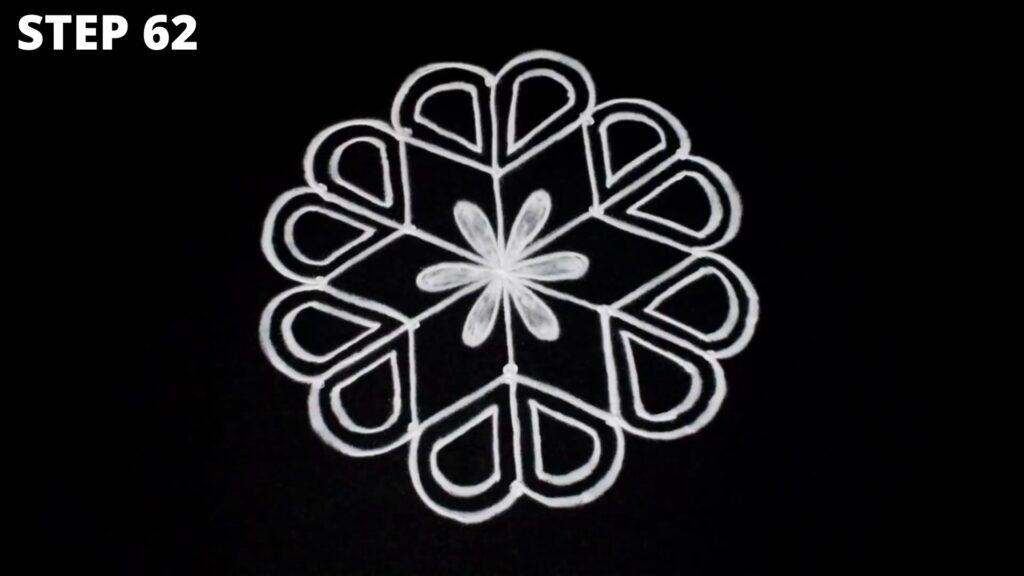
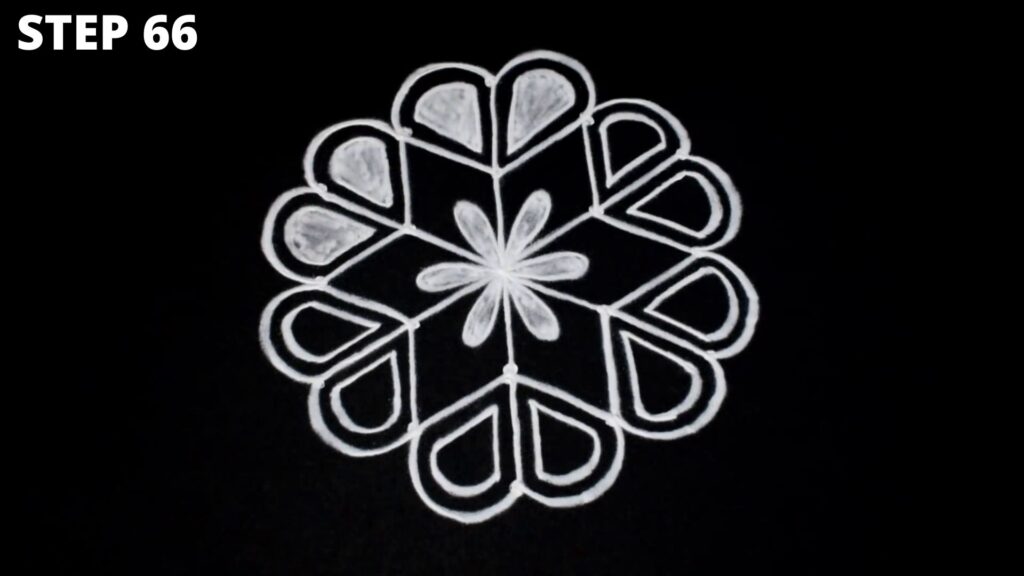
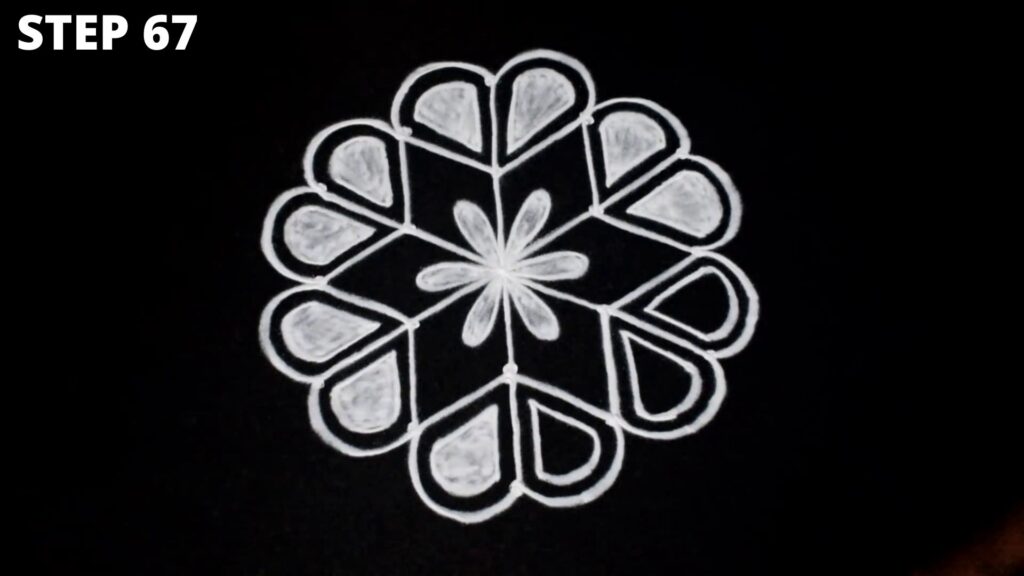
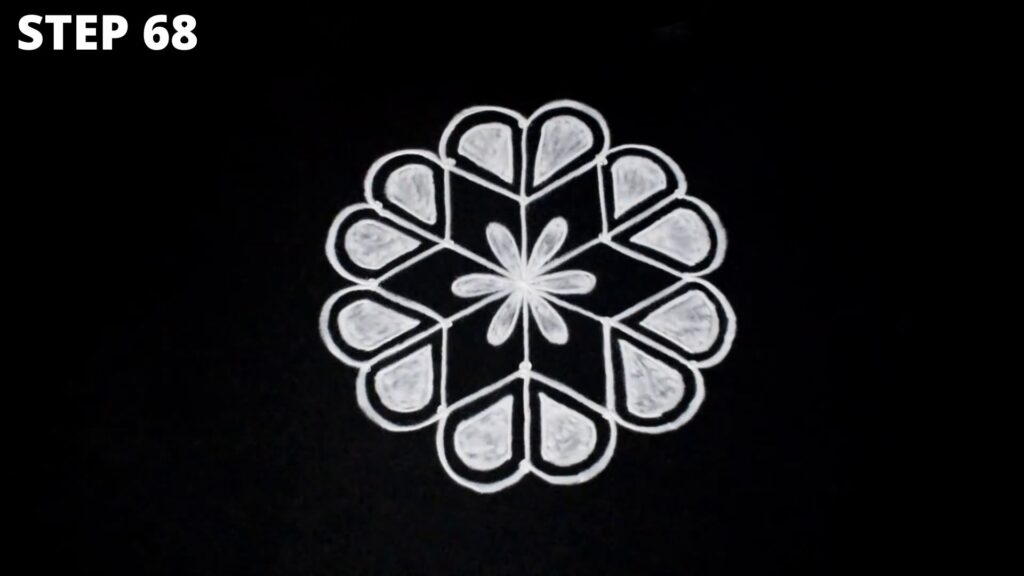
See step 53 and start making a flow around the central dot of the grid as shown in the rangoli images. As shown in steps 59 to 68, we will now start filling empty space of the petals. Now we are almost at the halfway mark of creating this Kolam.




Steps 69 to 80
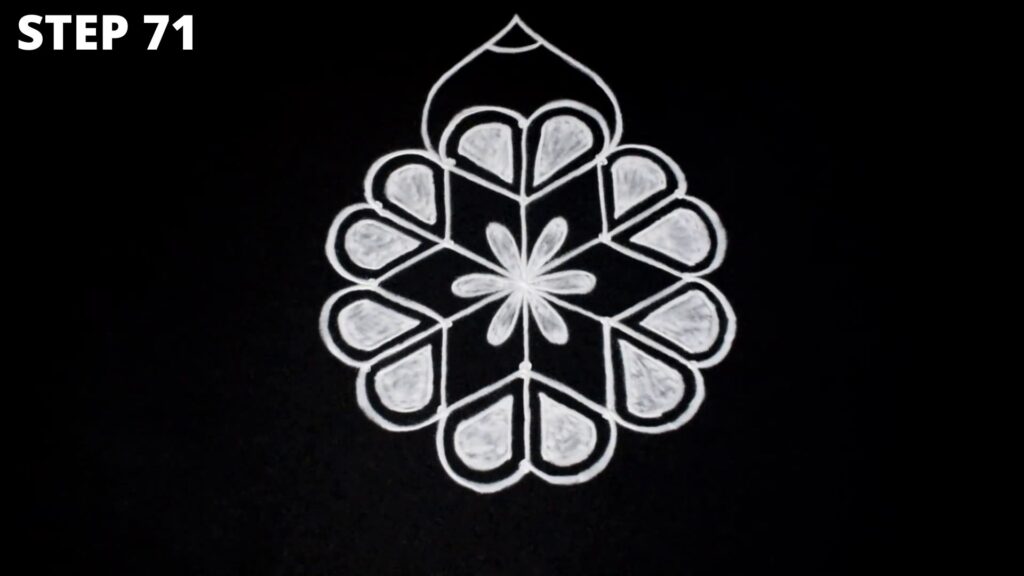
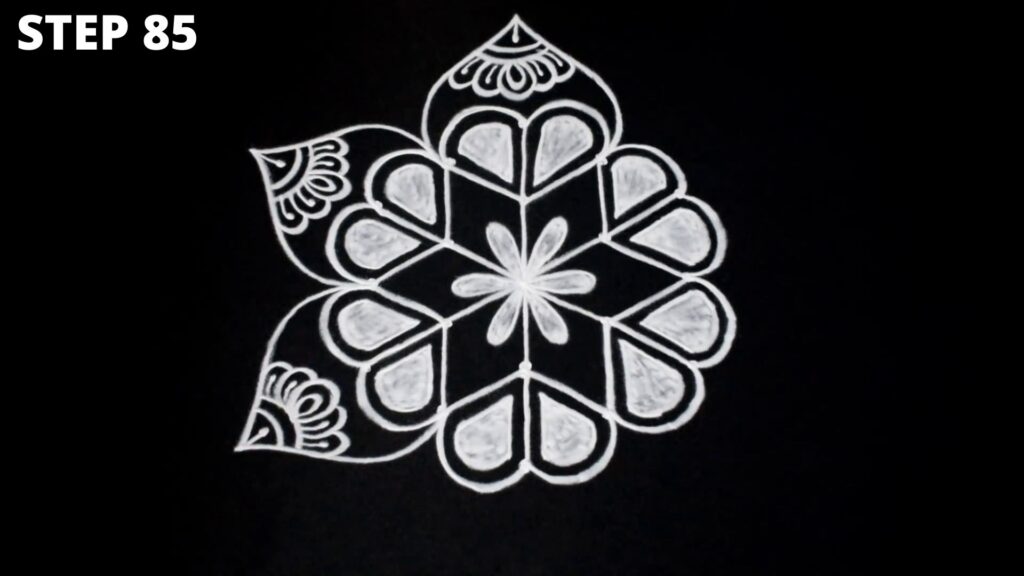
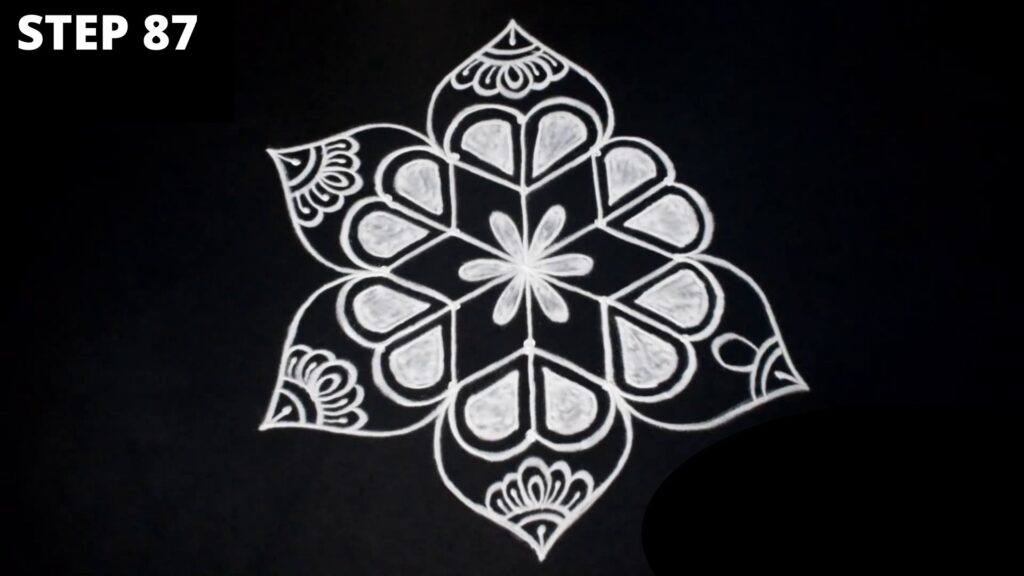
Now that our Kolam is starting to shape up, we will now start with creating outer domes around two petals. Follow the steps 69 to 80.


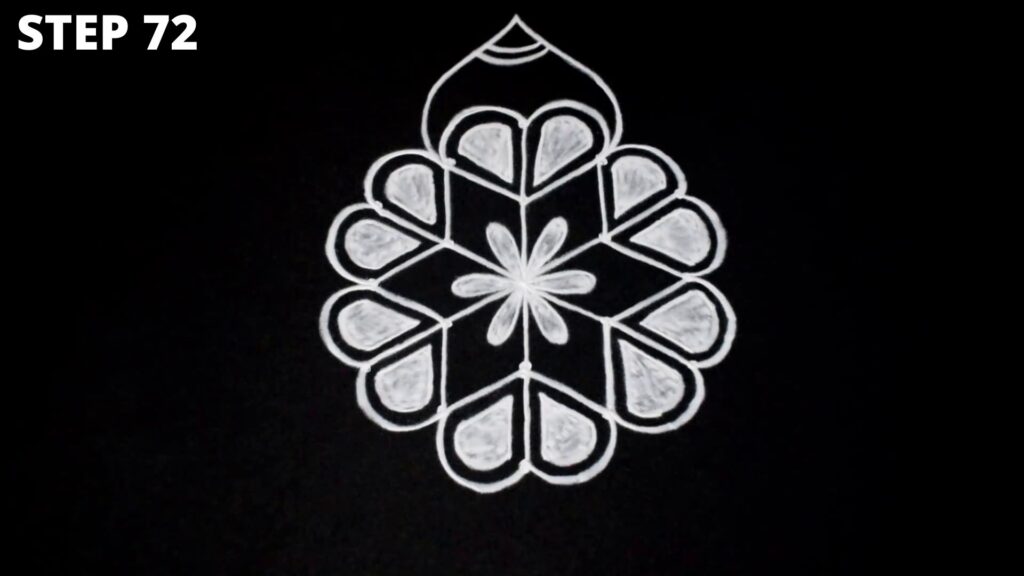
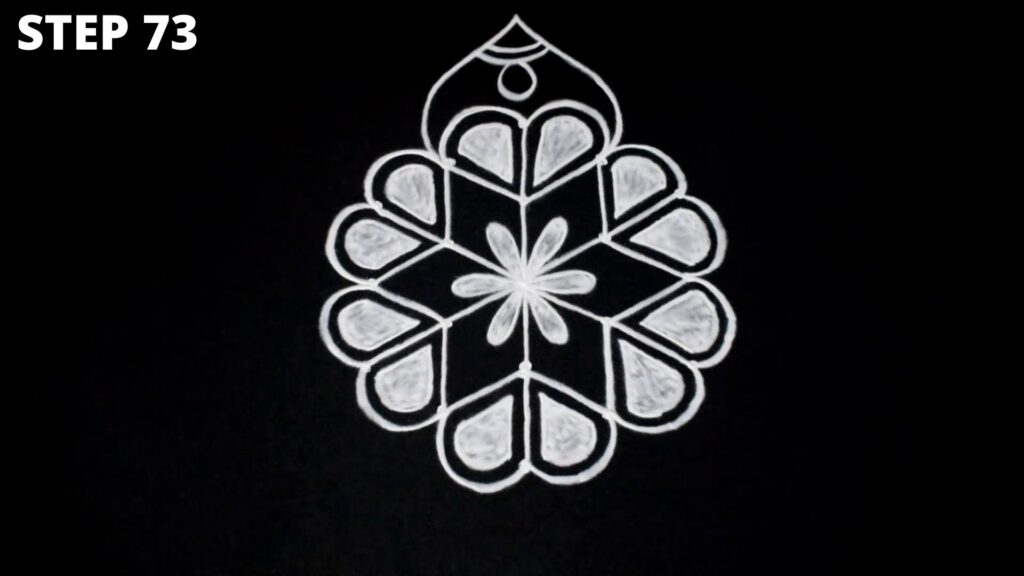

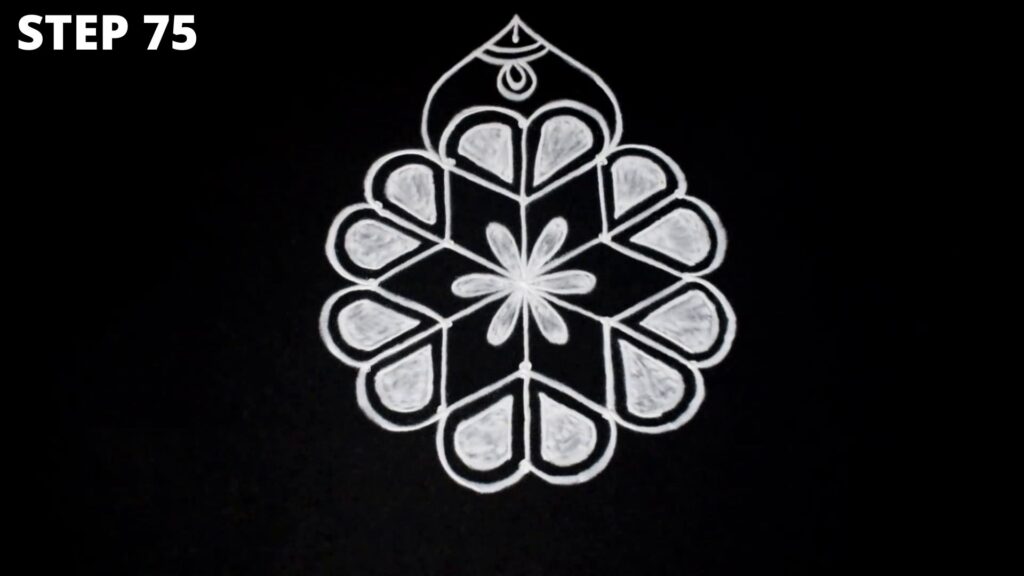

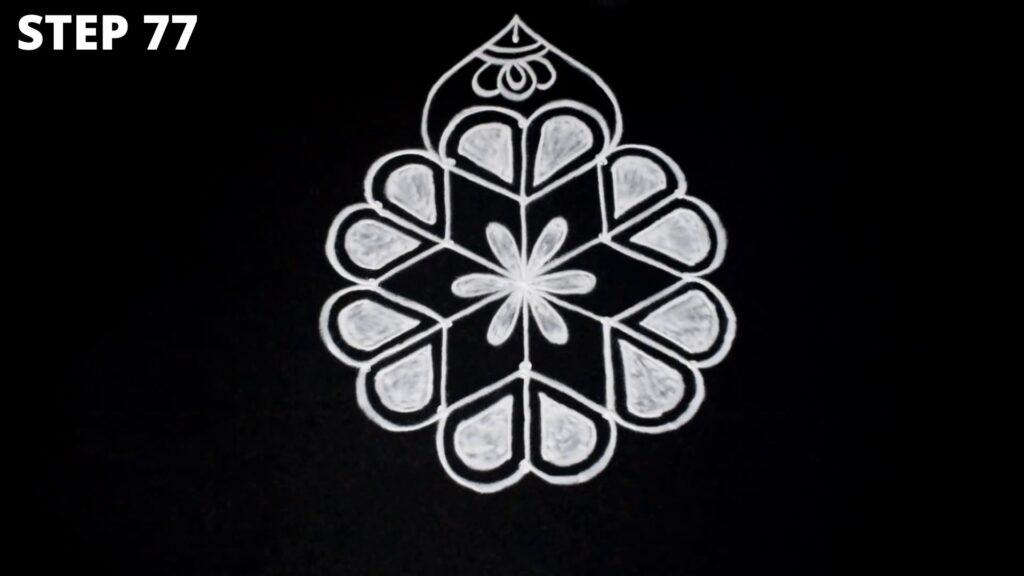


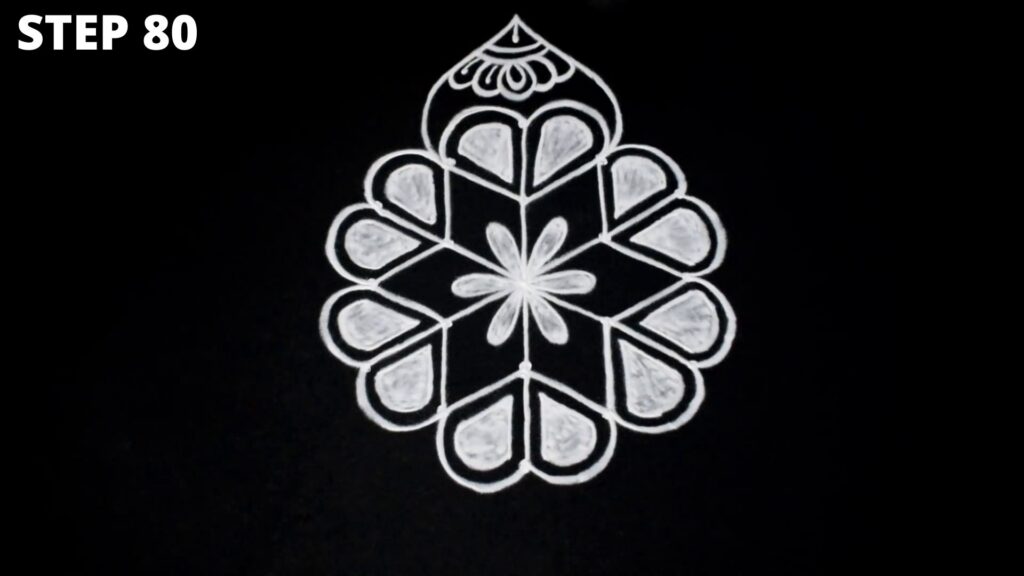
Steps 81 to 94: Final Steps
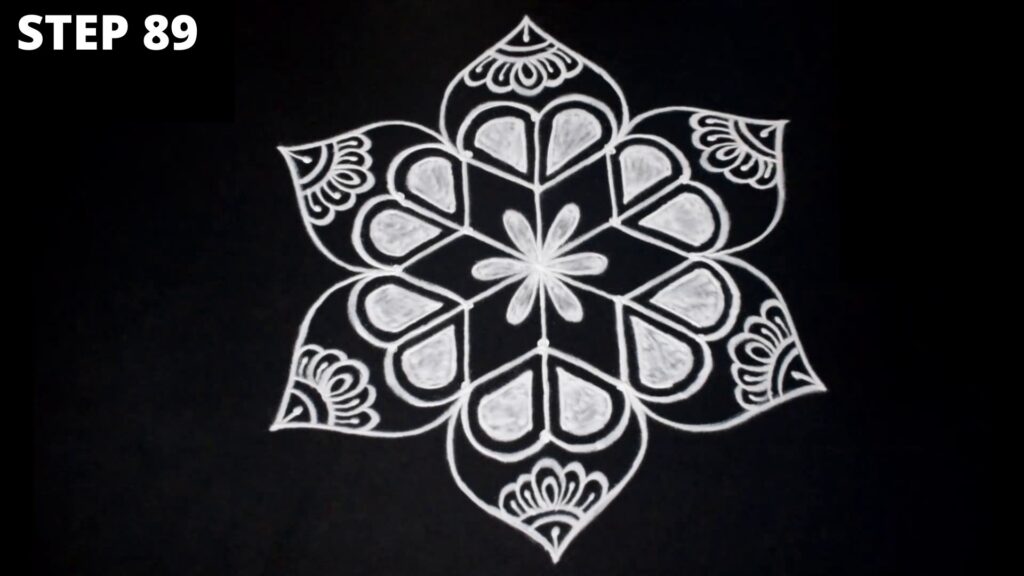
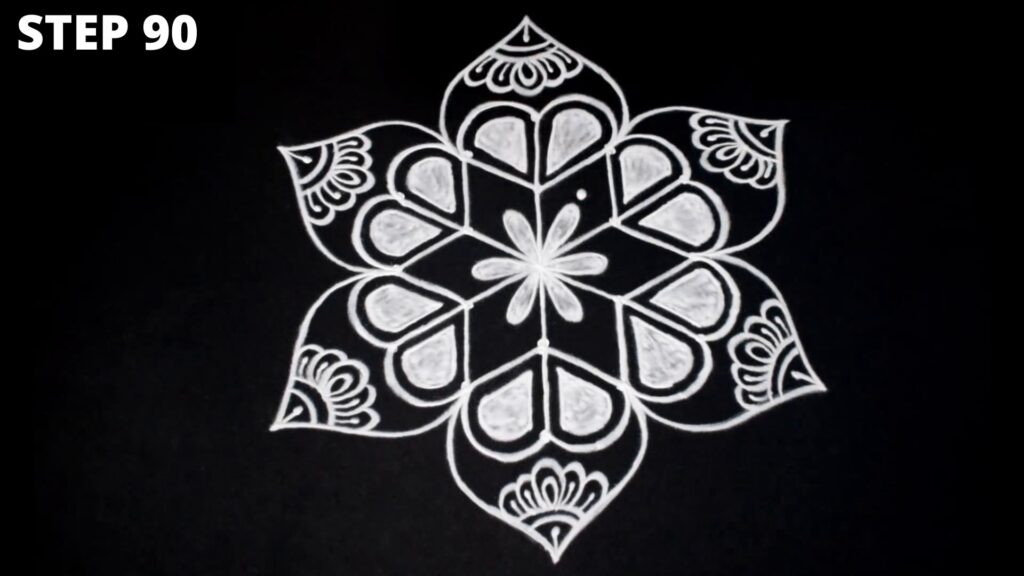
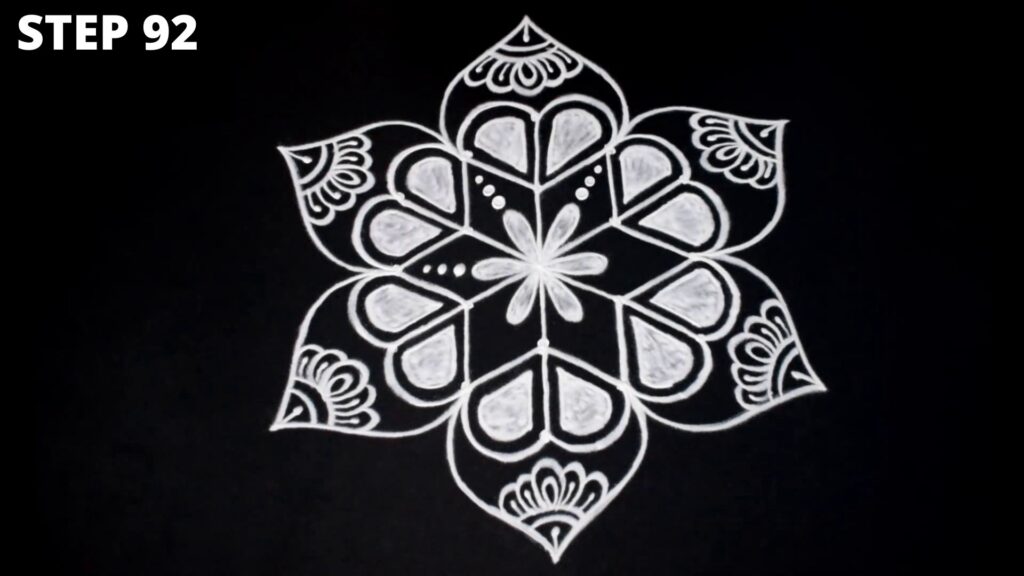
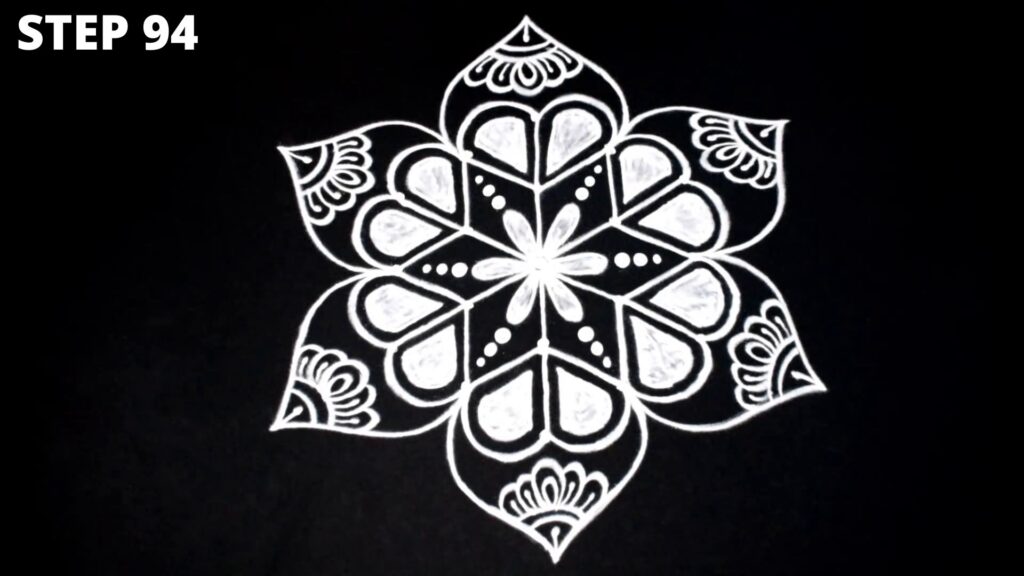
In these final steps of drawing this Kolam, we will create another 5 domes for rest of the five corners of the Kolam. After having done that, we will add radiance to the inner flower by setting three dots in each petal as shown in the steps 89 to 94.

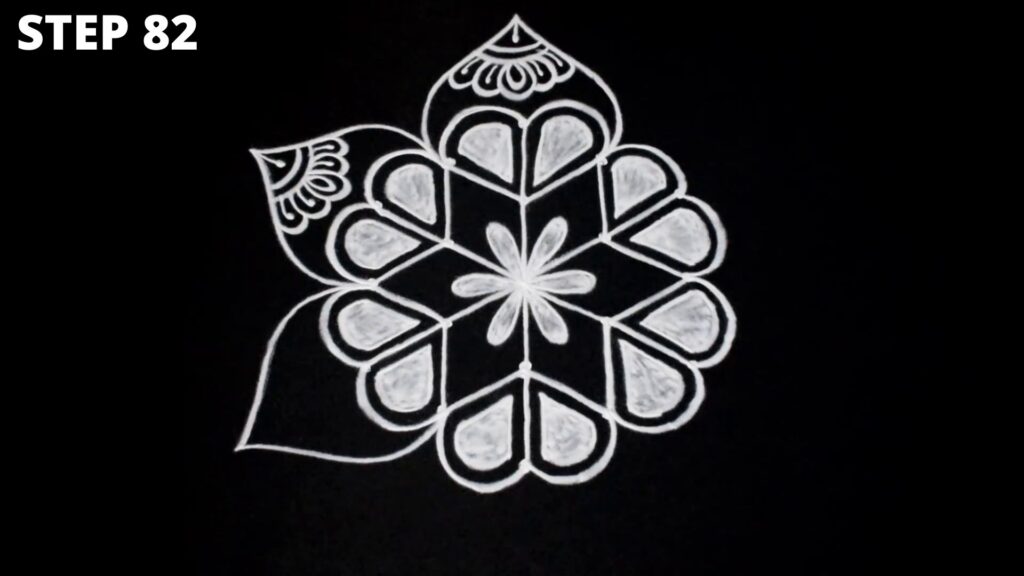
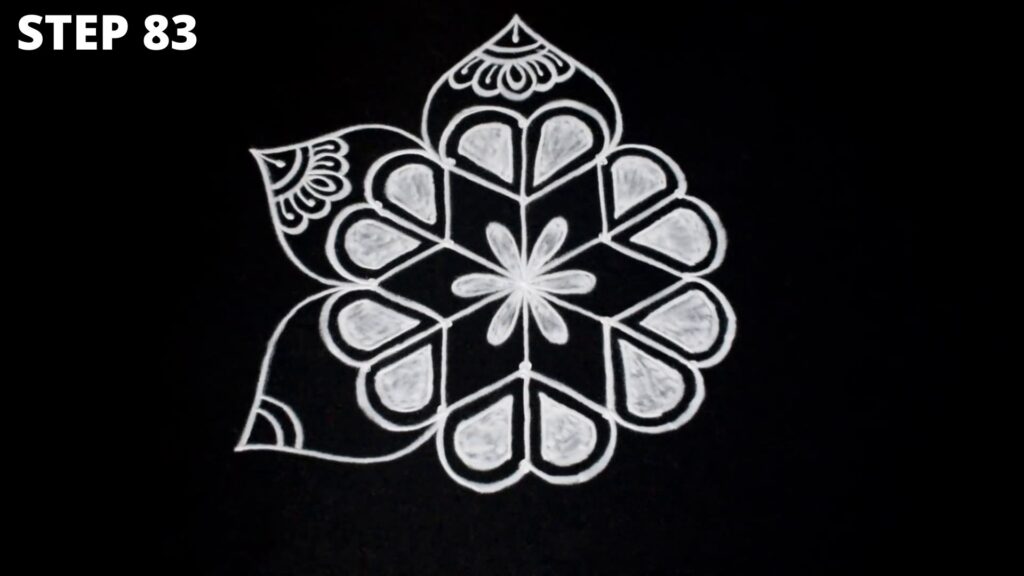
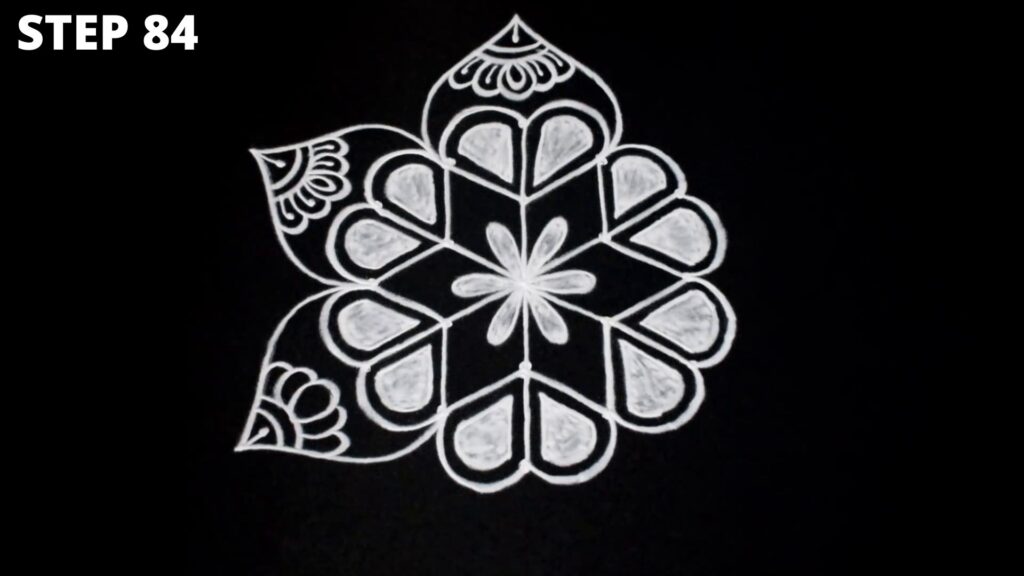




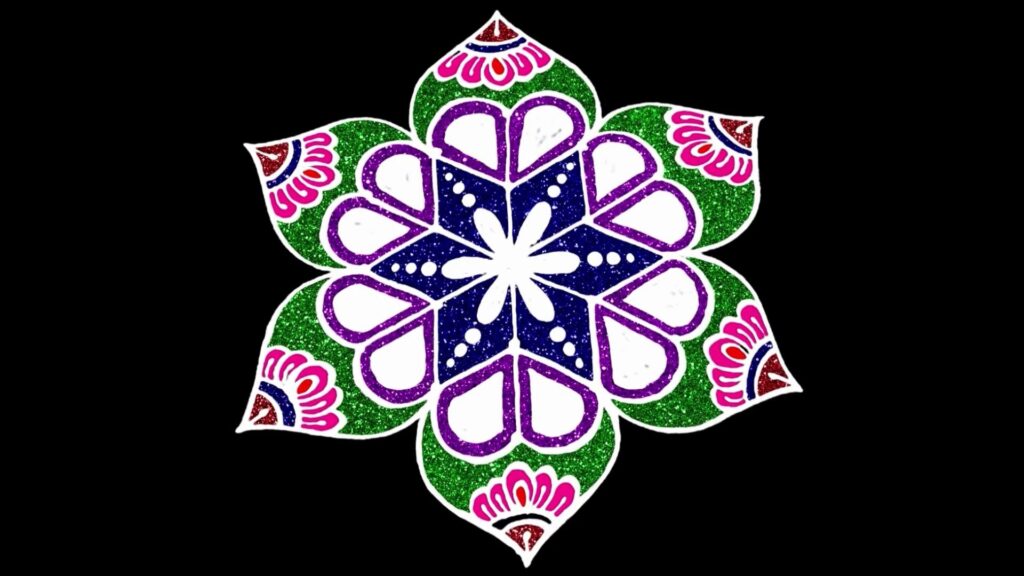
Final Design
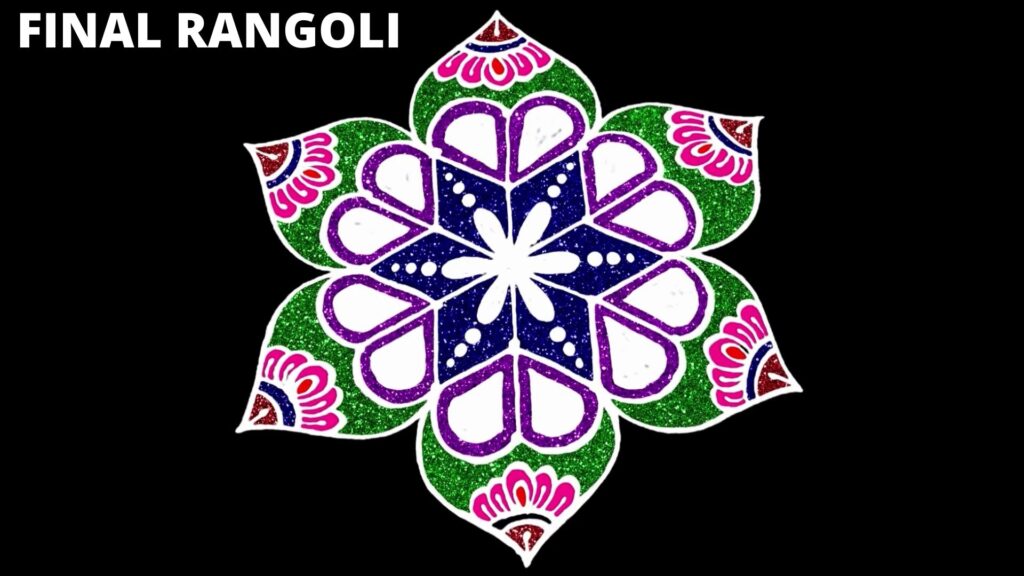
Here is the final design for you as shown in the image. You can use various rangoli colours, flowers, petals, various colour rangoli powder, diyas, grains, pulses, cereals, candles, pot-lanterns to decorate the rangoli depending upon the occasion or your choice.
Hope you enjoyed the experience of creating this rangoli Kolam with the help of dots.
How to make rangoli coloured powder?
You can either buy readymade rangoli powder from the market or you can make it on your own. Traditionally women used household items from the kitchen to make rangoli/muggulu/Kolam designs. Using household items, such as rice flour powder, haldi, kumkum, gulal, spices, grains, for rangoli designing is considered auspicious.
You can use either the rice flour or salt to make the rangoli coloured powder. Take rice flour or salt in a container with lid. Add food colour and vinegar to it. Cover the container with lid and shake it well until the blend gets mixed up well. Finally spread the mixture on a clean cloth or a newspaper and let it dry.

